
We’re on Day 16 of Blogtober, officially halfway through, so I thought this might be a good time to go back to basics.
I’ve spent the last couple of weeks talking about all sorts of soapy things, from curing times to ingredients, but I’ve realised that I haven’t actually explained how I make the stuff in the first place. A fairly significant oversight for someone who makes soap for a living. 😂
So today, we’re going right back to the beginning. How does a mixture of oils and butters become a beautiful, bubbly bar of soap?
I’m going to talk specifically about traditional cold process soapmaking. Cold process is the method I use here at The Soap Mine, and which is also popular with hobby soapmakers and other small artisan businesses.
First, what actually goes into soap?
At its most basic, traditional soap requires just three things:
- Oils or fats
- An alkali (in my case, sodium hydroxide)
- Water
That’s it. Those are the essentials.
Of course, my soaps contain other ingredients too, such as fragrance and colour, and many makers use additives like clays or botanicals. However none of those is necessary to make soap.
The magic happens when the oils and sodium hydroxide react together. And by magic, I mean chemistry, obvs 😁 But chemistry can be quite magical, don’t you think?
Step 1: Creating the formula
Before I get anywhere near the mixing bowls, I need a recipe, or more correctly, a formula.
Soapmaking formulas aren’t quite like some food recipes, where you could, maybe, throw in a bit more of this or that and hope for the best. Different oils and butters contain different combinations of fatty acids, which affect the properties of the finished soap.
For example coconut oil helps produce a bubbly lather, olive oil makes a mild soap while butters such as shea and cocoa can help create a firm bar with a creamy lather. By choosing particular oils and using them in carefully calculated proportions, I can create what I believe to be wonderful soap.
Each oil also requires a particular amount of sodium hydroxide to turn it into soap, so the quantities have to be calculated accurately. Too much sodium hydroxide could leave the finished bar caustic and horrible to use. Too little could result in a gloopy mess that will never set up (or at best a very, VERY soft bar).
There’s a little more to the calculation than that, because I also deliberately formulate my soaps with something called a superfat. But that’s something for another post. For now, the important thing is that soapmaking starts with a carefully formulated recipe, not guesswork.
Step 2: Preparing the ingredients
Once I’ve chosen which soap I’m making, it’s time to get everything ready.
I weigh out the oils and butters, melting any solid ingredients that need it, before combining them.

Separately, I prepare the sodium hydroxide solution.
Sodium hydroxide, aka caustic soda or lye, is a highly corrosive substance before it has reacted with the oils. Consequently this part of soapmaking requires particular care. Gloves, protective eyewear, appropriate equipment and safe working procedures are essential.
When sodium hydroxide is dissolved in water, it generates a lot of heat, and I mean it gets VERY hot, so preparing the solution needs to be done very carefully.
That solution will then need time to cool down before I use it, so it has to be made well in advance.
I should probably point out that although I work with potentially hazardous ingredients, the finished bars are a completely different matter. That’s the wonderful thing about the chemical reaction we’re about to discuss.
Step 3: Bringing everything together
Once the oils and the sodium hydroxide solution are prepared and at suitable temperatures, it’s time to combine them, and this is when things start to get interesting.
At first, the mixture is fairly liquid, but as I blend it, it begins to thicken. Soapmakers call this stage trace.
You might have heard me use the term in my videos, or seen me lift the blender and allow a little soap mixture to drip back into the bowl. If the drips briefly leave a visible trail on the surface, that’s one of the signs that the mixture has reached trace.
It can look a little like thin custard at this stage. Although I really wouldn’t recommend tasting it 😝
Trace tells me the ingredients are combining and the mixture is beginning to behave like soap batter. The chemical reaction isn’t finished yet, but it’s well underway.
Step 4: Adding the lovely stuff
Now comes one of my favourite parts.
Depending on which soap I’m making, I might divide the mixture into several containers, add different colours, and prepare to create the swirls and patterns you see in the finished bars.
This is also when fragrance is typically incorporated into my soapmaking process. Some fragrances behave beautifully and give me plenty of time to work. Others have quite different ideas and cause the mixture to thicken much faster than I’d like.
I’ve had more than a few occasions when a carefully planned design has turned into a frantic race to get the soap into the mould before it becomes too thick to pour. And sometimes, it has even turned solid in the mixing bucket – arghhhhh! This lot from a few years back was an absolute nightmare. Not recommended but it’s all part of the fun. Allegedly!

The exact process varies depending on the soap I’m making. Some designs are relatively straightforward, while others involve several colours and more complicated pouring techniques. It’s this creative part of the process that makes soapmaking particularly enjoyable for me.
Step 5: Into the mould
Once everything is mixed, coloured and fragranced, I pour the soap into its moulds.
Most of my soaps are made in loaf moulds, so at this stage they look nothing like the individual bars you eventually receive. They’re simply long loaves of freshly poured soap.
When the soap batter is firm enough I add my signature swirl to the top and set the mould aside for the real transformation to happen.
What happens inside the mould?

The oils and sodium hydroxide undergo a chemical reaction called saponification.
During this reaction, the fatty components of the oils and butters react with sodium hydroxide to form new substances: soap and glycerine.
In simple terms:
Oils and butters + sodium hydroxide = soap + glycerine
The sodium hydroxide is consumed during the reaction, so a correctly formulated and properly made finished bar won’t contain free, caustic sodium hydroxide.
The reaction also produces heat, and depending on the recipe and conditions, the soap may become quite warm inside the mould. Sometimes it goes through what’s known as the gel phase, when the soap temporarily takes on a translucent, gel-like appearance before cooling and becoming opaque again.
That’s perfectly normal, and it’s something I can sometimes encourage or avoid depending on the result I want.
While all this is happening, the mixture gradually becomes firm enough to remove from the mould.
Step 6: Unmoulding and cutting
This is another of my favourite parts of soapmaking.
It’s incredibly satisfying to remove a finished loaf from its mould and see how the colours and patterns have turned out. And the best bit is cutting it into individual bars.
Generally, I make soap in the afternoon, then unmould and cut it the following morning so that’s usually somewhere between 18–24 hours after pouring, although different formulations can take considerably longer or shorter to become firm enough.
Cutting is also when I finally discover what the design looks like inside.

Sometimes it’s exactly what I’d planned. Sometimes it’s even better. And occasionally the soap has clearly decided to pursue its own artistic vision. Happily, even the bars that don’t turn out quite as expected will still do their job perfectly well.
Once cut, the bars look almost finished, but there’s still one very important stage to come.
Step 7: The long wait
Curing.
Every batch of soap I make spends around four to six weeks curing before it’s ready for sale.
By the time the soap has been cut, most of the saponification reaction is already complete, but the bars still contain more water than I want in the finished product.
During curing, most of that water gradually evaporates, and the internal structure of the soap continues to develop. The bars become harder, longer-lasting and generally better to use.
Here at The Soap Mine, I arrange the freshly cut bars in tissue-lined plastic stacking baskets, leaving space around them for air to circulate.
Each basket is labelled with the variety, batch code and date the soap will be ready.

Then they’re stacked away to cure.
Which is an excellent system, apart from the fact that I seem to have an almost supernatural ability to fill every available space with curing soap.
I’ve written a whole separate post about [why handmade soap needs to cure], if you’d like to know more about what happens during those weeks.
Step 8: Wrapping and getting ready for sale
Once the soap has completed its cure and passed the necessary checks, it’s finally ready to be wrapped and labelled.
Every bar needs the correct product information, including its ingredients, batch identification and other legally required details.
Because I sell my soap, there’s also a whole range of requirements behind the scenes, including cosmetic safety assessments, product documentation and manufacturing records. Not the most glamorous part of the job, but an important one.
Only then can the finished bars be added to the website, packed into orders and sent off to their new homes.
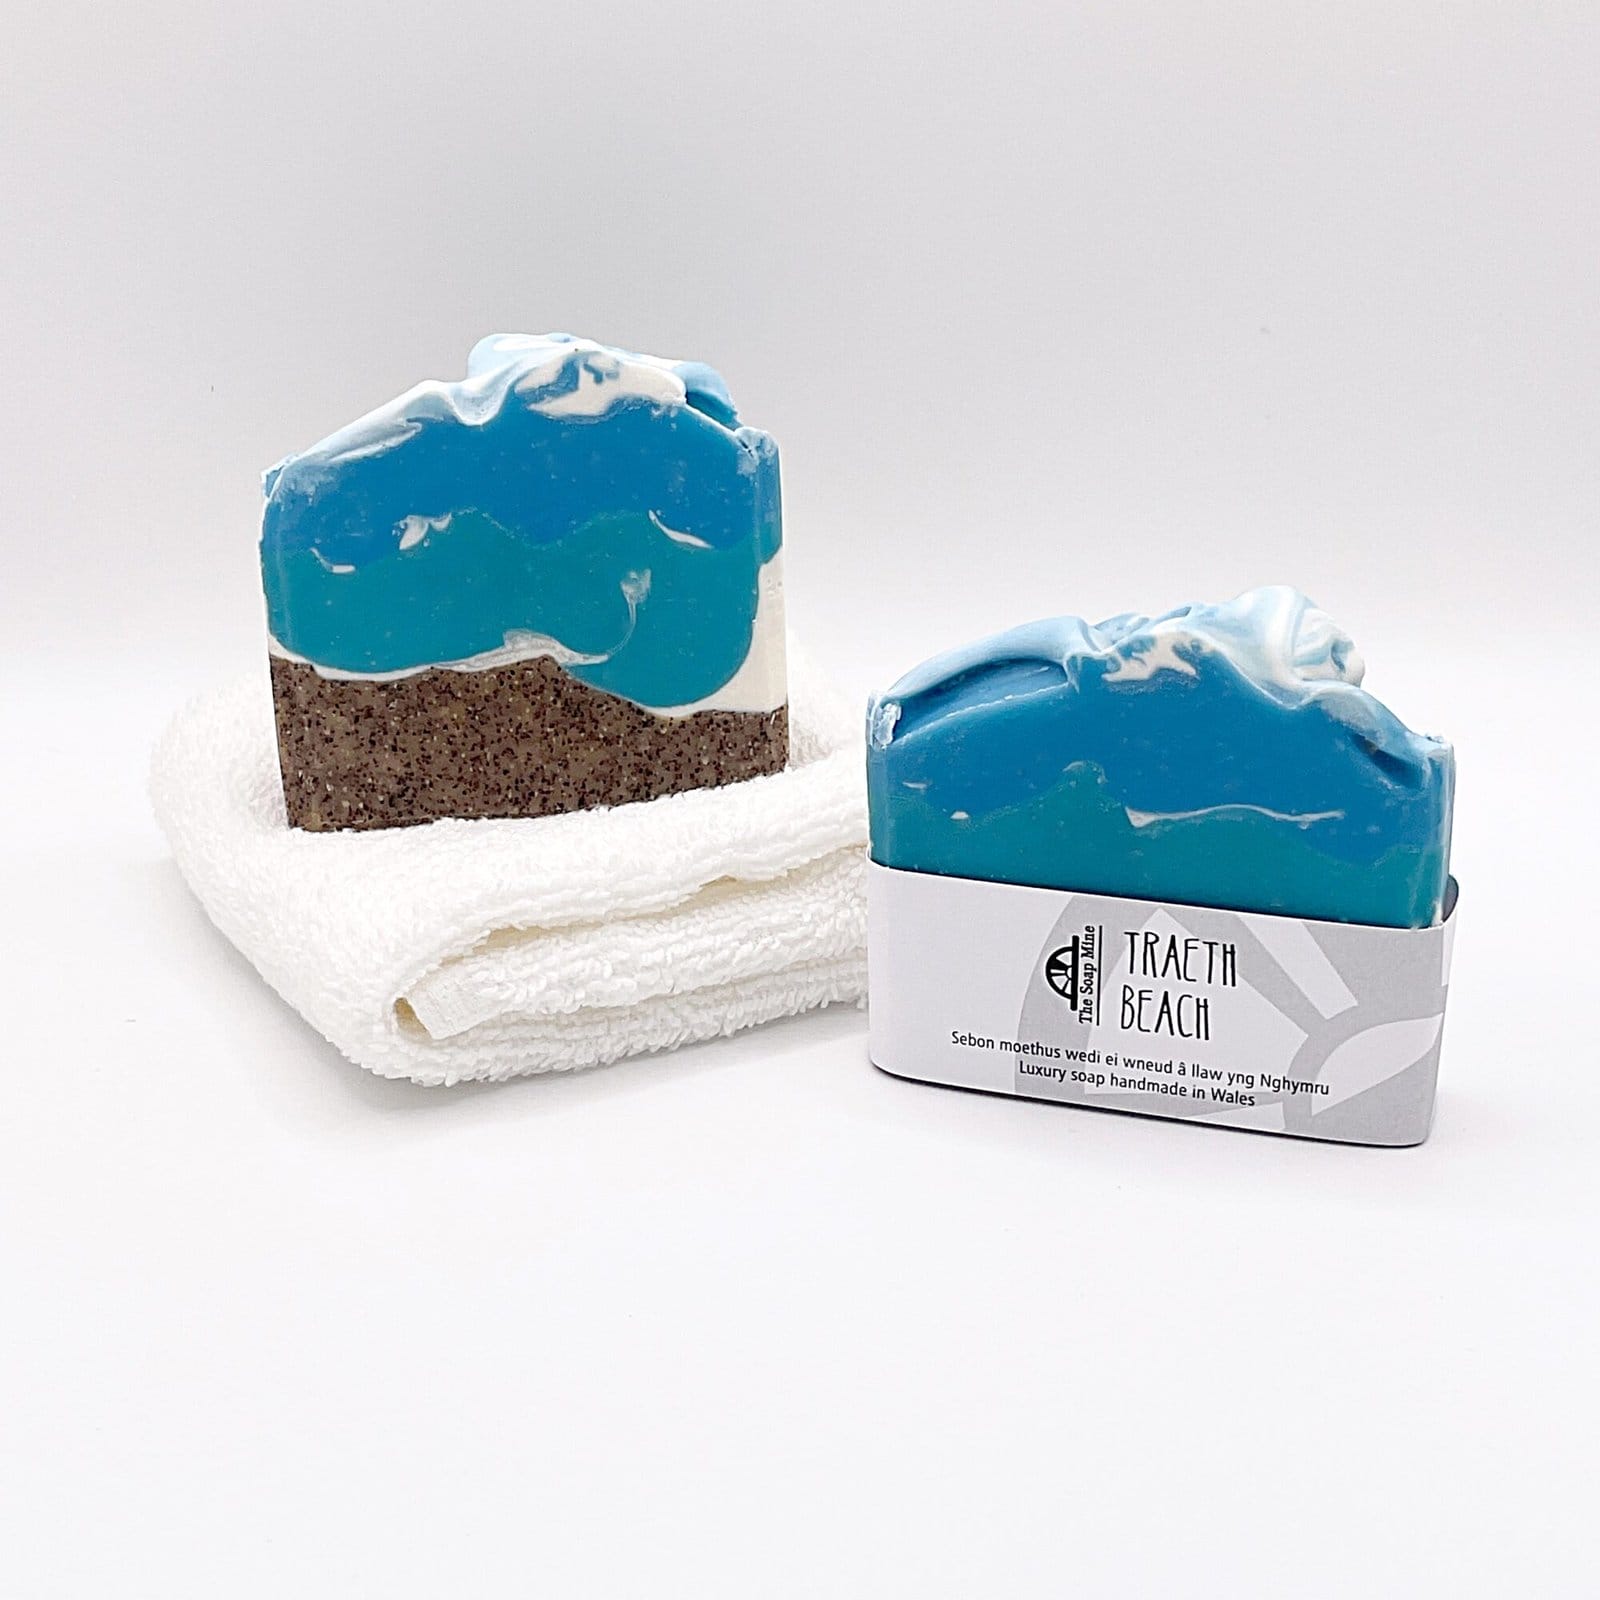
And there we have it. From a collection of oils, butters, water and sodium hydroxide to a finished bar of handmade soap.
I love that I can start with a carefully calculated recipe, choose the colours and fragrance, create something beautiful, and eventually end up with a product that someone will enjoy using every day.
There’s science involved, there’s creativity involved, and there’s an awful lot of patience involved. Still, even after all these years, cutting into a freshly made loaf and seeing the finished bars for the first time is something I look forward to. Every single time.
And knowing that those bars will eventually find their way into bathrooms all over the country makes it even better.
Not bad for a few oils, some water and a bit of chemistry, is it?
Vicki x