Soapmakers Eat Too…
Every year, in mid-August, our village holds a Horticultural & Craft Show. Gardeners, photographers, crafters and cooks compete to show off their skills and be the best in their category. Our garden is still a work in progress, I’m no photographer and I’ve had no time recently for any craft bar soapmaking, but baking… now baking I can do. I entered six classes, and won four firsts and two seconds (go me!) One of the firsts was for my Viennese Fingers*
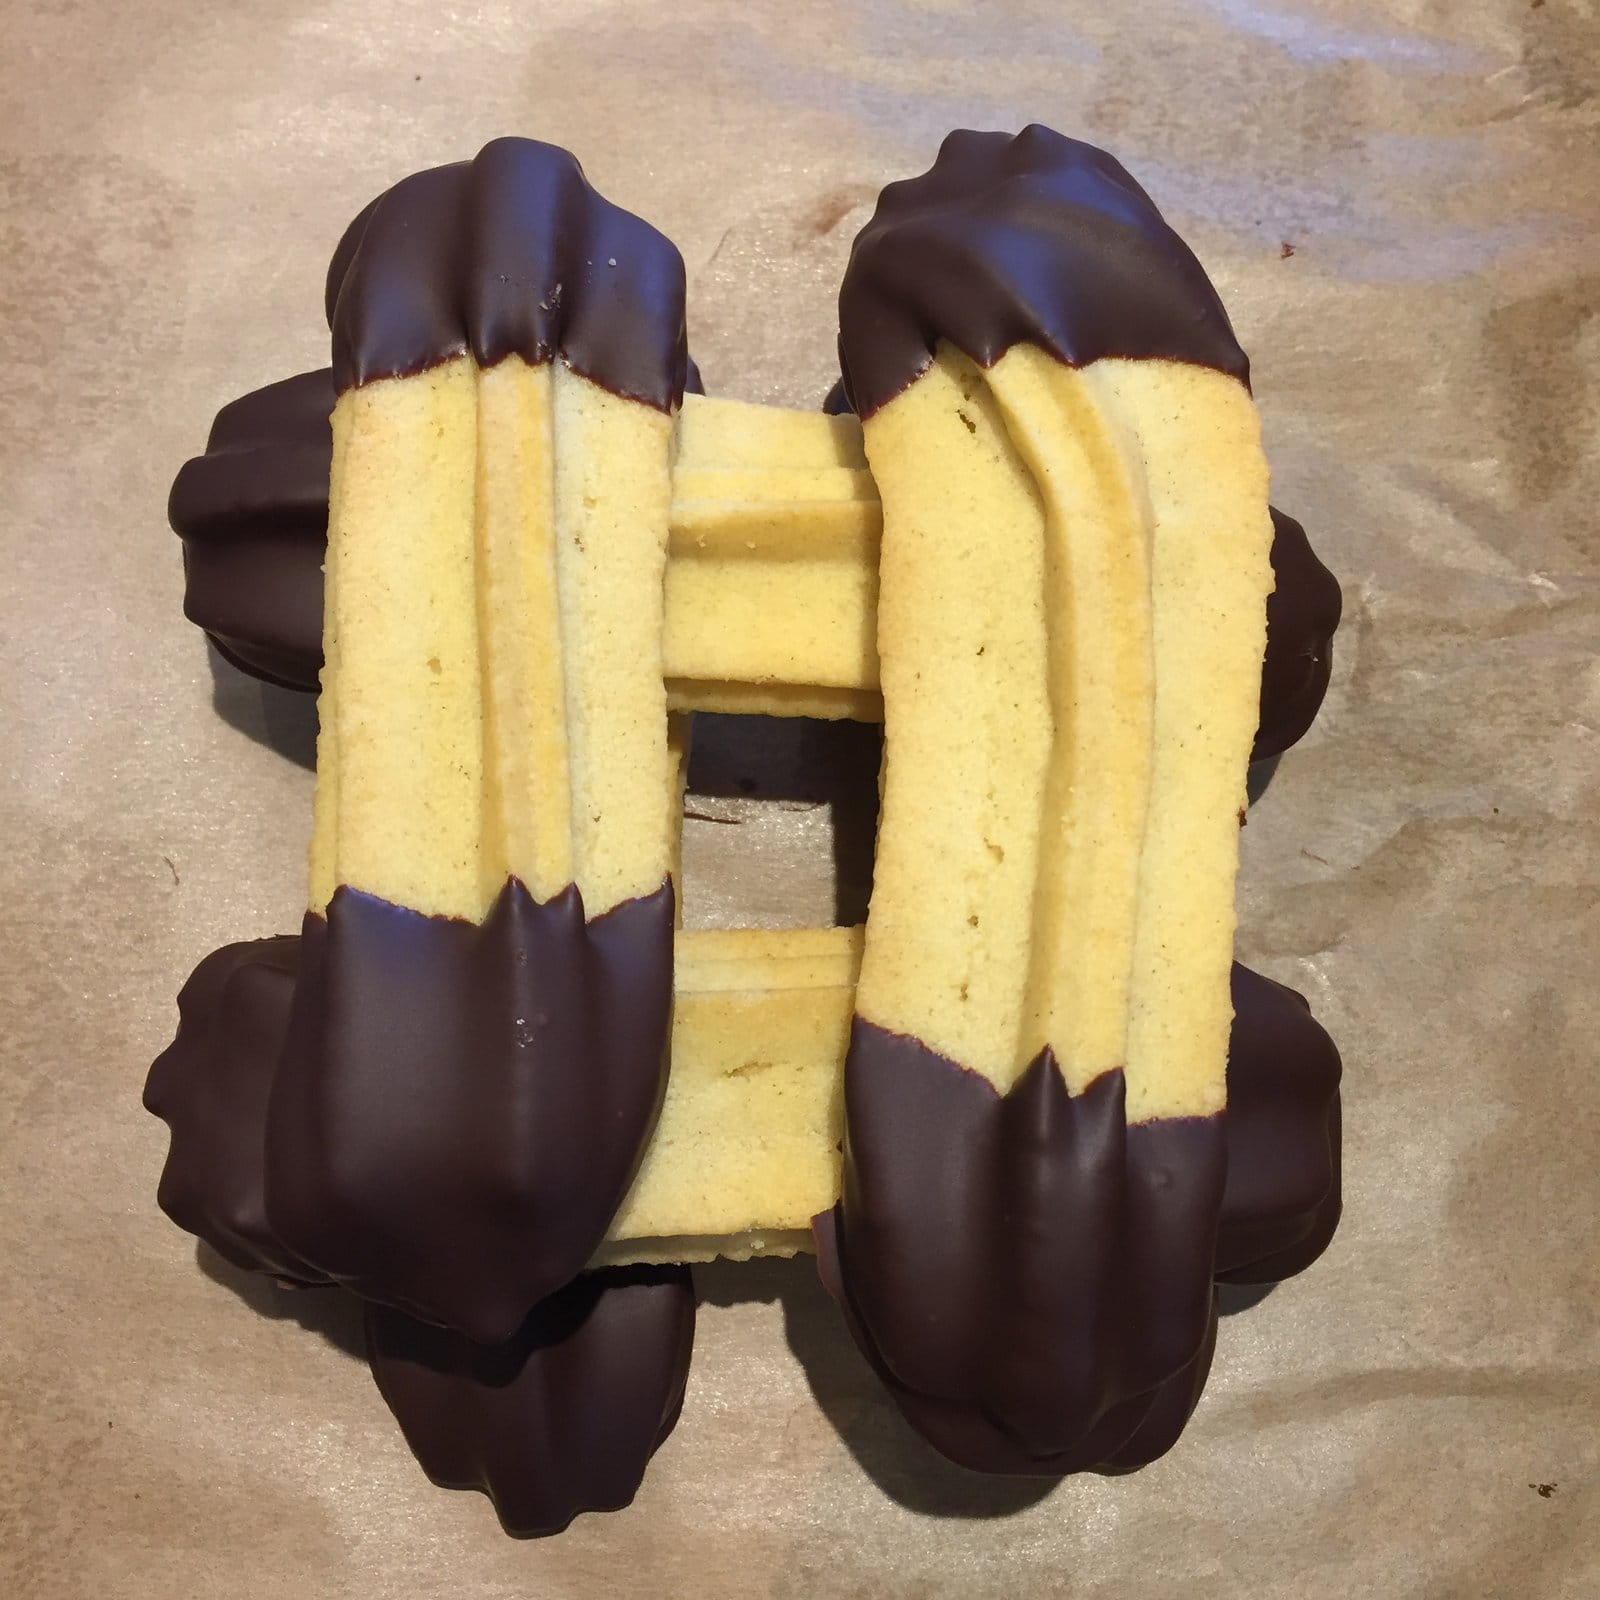
Ok, so these may look a little wonky, but they’re prize winners! They really are the lightest, crumbliest and shortest of biscuits which are ridiculously easy and surprisingly quick to make. I’ve been making at least one batch (usually two!) of these each week recently and they’re loved by the whole family. Give ’em a go and impress your nearest and dearest.
Before you start, preheat your oven to 180C – if you have a super-efficient oven then you might want to reduce it to 170/175C, but either way keep an eye on the biscuits as they’re cooking.
This recipe will make approx. 20 fingers.
Ingredients:
- 175g soft margarine (you could use butter, but I’ve found marge is better in these)
- 60g icing sugar
- 125g plain flour
- 60g cornflour
- 100-150g plain dark chocolate
You’ll also need a piping bag and nozzle. This is the one I use.
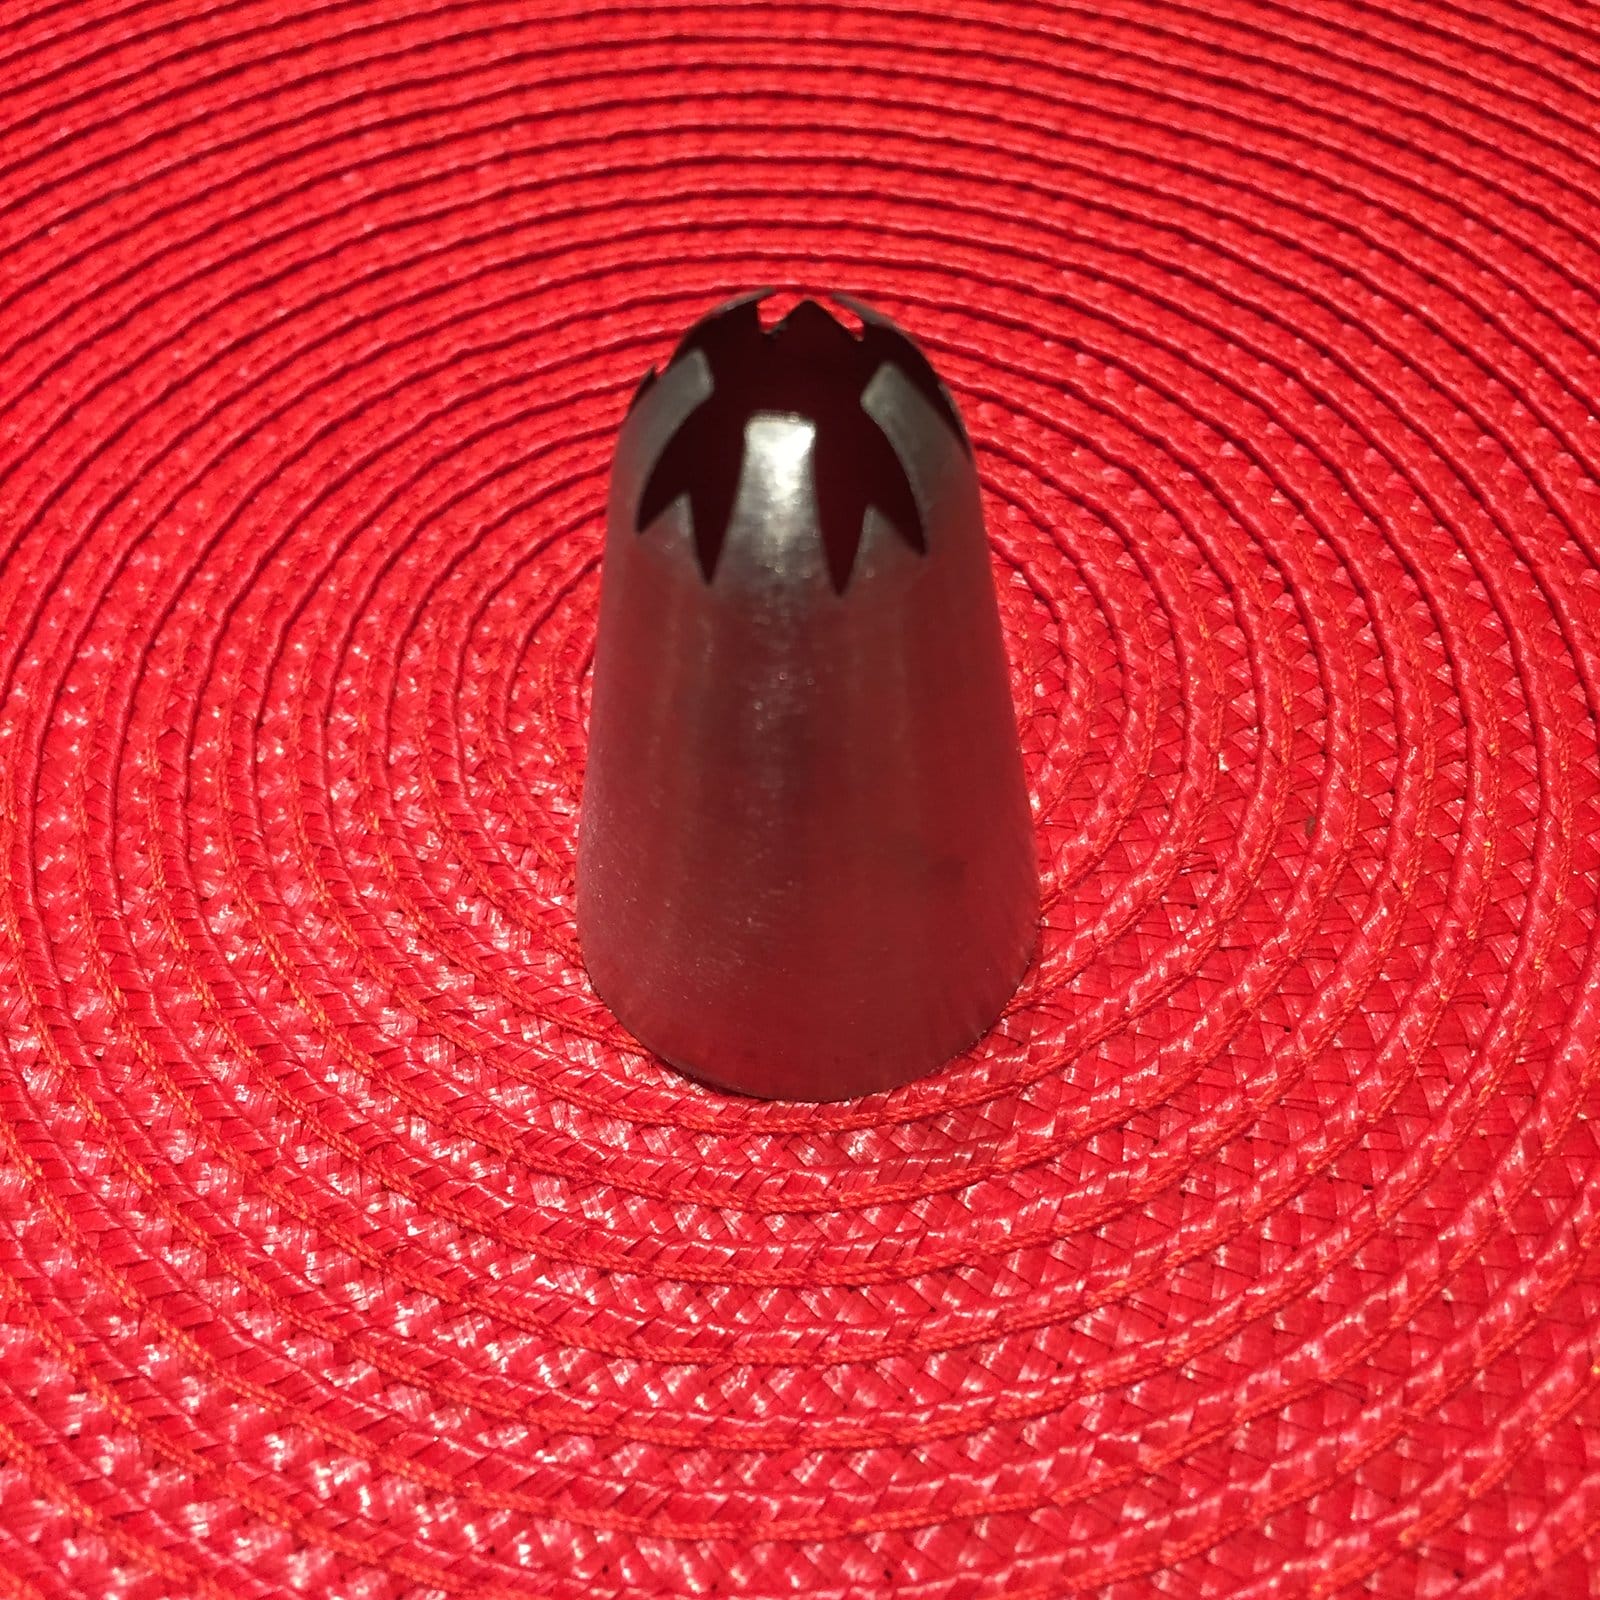
It needs to be be fairly big as the mixture is quite dense – this one is 3cm diameter at its wide end…
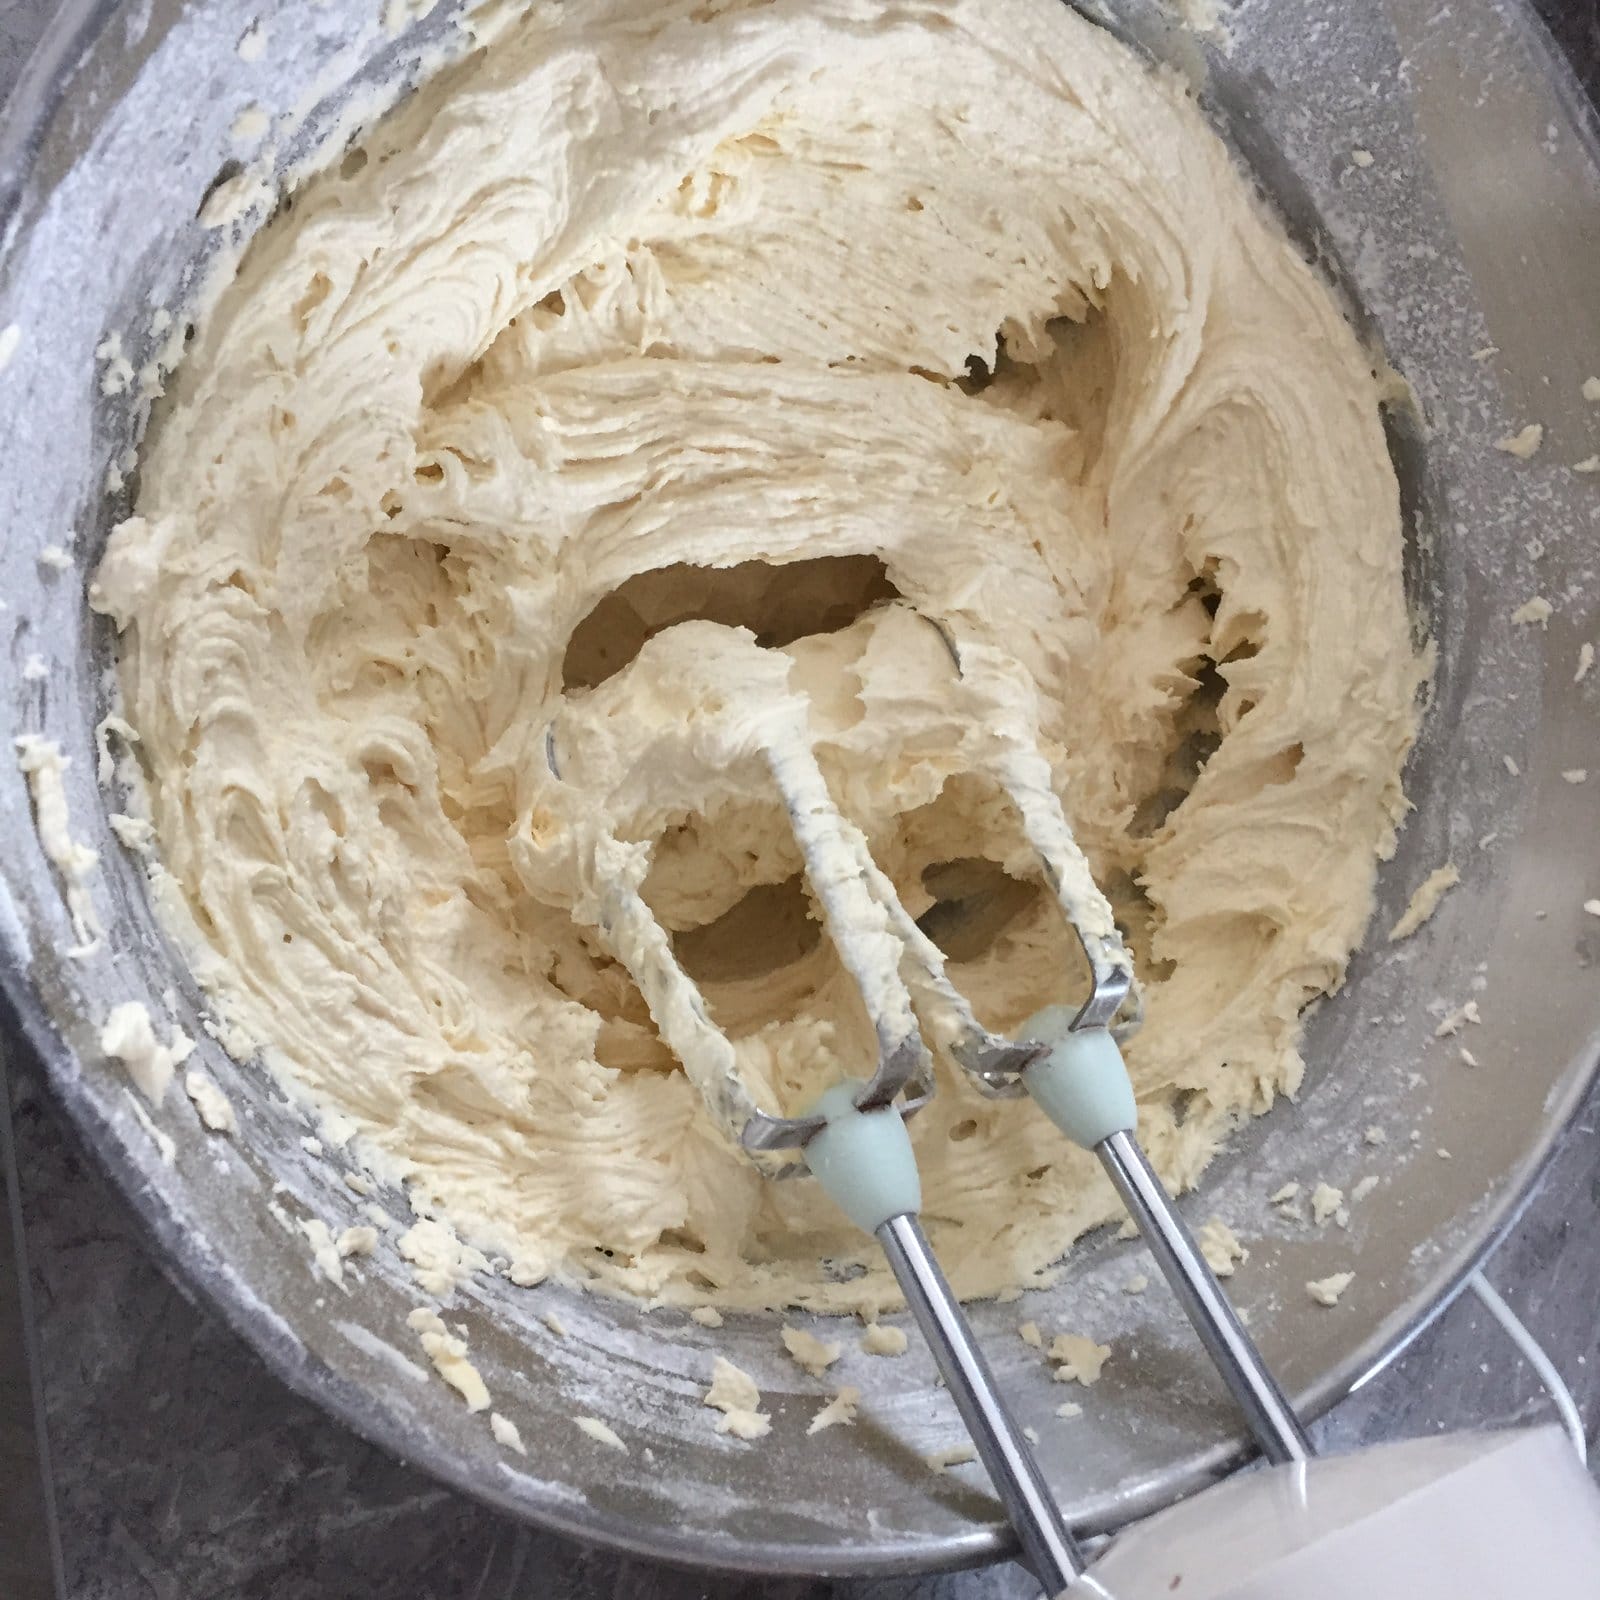
To make up the biscuit mix, thoroughly beat together the margarine and the icing sugar with an electric mixer:

Add the two flours and mix well again:
Now you’re ready to pipe – it really IS that easy 🙂
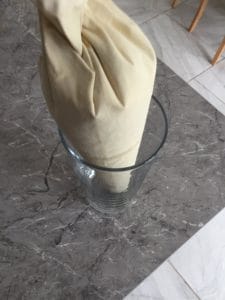
Place the nozzle into the piping bag (I often use disposable piping bags blah blah…and fill the bag with the biscuit mixture. I find it helps to place the bag into a large glass and fold the ends over the top of the glass to hold it in place…
Grab a couple of baking sheets, cover them with greaseproof / baking paper – do NOT grease neither the trays nor the baking paper. Pipe 10 ‘fingers’ of mix onto each lined tray (leaving 1-2cm between them as they will spread a little). As you can see from this picture my piping isn’t particularly uniform, but who cares?!
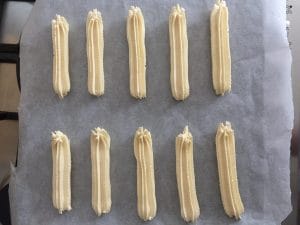
Put them in the oven and time them for 14-15 minutes. See these little round ones at the front? That’s what I do with any mixture left in the bag that I don’t think will make a full finger-worth of biscuit – perfect sized morsels to pop in your mouth when nobody’s looking 😉

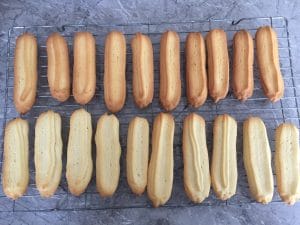
You want them just cooked, barely beginning to brown… The ones on the top here are too brown – you want them more like the ones on the bottom..
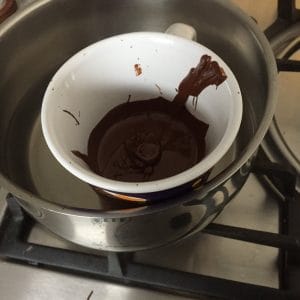
WHILE they’re in the oven, break up melt the dark chocolate. I stand a narrow mug in boiling water in a saucepan, and melt the chocolate in that.
Once cooked, take the fingers out of the oven, leave to cool for a few moments, then transfer them onto a wire rack to cool. DO NOT throw away the greaseproof/baking paper – we’re going to use it again in just a moment.
When the fingers are cool to the touch, take them one by one and dip one end, and then the other, in the melted chocolate. Place it back down on the greaseproof/baking paper on the baking tray. Try to make sure that the chocolate from one finger doesn’t touch the chocolate from another or they’ll stick together when solidified and can be difficult to part without breaking the fingers themselves.
If (like me) you find this process a little tedious, simply place the fingers onto the greaseproof/baking paper and drizzle the melted chocolate all over them:
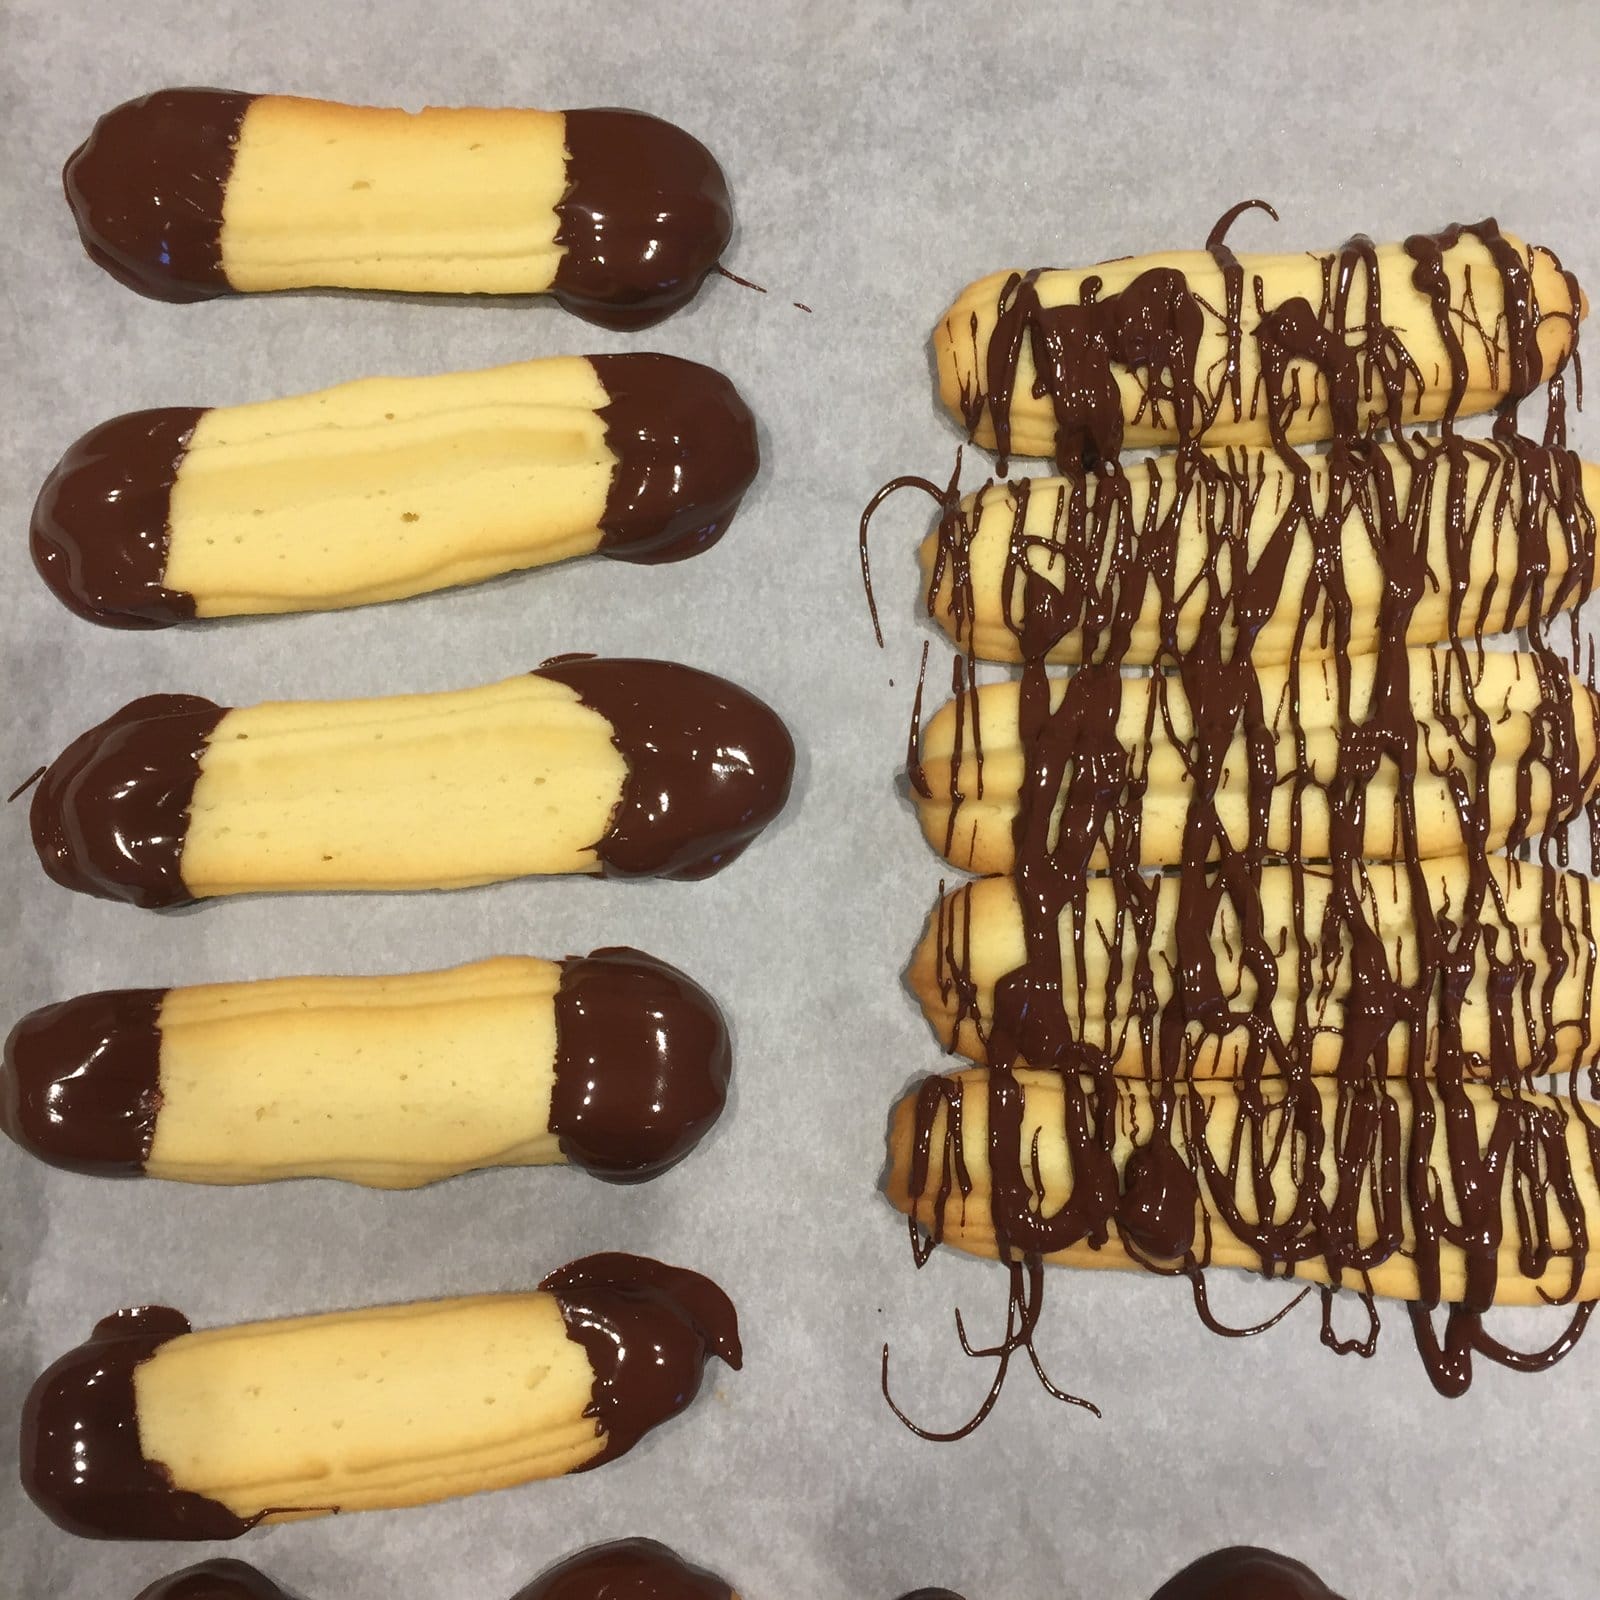
Place them, still on their lined trays, into the refrigerator for half an hour then hey presto, you have the most delicious accompaniment to your afternoon cup of tea. Or coffee, if you absolutely must 😉
Thanks for reading, back tomorrow!
Vickx
*Ahem* I’m going to completely gloss over the fact that I was actually the only person to enter the Viennese Fingers category in this year’s show. I am reliably informed that had they not been up to scratch, I would absolutely, definitely, without a doubt, NOT have been awarded a first for them. And anyway, they WERE bloody good!!!

