Posted on 14 Comments

Viennese Fingers

Soapmakers Eat Too…

Every year, in mid-August, our village holds a Horticultural & Craft Show. Gardeners, photographers, crafters and cooks compete to show off their skills and be the best in their category.  Our garden is still a work in progress, I’m no photographer and I’ve had no time recently for any craft bar soapmaking, but baking… now baking I can do.  I entered six classes, and won four firsts and two seconds (go me!) One of the firsts was for my Viennese Fingers*

Viennese Fingers
Viennese Fingers

Ok, so these may look a little wonky, but they’re prize winners!  They really are the lightest, crumbliest and shortest of biscuits which are ridiculously easy and surprisingly quick to make. I’ve been making at least one batch (usually two!) of these each week recently and they’re loved by the whole family. Give ’em a go and impress your nearest and dearest.

Before you start, preheat your oven to 180C – if you have a super-efficient oven then you might want to reduce it to 170/175C, but either way keep an eye on the biscuits as they’re cooking.

This recipe will make approx. 20 fingers.

Ingredients:

  • 175g soft margarine (you could use butter, but I’ve found marge is better in these)
  • 60g icing sugar
  • 125g plain flour
  • 60g cornflour
  • 100-150g plain dark chocolate

You’ll also need a piping bag and nozzle. This is the one I use.

Piping nozzle
Piping nozzle

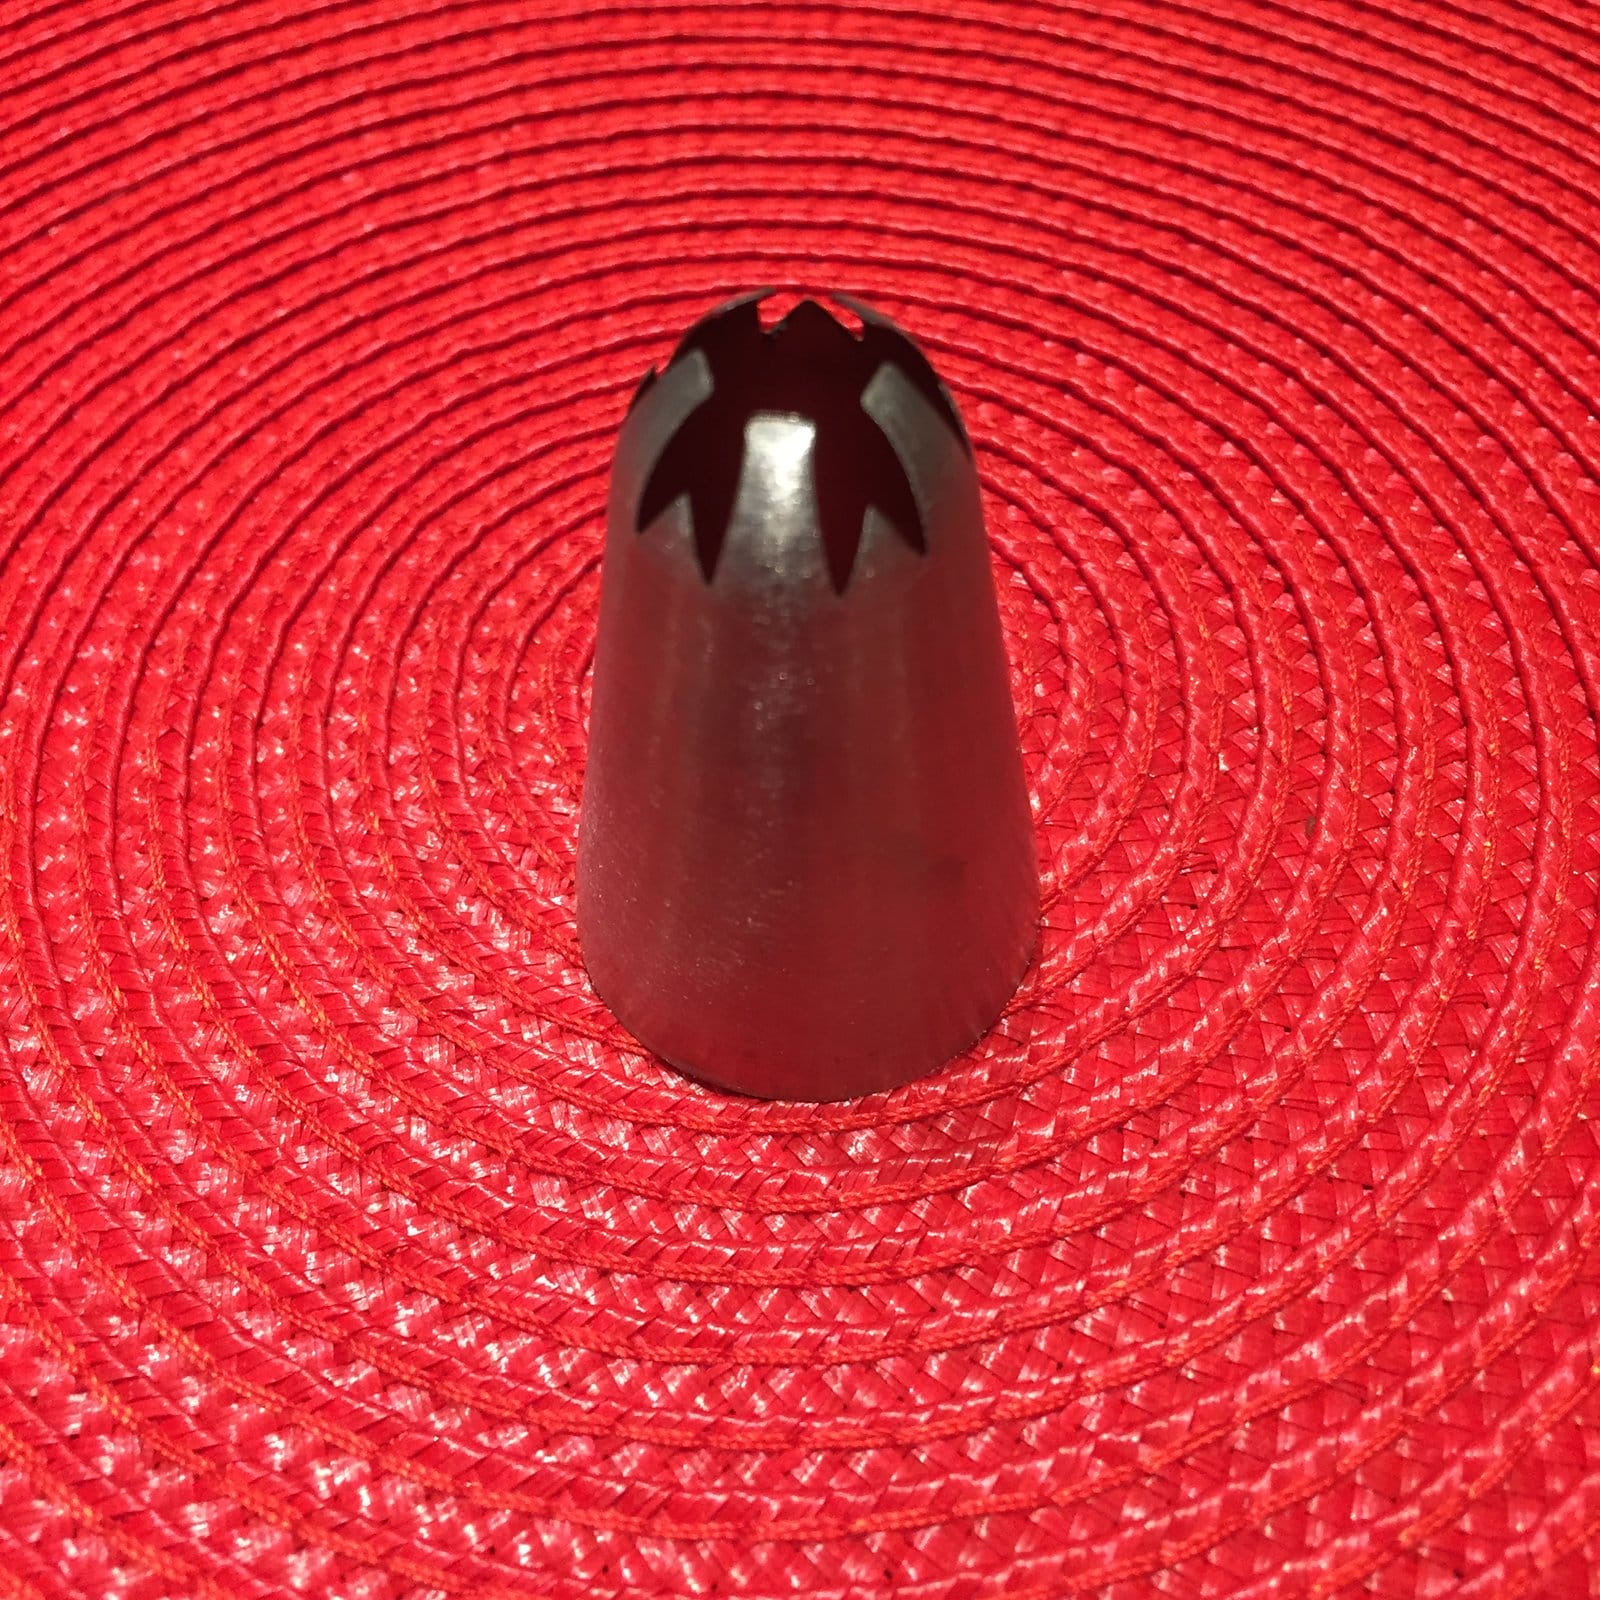
It needs to be be fairly big as the mixture is quite dense – this one is 3cm diameter at its wide end…

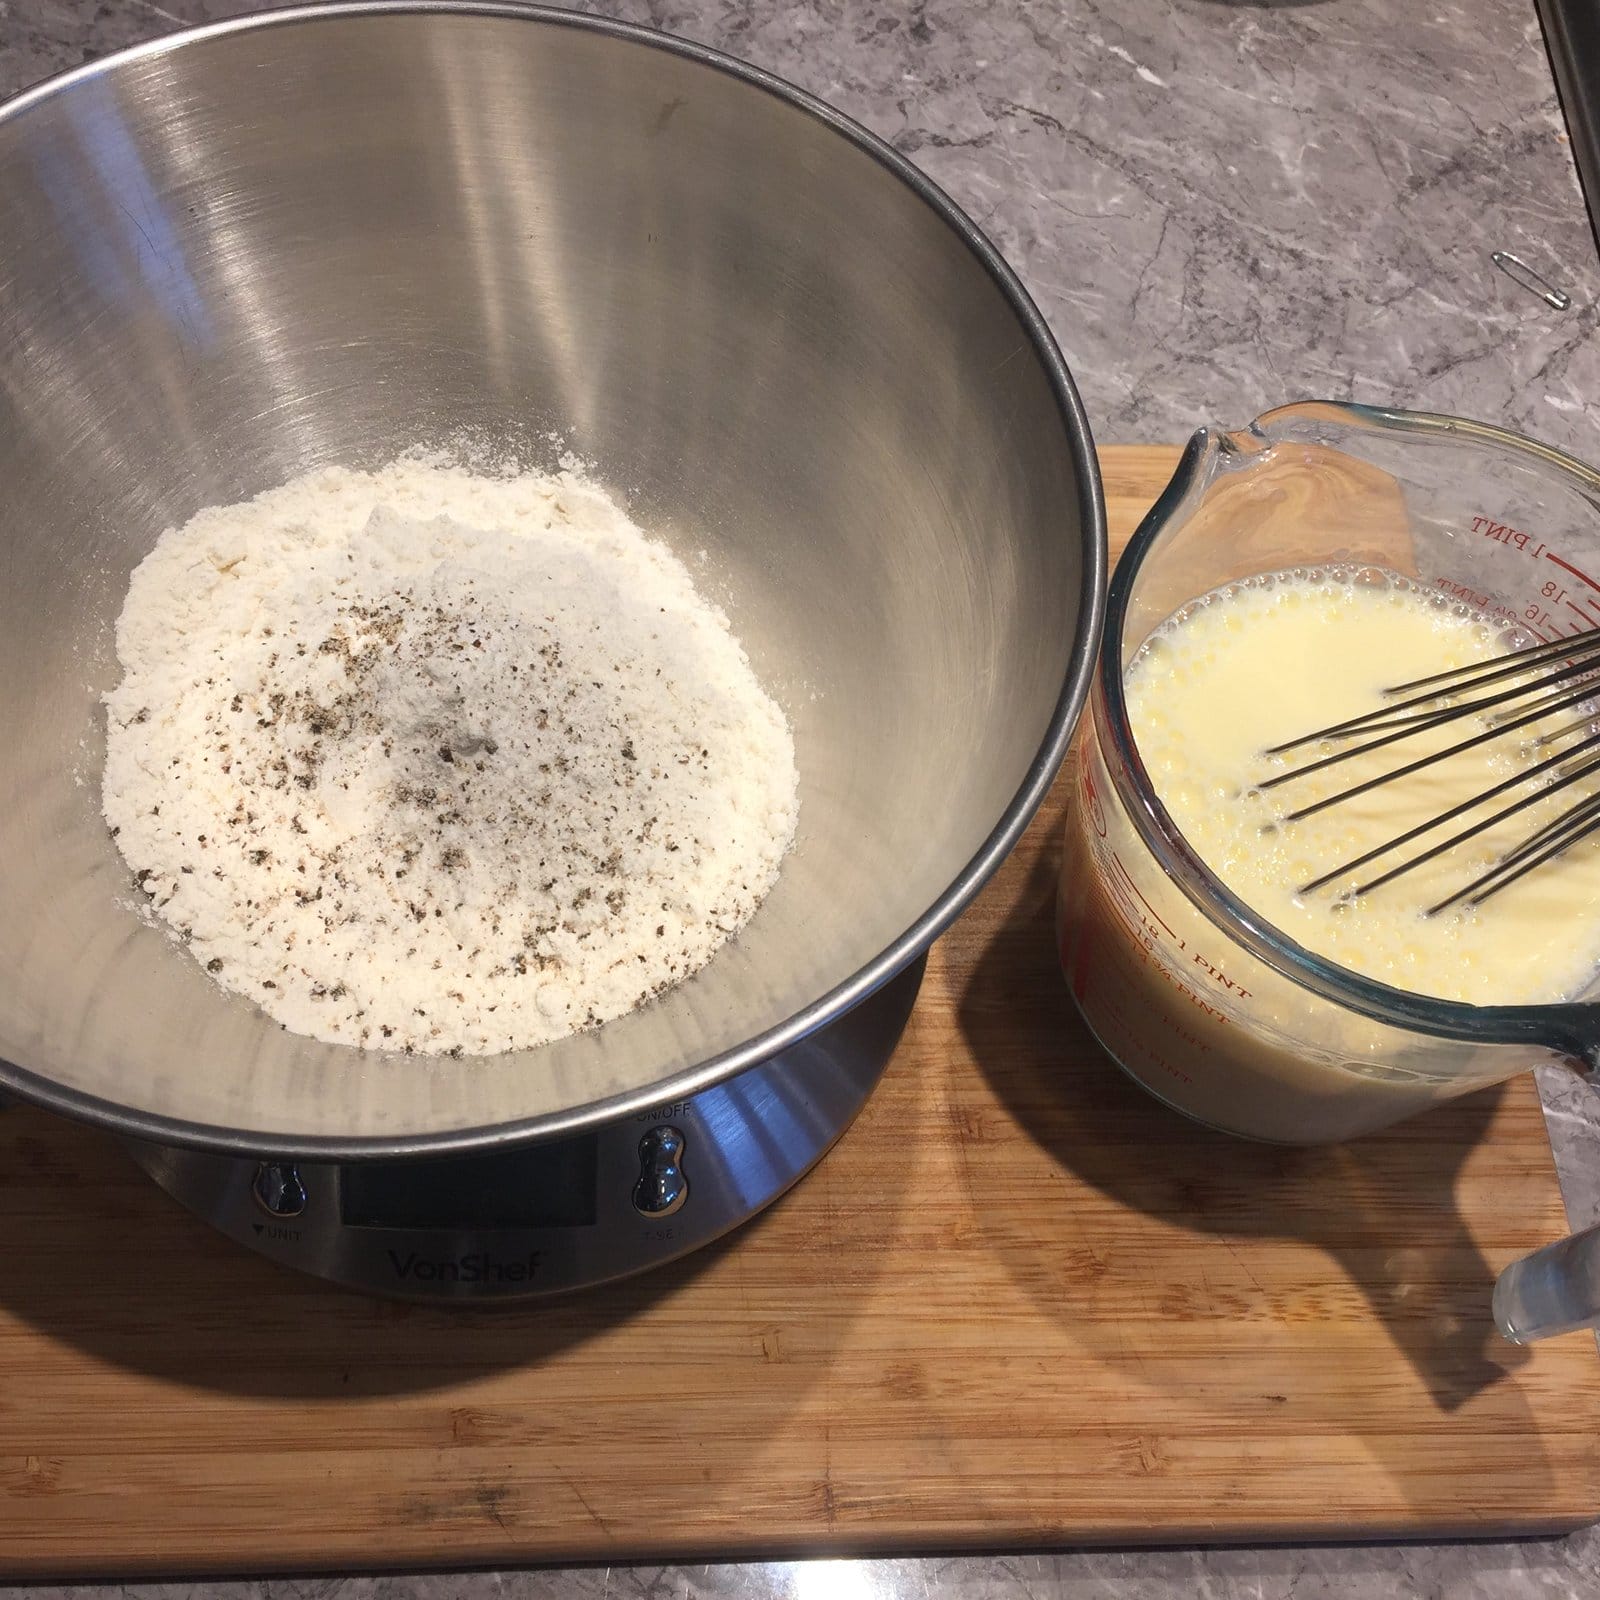
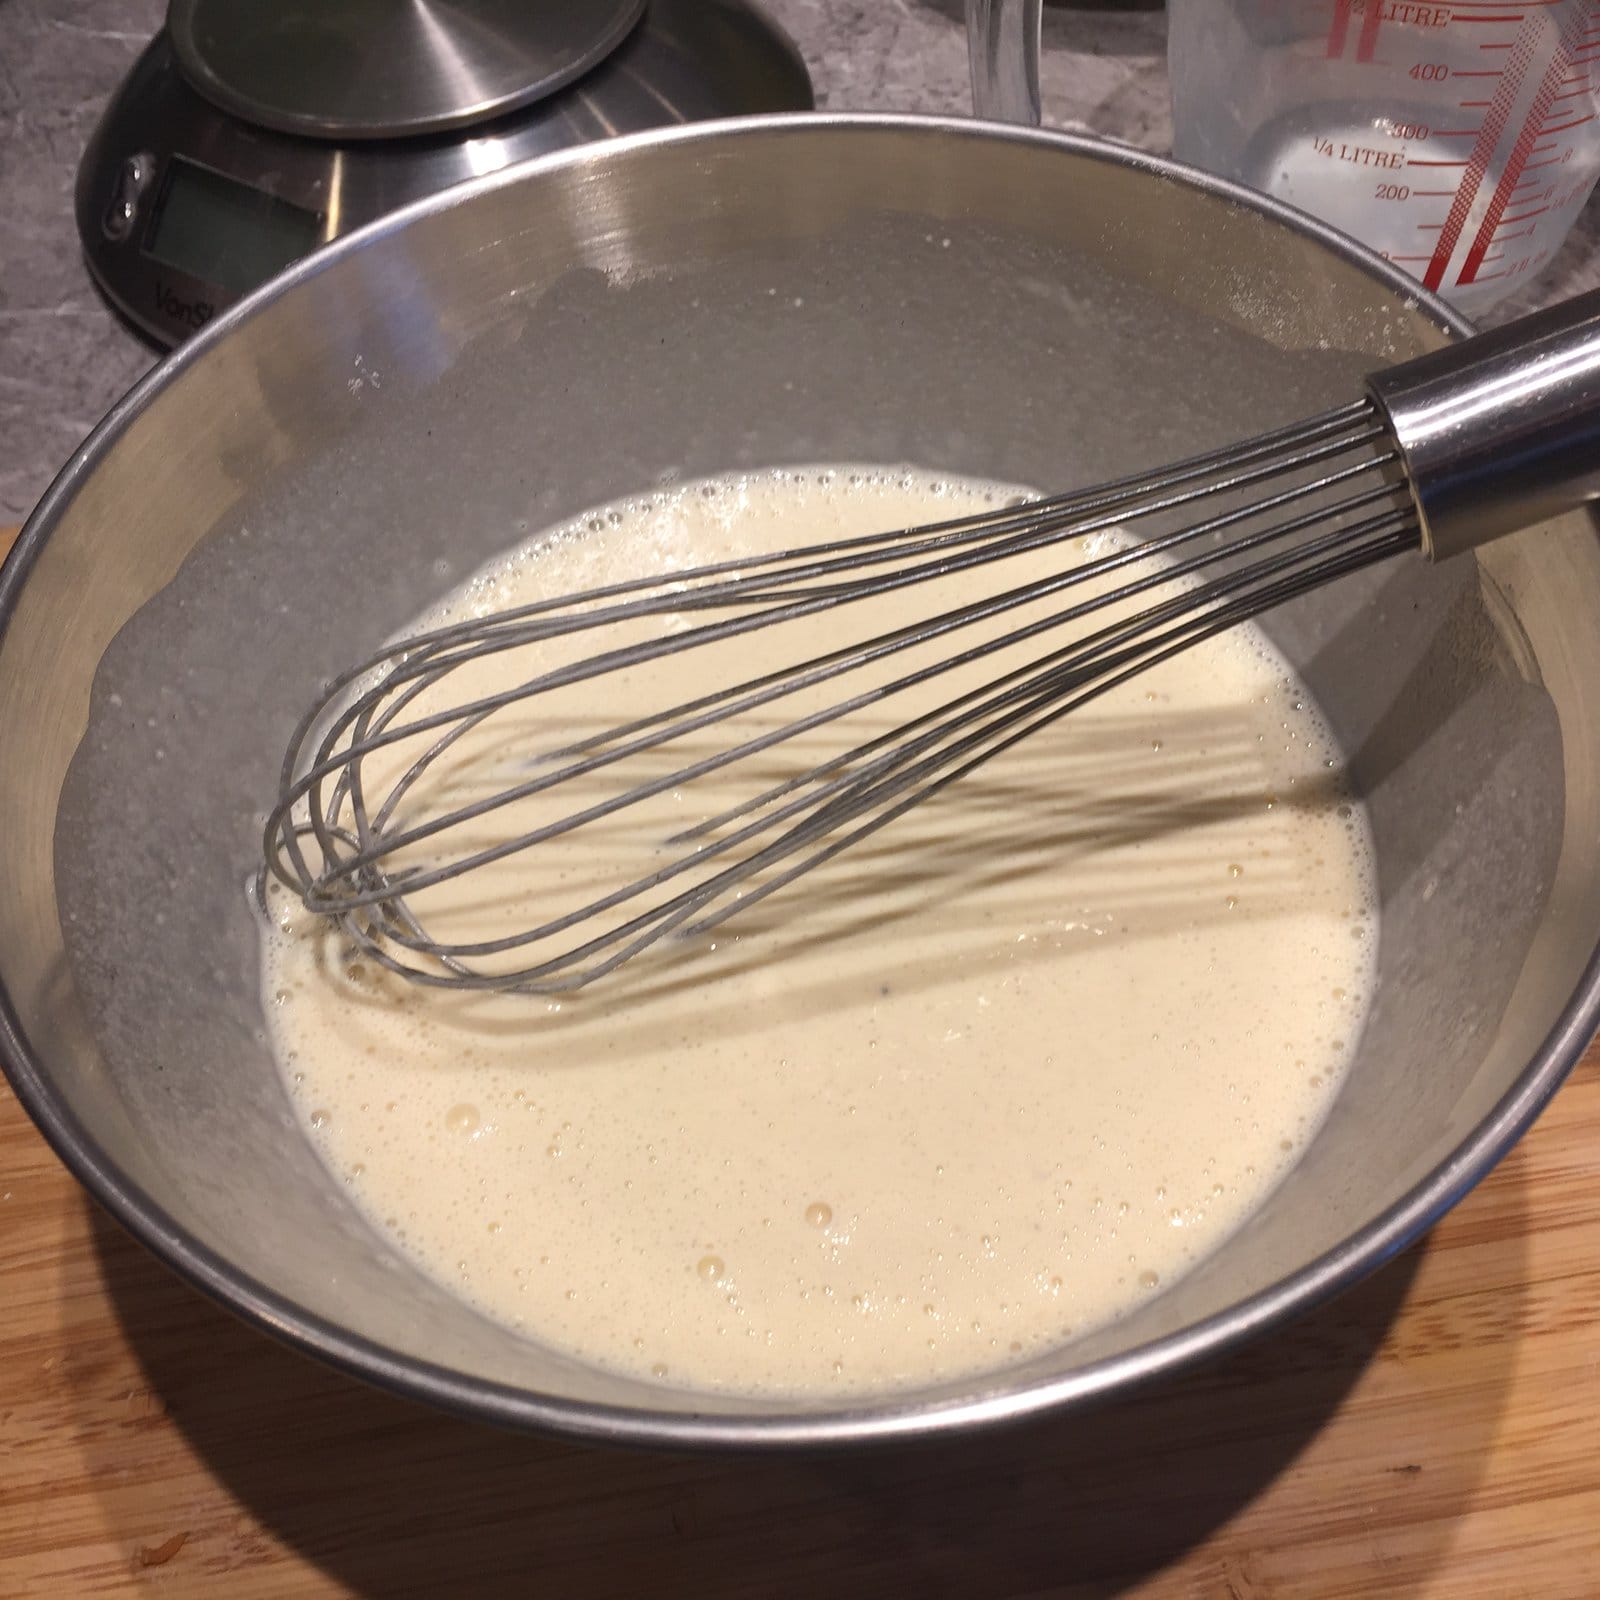
To make up the biscuit mix, thoroughly beat together the margarine and the icing sugar with an electric mixer:

Ingredients, thoroughly combined
Margarine & Icing Sugar

Add the two flours and mix well again:

All ingredients combined

Now you’re ready to pipe – it really IS that easy 🙂

Place the nozzle into the piping bag (I often use disposable piping bags blah blah…and fill the bag with the biscuit mixture.  I find it helps to place the bag into a large glass and fold the ends over the top of the glass to hold it in place…

Piping Bag in a Glass
Filling the Piping Bag in a Glass
Filled Piping Bag
Filled Piping Bag

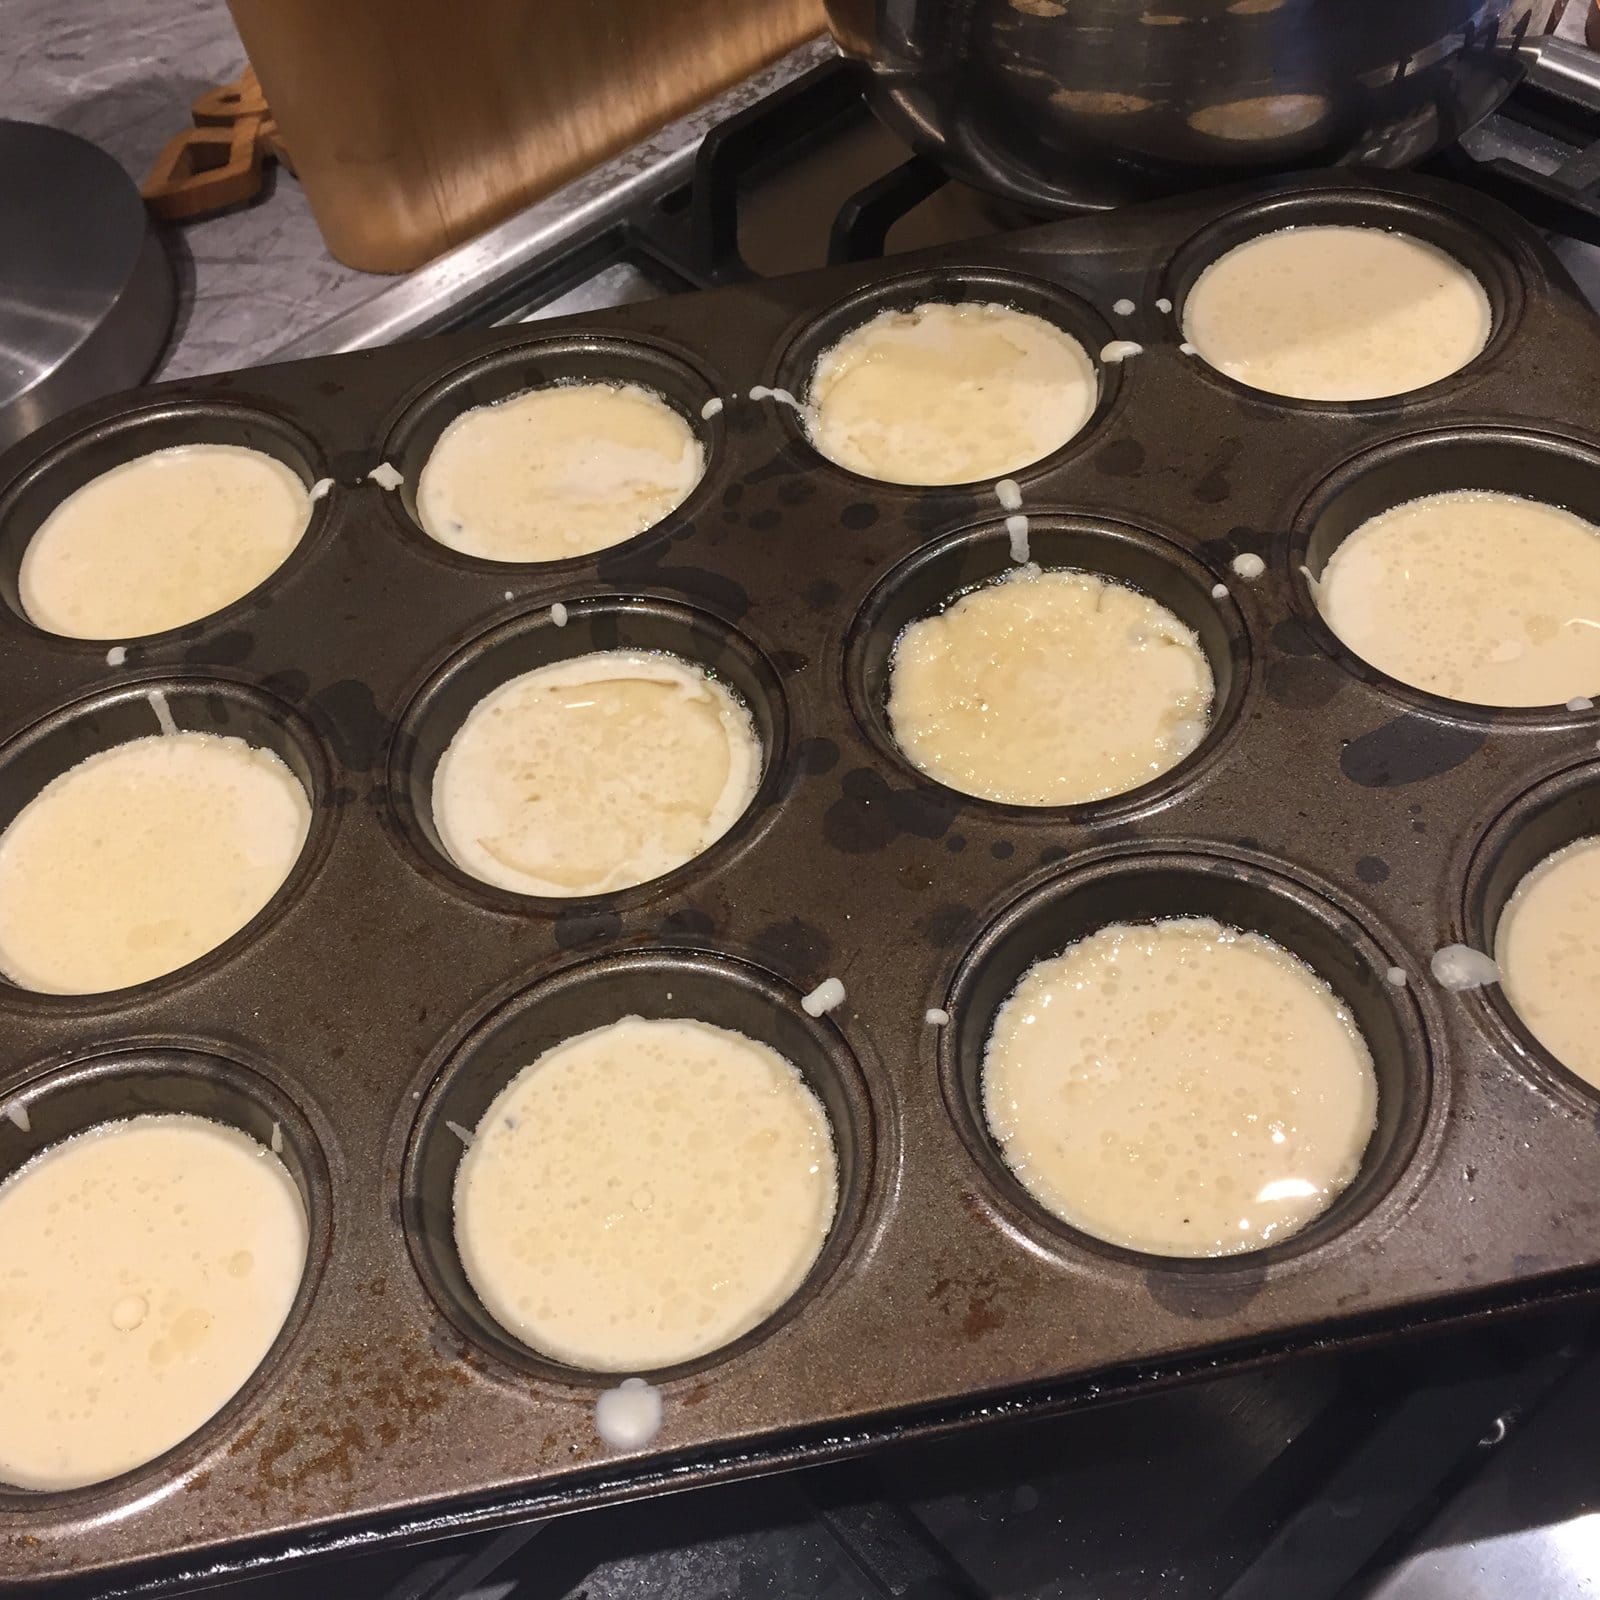
Grab a couple of baking sheets, cover them with greaseproof / baking paper – do NOT grease neither the trays nor the baking paper. Pipe 10 ‘fingers’ of mix onto each lined tray (leaving 1-2cm between them as they will spread a little).  As you can see from this picture my piping isn’t particularly uniform, but who cares?!

Piped fingers, ready to be baked

Put them in the oven and time them for 14-15 minutes.  See these little round ones at the front? That’s what I do with any mixture left in the bag that I don’t think will make a full finger-worth of biscuit – perfect sized morsels to pop in your mouth when nobody’s looking 😉

Fingers in the Oven
Fingers in the Oven

You want them just cooked, barely beginning to brown… The ones on the top here are too brown – you want them more like the ones on the bottom..

Baked Viennese Fingers

WHILE they’re in the oven, break up melt the dark chocolate. I stand a narrow mug in boiling water in a saucepan, and melt the chocolate in that.

Melting Chocolate
Melting Chocolate

Once cooked, take the fingers out of the oven, leave to cool for a few moments, then transfer them onto a wire rack to cool.   DO NOT throw away the greaseproof/baking paper – we’re going to use it again in just a moment.

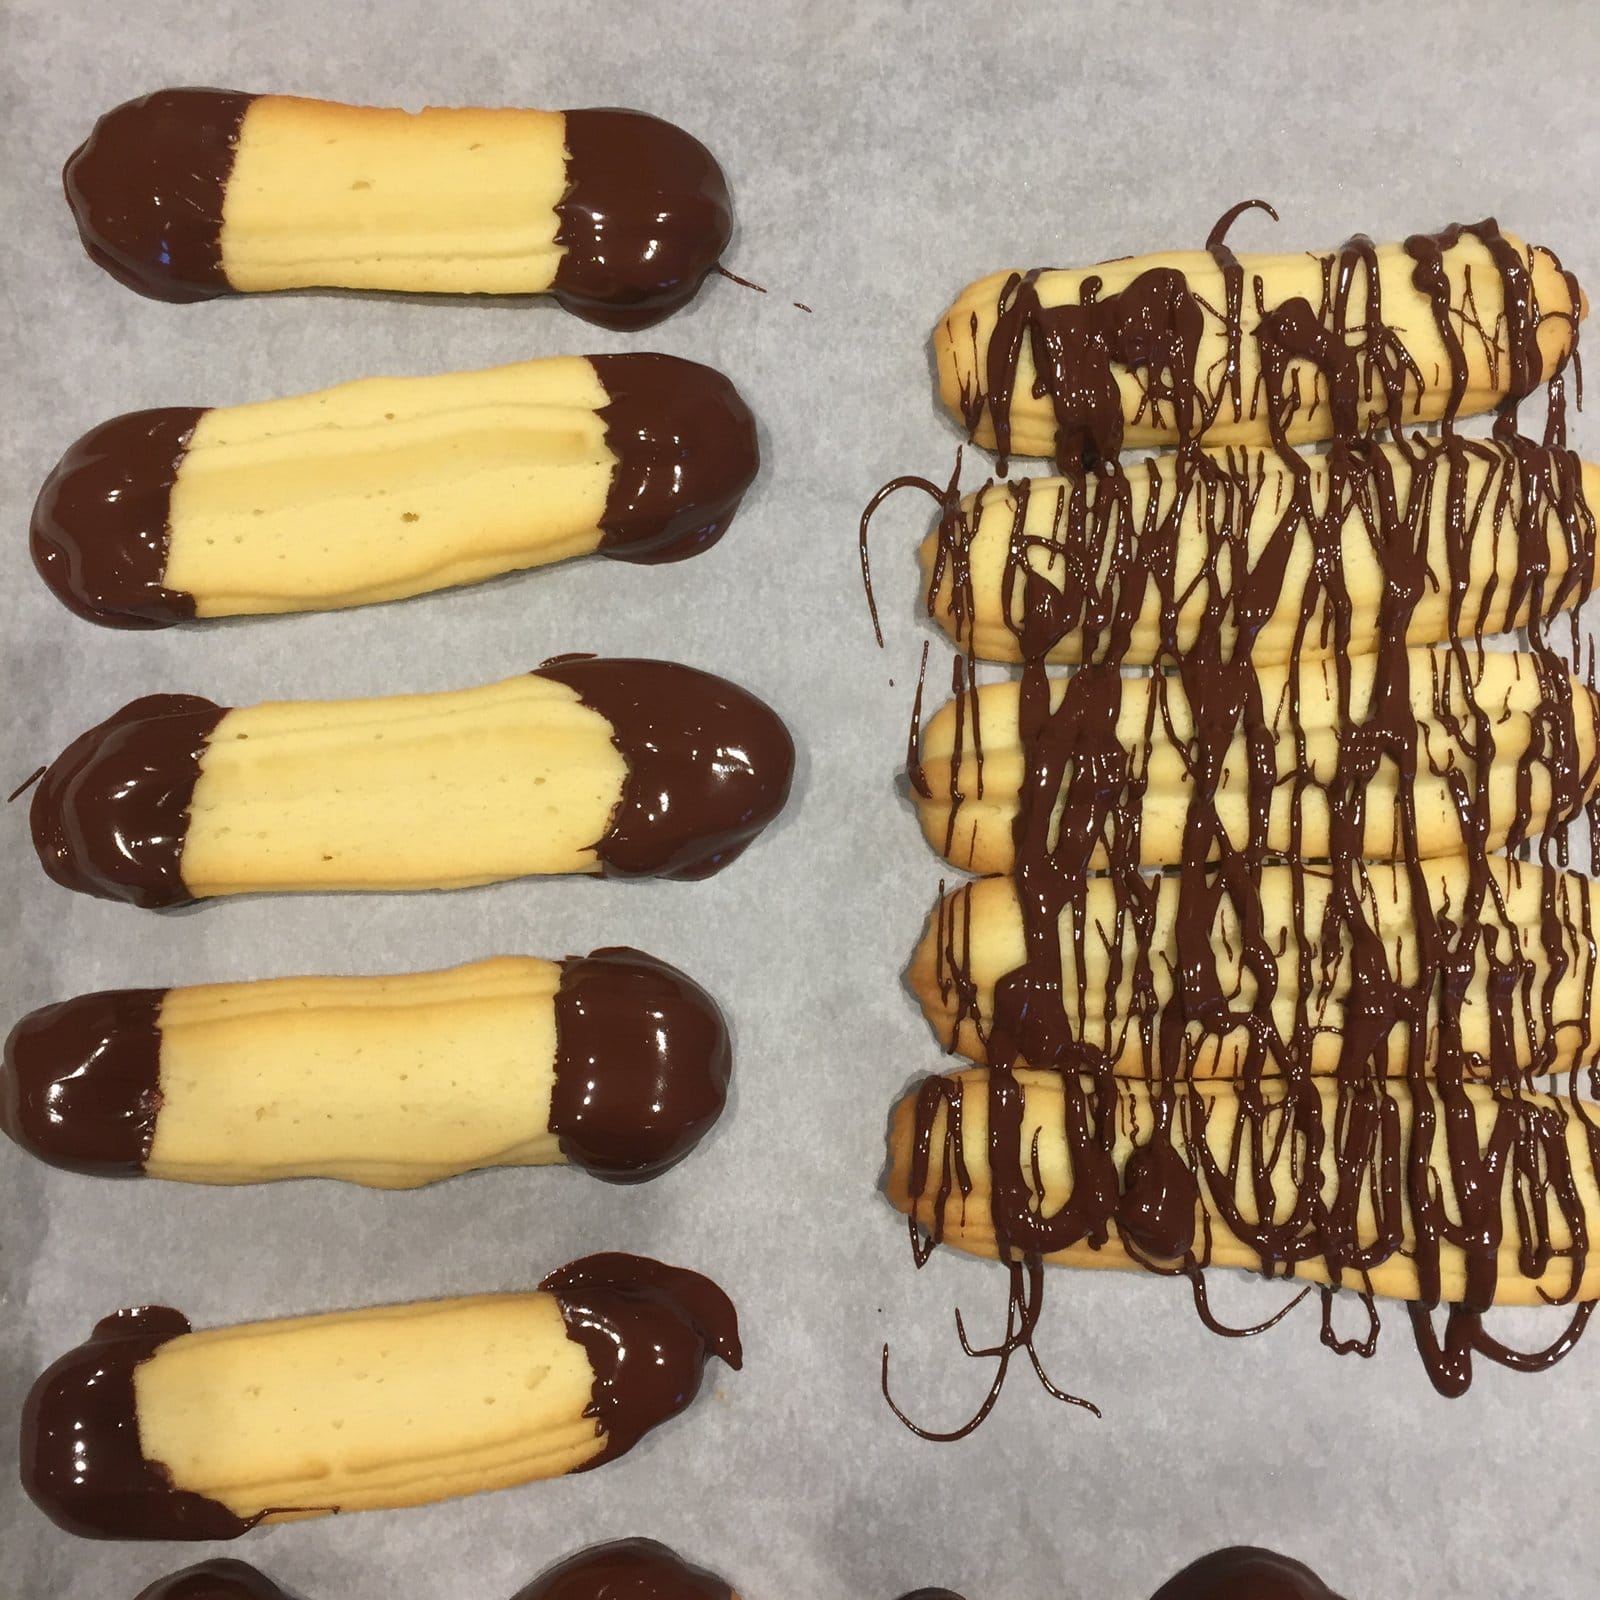
When the fingers are cool to the touch, take them one by one and dip one end, and then the other, in the melted chocolate.  Place it back down on the greaseproof/baking paper on the baking tray.  Try to make sure that the chocolate from one finger doesn’t touch the chocolate from another or they’ll stick together when solidified and can be difficult to part without breaking the fingers themselves.

If (like me) you find this process a little tedious, simply place the fingers onto the greaseproof/baking paper and drizzle the melted chocolate all over them:

Dipped or Drizzled? You choose...
Dipped or Drizzled? You choose…

Place them, still on their lined trays, into the refrigerator for half an hour then hey presto, you have the most delicious accompaniment to your afternoon cup of tea. Or coffee, if you absolutely must 😉

Thanks for reading, back tomorrow!

Vickx

*Ahem* I’m going to completely gloss over the fact that I was actually the only person to enter the Viennese Fingers category in this year’s show.  I am reliably informed that had they not been up to scratch, I would absolutely, definitely, without a doubt, NOT have been awarded a first for them. And anyway, they WERE bloody good!!!

Posted on 10 Comments

The PERFECT Yorkshire Puddings (I promise!)

Yorkshire puds. Those crispy, crunchy yet soft in the middle mopper-uppers of homemade gravy are the perfect accompaniment to a Sunday (or-any-otherday) Roast.  They’re traditionally served with roast beef, but I’d be very unpopular in our house if I dared serve ANY type of roast without Yorkshire puddings.  Luckily I have the perfect, fail-safe recipe to guarantee golden crispy loveliness each and every time:

Yorkshire Puddings
Yorkshire Puddings

When I posted a few weeks ago that I’d made some Yorkshire Puddings, Sarah of Sas-Oki Soaps challenged me to post the recipe so that she could decide for herself whether it truly is foolproof, so here it is! I hope more of you will give it a try too.

To make 12 delicious Yorkshire Puddings you’ll need:

  • 150g plain  (all purpose) flour
  • 300ml semi-skimmed milk
  • 2 medium sized eggs
  • plenty of salt & pepper
  • lard (for cooking)

Pre-heat oven to 230c / fan 210c / gas 8

Whisk the two eggs into the milk, and season the flour well with the salt and pepper.

Seasoned flour and eggs whisked into milk

Slowly beat the eggy milk into the flour until it’s all combined:

Milk & flour combined

then pour it into a jug and let it sit for half an hour. (When I’ve been in a hurry I have made them without letting them sit for very long and not noticed much difference in the result, but I still  let it stand if I can):

Batter in a jug, ready to pour

After half an hour or so, put a generous knob of lard into each cavity of a 12 cavity muffin tin:

Muffin tin with lard

then place the tray into the preheated oven and let it get smoking hot. Really, REALLY hot.  Take the tray out of oven and place it on the hob, over some heat – the aim is to prevent the lard from cooling down before/while you pour the batter.

Pour the batter into each cavity of the tray, filling them about two thirds full.  If you have a little left over top up some of the cavities – it doesn’t matter if some are fuller than others.  While your pouring you should see that the fat is so hot that the batter begins sizzling and bubbling immediately:

Sizzling pudding batter

Pop the tray straight into the hot oven, and cook for approx 25 minutes, or until they’re puffed up, brown and crispy. Keep an eye on their progress, they might take a little less time, they might take a little longer, but at this high temperature they could burn quite quickly if you leave them in too long.  Oh, and don’t open the over door before the cooking time is up, or they’ll collapse…

I took some snaps of my last lot every five minutes or so – apologies for the picture quality, the oven door doesn’t make for a great window!

Yorkshire Puds 1
Yorkshire Puds 1
Yorkshire Puds 2
Yorkshire Puds 2
Yorkshire Puds 3
Yorkshire Puds 3
Yorkshire Puds 4
Yorkshire Puds 4

Serve as soon as possible after taking out of the oven:

Yorkshire Puddings
Yorkshire Puddings

There – told you it was easy! There is absolutely NO excuse to buy ready made Yorkshire Puddings ever gain 😀

Posted on 6 Comments

Teisen Gri – Traditional Welsh Cakes – A Recipe

Teisen Gri (literally translated – Griddle Cakes) are traditional Welsh cakes that we make and enjoy all year, and especially around the 1st March when we celebrate St David’s Day (the patron saint of Wales).  Last week I took a break from soaping and made (another) batch of deliciousness…

Welsh Cakes
Welsh Cakes

They’re similar to a fruit scone, but flatter and cooked on a griddle over direct heat. Traditionally they’re dusted with caster sugar after cooking, but I usually skip that step. They are honestly utterly delicious – perfect to have with a cup of tea, and they’ll keep a good few days in an airtight container. They don’t tend to last that long in our house though! I posted the above picture on the blog a while back, and I’ve been asked a couple of times since for the recipe, so here goes. This recipe makes 20 – 30 Teisen Gri, depending on the size of the cutter you use.

Ingredients:

  • 225g salted butter (lard is a traditional alternative – I always use butter)
  • 450g self raising flour
  • 0.5tsp mixed powdered spice
  • 170g caster sugar
  • 170g mixed dried fruit  (currants are traditionally used)
  • 2 eggs

Method:

  1. Rub together the flour and the butter until they are the consistency of breadcrumbs. I usually do mine in a food processor:
Flour & Butter
Flour & Butter

2. Mix in the mixed spices, sugar and the mixed fruit:

Don’t forget the mixed spices – makes a huge difference to the final flavour

Sugar
Sugar
Mixed Fruit
Mixed Fruit

3. Add the two eggs and mix:

Add the eggs
Add the eggs
Mixed
Mix

4. Bring it all together on a floured surface, adding a little more flour IF it feels too sticky to roll out:

Dough ready to roll
Dough ready to roll

5. Roll out the dough to about 0.75cm.  Many recipes say 1cm thickness, and while personally I find this a little too thick, it’s trial and error to find what suits you. I neglected to take a photo of this stage – sorry!

6. Cut out rounds using a fluted scone cutter, and place on a pre-heated griddle. Don’t grease the griddle – dry is best.  A thick bottomed frying pan would work if you don’t have a griddle:

Cooking on the griddle

7. After a couple of minutes, when the underside has developed a nice dark colour (some of these below should really have been darker) flip over and cook on the other side:

Flip
Flip

8. Once they’re cooked and nicely browned on both sides, place on a cooling tray and, if desired, dredge with castor sugar.  Enjoy hot or cold, with or without butter.

I’ll be back on topic with my next post, but even soapers have to eat eh? Let me know if you give these a try (and what you think of them!!)


Posted on Leave a comment

The Whats and The Whys…

…that is, what goes into my soap, and why. I’m often asked what my soaps are made from. Well, the ingredients in my soaps are no secret – they’re clearly labelled on each and every bar that’s sold, so here goes 😀

Fact is, you only need THREE ingredients to make soap.  A vegetable or animal fat of some kind, sodium hydroxide (NaOH) (aka Lye) and water.  The sodium hydroxide is combined with the water to create a lye solution, which is then mixed with the oils or butters.  The sodium hydroxide combines and reacts with the fatty acids in the oils and/or butters and hey presto, you get soap, (plus, by the way, glycerine. I’ll come to that later).

Clarity
Clarity

Take, for example, a bar of my Clarity essential oil soap (above). The ingredients, as they appear on the label, are as follows:

Sodium Olivate, Sodium Cocoate, Sodium Shea Butterate, Sodium Avocadoate, Sodium Cocoa Butterate, Sodium Castorate, Glycerine, Aqua, Salvia sclarea (Clary) Oil (Sage essential oil), Cymbopogon schoenanthus Oil (Lemongrass essential oil), Activated Charcoal, Titanium Dioxide (Ci 77891) & Micas *linalool *citral (*naturally present in essential oils).

Let me clarify:

All my bars contain six different oils and butters: Olive Oil, Coconut Oil, Shea Butter, Avocado Oil, Cocoa Butter and Castor Oil. Bear with me here – small chemistry lesson coming up.  If the soap is made properly, there will never ever be any sodium hydroxide present in the final bar, and so it isn’t necessary to put it on the ingredients label. However, the sodium hydroxide has caused the oils and butters to change – into soap – or, chemically speaking, into ‘salts’.  This is why the first six items on the ingredients list are all ‘Sodium (insert name of oil)ate’  ie, they are all salts formed from the original six oils/butters combined with sodium hydroxide.

So why those particular six oils and butters?  I use coconut for it’s ability to give soap a great, abundant lather, but it can be drying to some people’s skins and so I temper it with plenty of olive oil which produces a mild, gentle soap. Cocoa butter contributes to the hardness of the bar, whilst also being moisturising.  Avocado oil and shea butter are considered to be luxury additives – they don’t contribute to the lather or the hardness of the bar, but they are extremely moisturing.  They’re probably the reason my customers say they don’t need hand cream after washing with my soap!

I decided long ago not to use animal fats in my soap. I don’t have a problem with animal fats per se – I’m not vegetarian, and I know from my early days of soapmaking and experimentation that lard makes wonderful soap. It was just a decision I made early on in my recipe development, and I’ve stuck with it.  Similarly with palm oil, I used it in my early soapmaking, but haven’t done for years. I have no problem with other producers using palm oil – each to their own – but it’s not for me.

Next on the list you’ll see glycerine.  Glycerine is a by-product of that chemical reaction between the NaOH and the oils/butters.  It’s often extracted during the commercial soapmaking process, as it’s a valuable commodity and can be sold on to other manufacturers. In handmade soaps though, it goes nowhere. It stays within the soap and acts as a humectant, drawing moisture to the skin and helping skin retain moisture.  (Note, it is NOT a moisturiser, as I’ve seen claimed elsewhere)

Next comes Aqua (water).  Water is needed to create a solution of the NaOH. That’s its only purpose.  Once the soap is made, we soapmakers leave the soap to cure for weeks on end, drying out the soap and trying to get rid of as much of the moisture as possible.

The next two items on the list are simply the fragrance – Sage essential oil and Lemongrass essential oil.  Some soapmakers claim that essential oils added to soaps have therapeutic properties above and beyond the fragrance, but there is some doubt as to where these properties survive the chemical process. Anyway, without extensive and expensive laboratory testing, making such claims is misleading.

The next three ingredients – Activated Charcoal, Titanium Dioxide (Ci 77891) & Micas – are colourants.  The first two are natural, the mica has colour added to it in a lab, so can’t be considered natural.

Finally we come to the last two starred items: *linalool *citral (*naturally present in essential oils).  The EU Cosmetic Regulation 1223/2009 lists the 26 most allergenic (ie most likely to cause an allergic reaction) substances and states that if your soap (or other wash off product) contains more than 0.01% of that substance then it needs to be declared.  Many essential oils contain one or more of these substances, and it’s very rare that they cause any problem whatsoever. But rules is rules :-)!

Thanks for reading, I’ll be back soon! If you have any questions about my ingredients, or anything else for that matter, please comment below.

Posted on 3 Comments

Swiss Roll

Today has mostly been spent keeping the children occupied, made easier by the fact we had a 3rd birthday party to attend this afternoon – 28 small children and a bouncy castle kept the adults on their toes!  Once the kids were in bed, wrapping and labelling soap took up most of my evening and once again I’m on the threshold of being late with my latest Blogtober post.  Deadline is T minus 80 minutes – eek!

Today I thought I’d share something a bit different.  I’ve been baking for much, MUCH longer than I’ve been soaping; I was baking with my mother as a small girl, and I’ve continued to do throughout my adult life. There are undoubtedly similarities between soapmaking  and baking, so I thought today I would share one of my recipes and see if I can’t inspire a soapmaker out there to try it.

Sadly, the time to bake just doesn’t seem to materialise these days, and the closest I get to baking is catching up with The Great British Bake Off while wrapping soap. Last week the contestants were asked to make a roulade, which, let’s be honest, is nothing more than a big, fancy Swiss Roll.   Homemade Swiss Roll is MILES better than the mass produced ones that you can buy at the supermarket, is really quick to make and has the added bonus of being a fat-free sponge. What’s not to like?

Swiss Roll
                Swiss Roll

Pre-heat your oven to 200C/400F/Gas 6

Take 3 large eggs.  Weigh these three eggs (unbroken, in their shells) before you do anything else. Once you know the weight of the three eggs, you then need the same weight of caster sugar and plain flour.

Whisk together the eggs and the caster sugar with an electric hand whisk. You’ll need to keep whisking for a good 10 minutes.  The mixture will thicken up and eventually will leave a trail when the whisk taken out of the mixture.  It’s very similar to when soap batter reaches ‘trace’.  Sift in half the flour, and fold in gently. You don’t want to lose any of the air that has been whisked into the mixture. Once the flour is completely folded in, do the same with the remaining flour.  When the ingredients are all combined, pour into a greased, lined 12″ x 9″ baking tray.

Bake for 10-12 minutes, until the sponge is just cooked. If you go over, it’ll be difficult to roll.

Place a clean (!) tea towel over a cooling rack and dredge it with caster sugar.  Turn the sponge out onto the tea towel, and immediately, while still piping hot, roll it up in the sugar coated cloth.  Allow the sponge to cool down a little, for about 10 minutes, then very gently unroll and remove the cloth. The sponge will hold much of the ‘roll’, without cracking. Spread the ‘inside’ of the roll with jam, chocolate ganache, lemon curd or whatever takes your fancy, and roll it back up again. Ta-da!  You could now carefully slice off both ends (just like a loaf of soap!) and make it look really pretty, but the most important thing is to enjoy!

This is the last one I made, filled with lemon curd. I’m now inspired to make another very soon and I’ll try to add some ‘making of’ pics to this post.

Swiss Roll
                          Swiss Roll

Right, I’m off to press that publish button. Deadline T -29mins 😀