Posted on 27 Comments

Rainbow Drop Swirl – A tutorial in pictures

Tutti Frutti
Tutti Frutti

There’s been a lot of interest in my rainbow drop swirl (Tutti Frutti) soap recently, so I thought I’d put together a little pictorial tutorial for anyone who’s interested in how it’s done (I really, REALLY should start making videos shouldn’t I?).

Many of you will already know how big a fan I am of the drop swirl technique. Almost all of my core range is made using either a full or partial drop swirl, and Tutti Frutti is no exception.  I made another couple of batches recently, and took some photographs along the way…

**Please make sure you’re familiar with the basics of soapmaking before you try any advanced swirls (Soap Queen is a good place to start) and always wear protective clothing / gloves / goggles.  Safety first!!**

I generally make soap at room temperature, so I’ll mix up the lye solution in advance and put it to one side to cool down (I don’t discount the water for this one). I’ll also melt the hard oils and butters and combine them with the liquid oils and butters and allow them to cool down to room temp.

Next I measure out the seven different micas straight into the pouring jugs (actually here you’ll see six different micas and one liquid colourant.  It’s notoriously difficult to get a good red in CP soap, but I use a liquid colour from Gracefruit which is rather good.  They appear to be out of stock of the red at the moment, but hopefully it’ll be back in soon.)
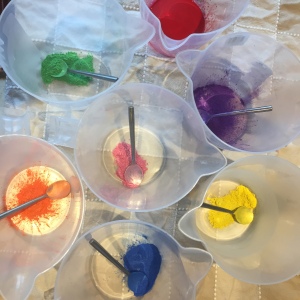
colourants ready for mixing into the soap batter

Next I add my fragrance oil to the room temp oils and butters.  Many people add their fragrance AFTER adding the lye and tracing the soap, but my preference is to add it before.

I then add a couple of teaspoons of the fragranced oils to each jug of mica and get them well blended.  I know it’s common practice to skip this stage and simply add the traced lye batter directly onto the powdered mica (or add the powdered mica directly to jugs of traced batter), but I don’t always use a stick blender and this way I know I can get the colour incorporated well just by giving it a good mix with a spatula.
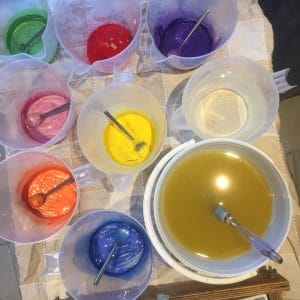
Pre-mixed colourants, oils and a jug of lye water

I get my moulds ready – notice my high-tech method of stopping the mould sides from bowing inwards 😀
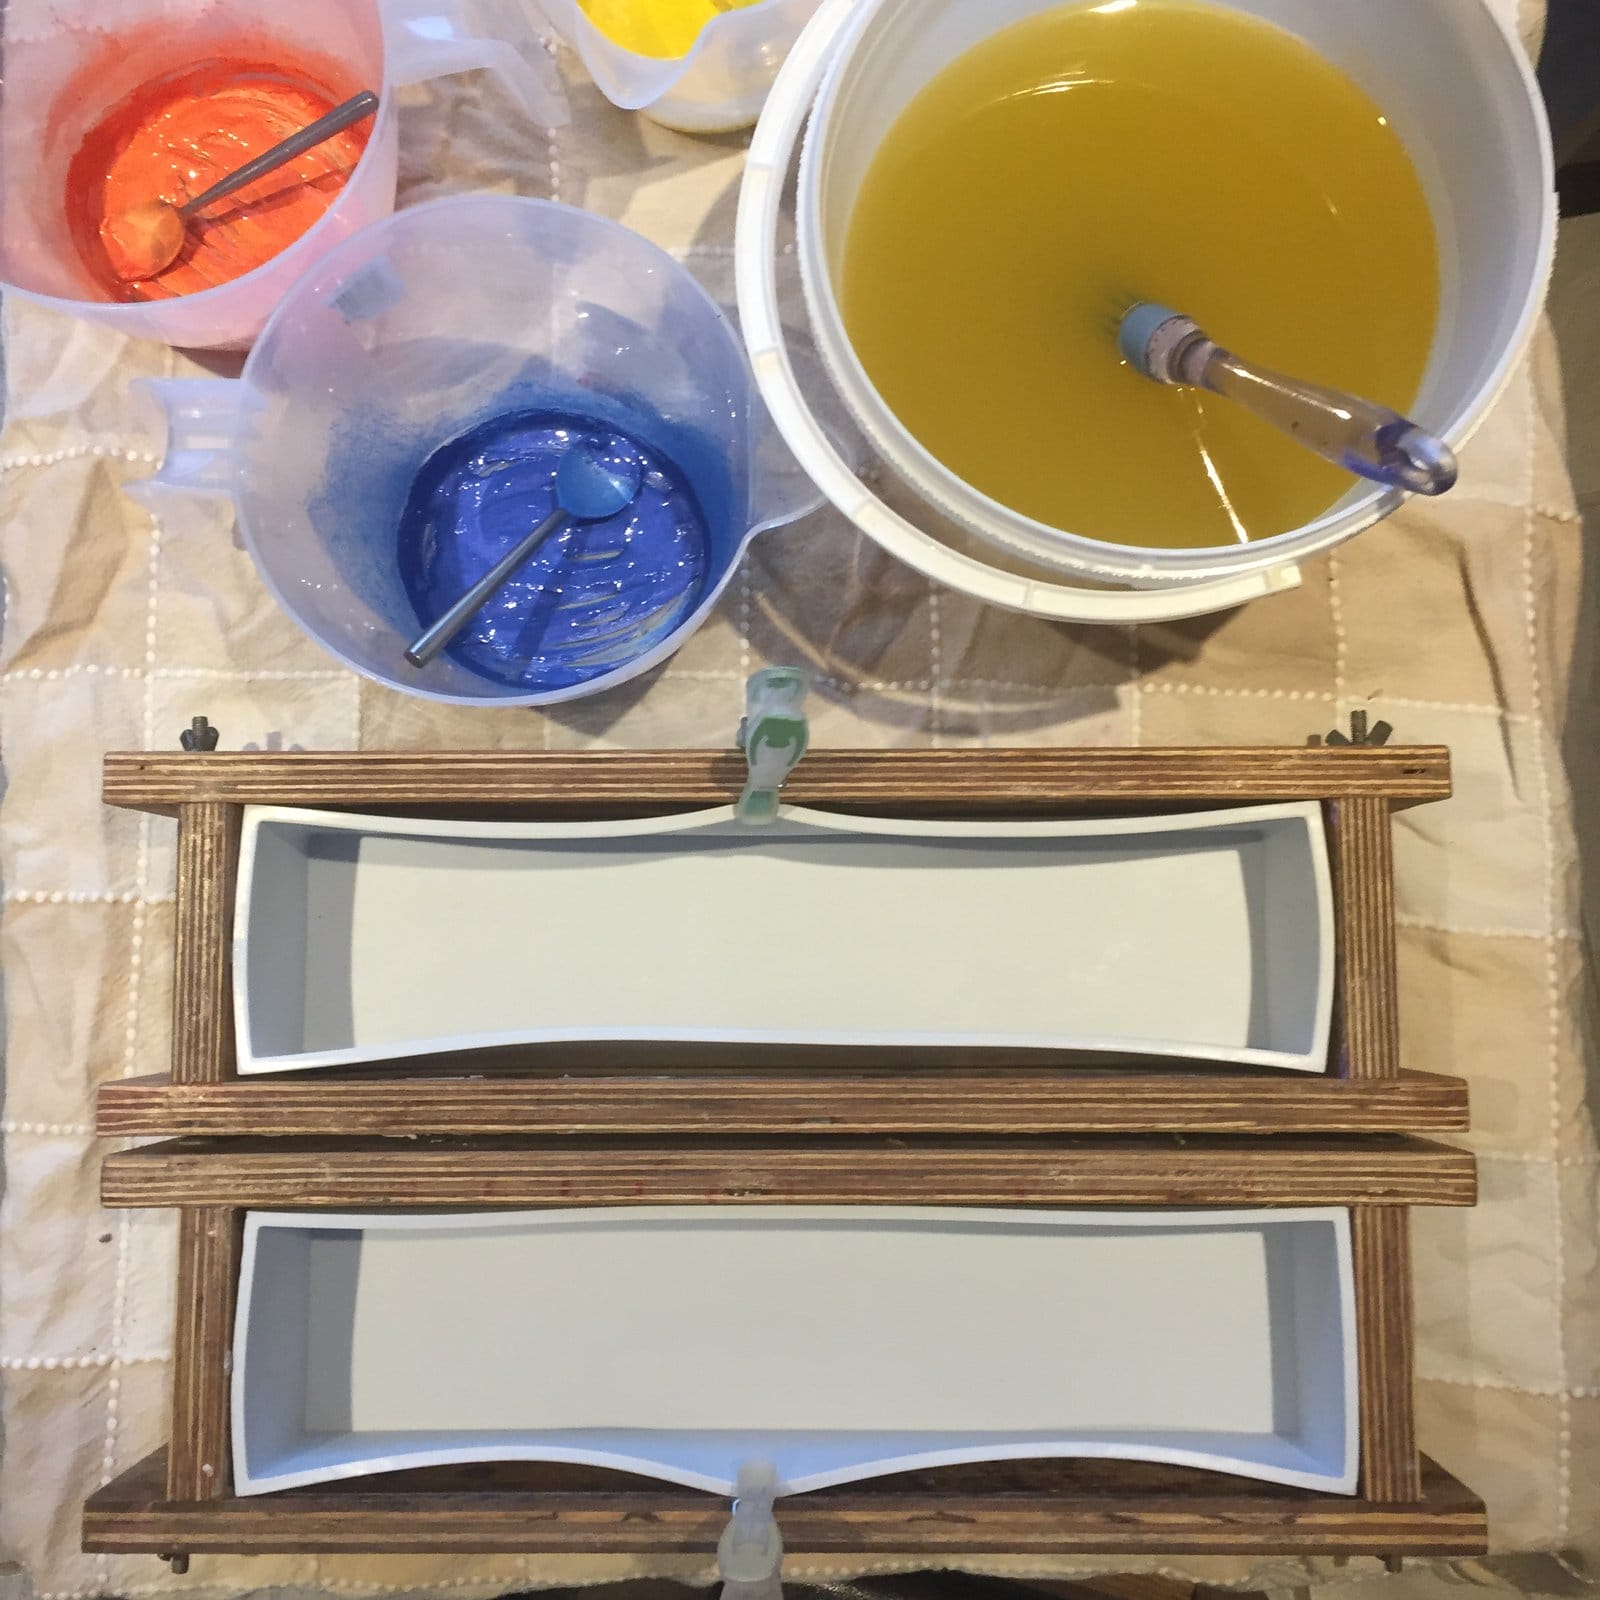
Moulds prepared...
Moulds prepared…

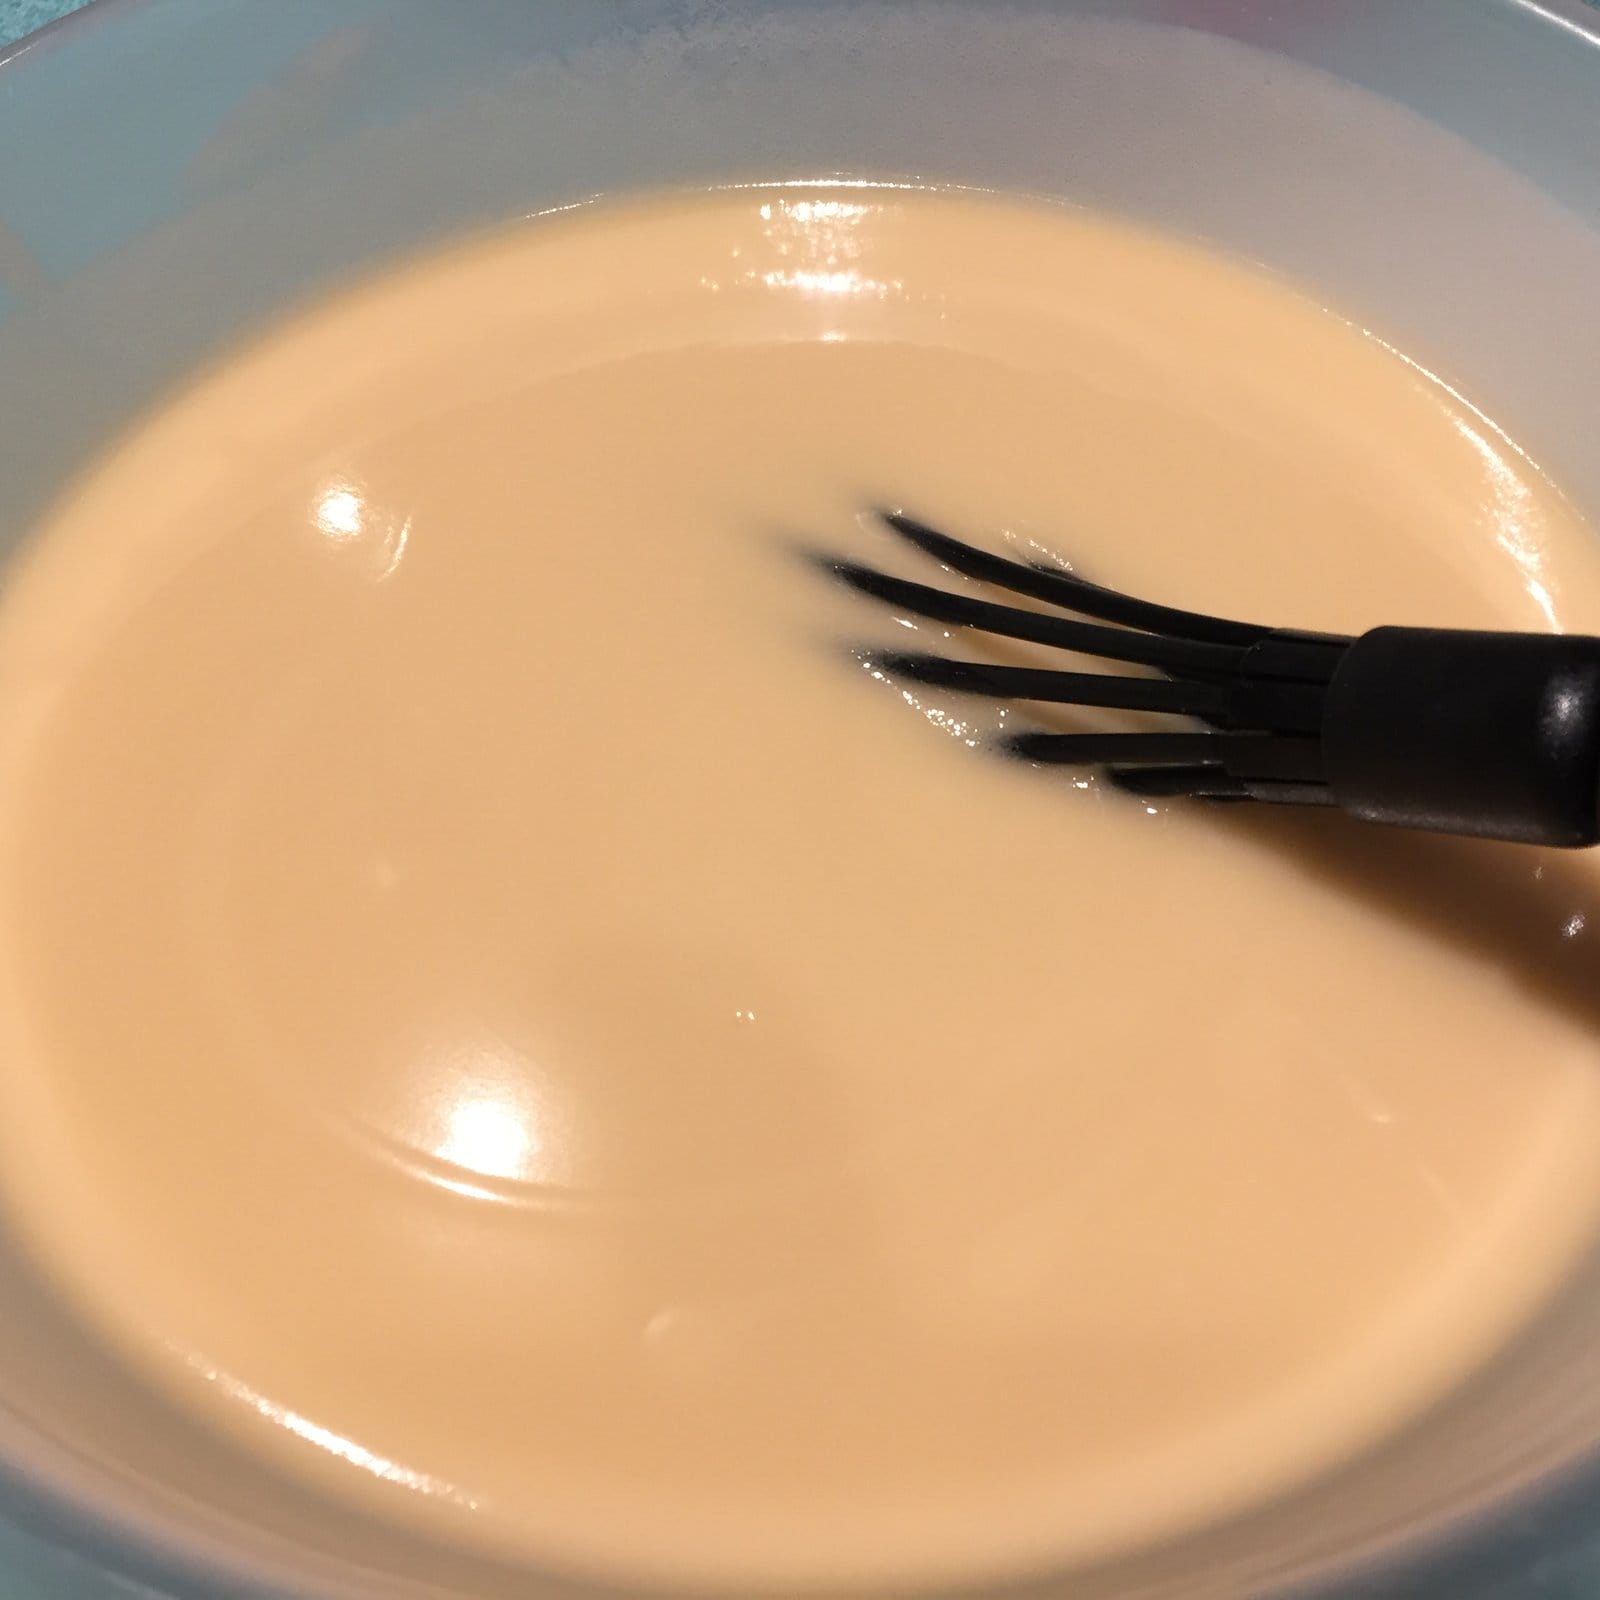
And then we’re ready to go…  I mix the lye water into the tub of (already fragranced!) oils and butters, and share the soap batter out equally into the seven prepared jugs.  It would appear I forgot to get a photo of that stage – sorry!   What we’re looking for is a really light trace as the soap will thicken up during the pouring process. Personally I don’t stick-blend this soap AT ALL.  I find that by the time I’ve mixed up all the colours thoroughly it’s already at a light trace, but this will very much depend on how quickly your particular soap recipe traces and which fragrance you’re using. I’ve even found that certain micas can inhibit trace, so there are many different factors involved. It’s a case of using your judgement and, to be honest, trial and error.

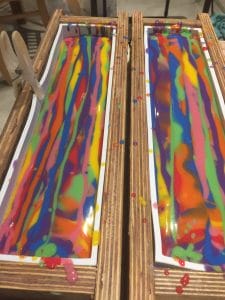
Next comes the pour.  First in this time was yellow:
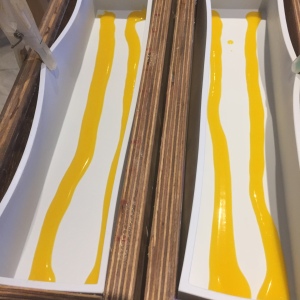
First pour - yellow
First pour – yellow

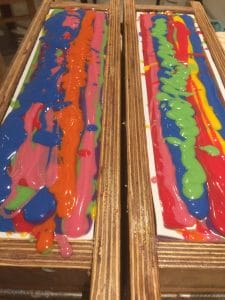
What’s crucial for a nice drop is the height from which you pour the soap in to the mould. At the early stages my jug is quite close to the bottom of the mould as I pour a line of soap along the length of it. Here’s the next couple of pours:

Red and orange poured next

Once the bottom of the mould has been covered with soap, I start to raise the jugs a little higher as I pour, so that the soap drops into the previous layer, rather than sit on the top of it.  It’s very hard to give a precise height as it very much depends on how thick your soap batter is (the thicker it is, the higher you’ll need to drop it from)
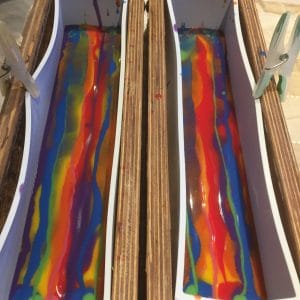
More colours poured
More colours poured

I try to make sure I pour from the jugs in the same order on each round of pouring, and also try to make sure I’m not pouring a colour on top of the same colour in the mould.

I keep pouring until the moulds are full:
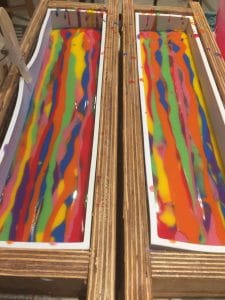
Filling up the mould
Almost full...
Almost full…
Full!
Full!

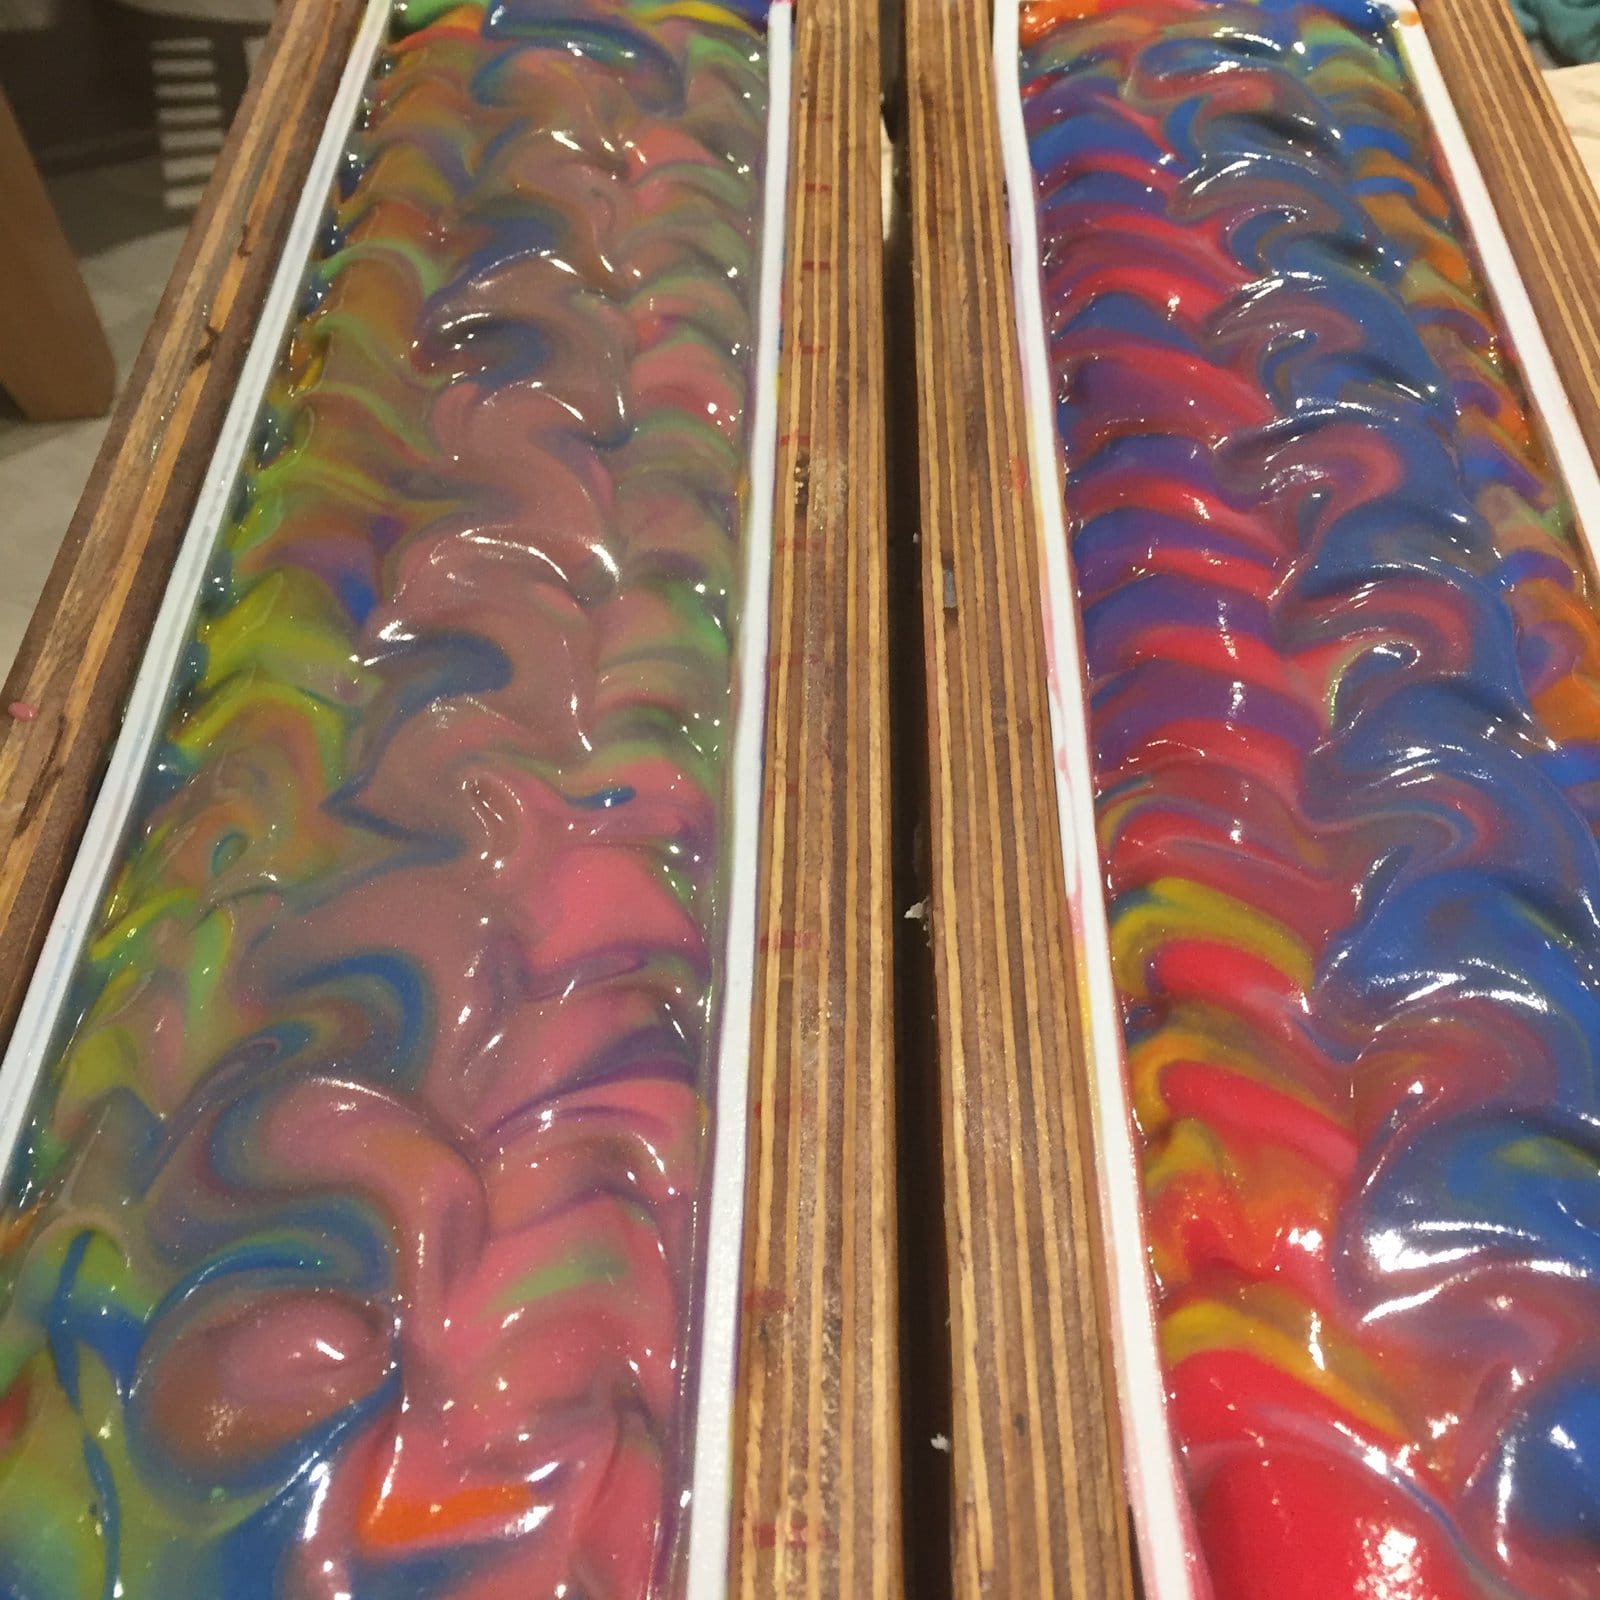
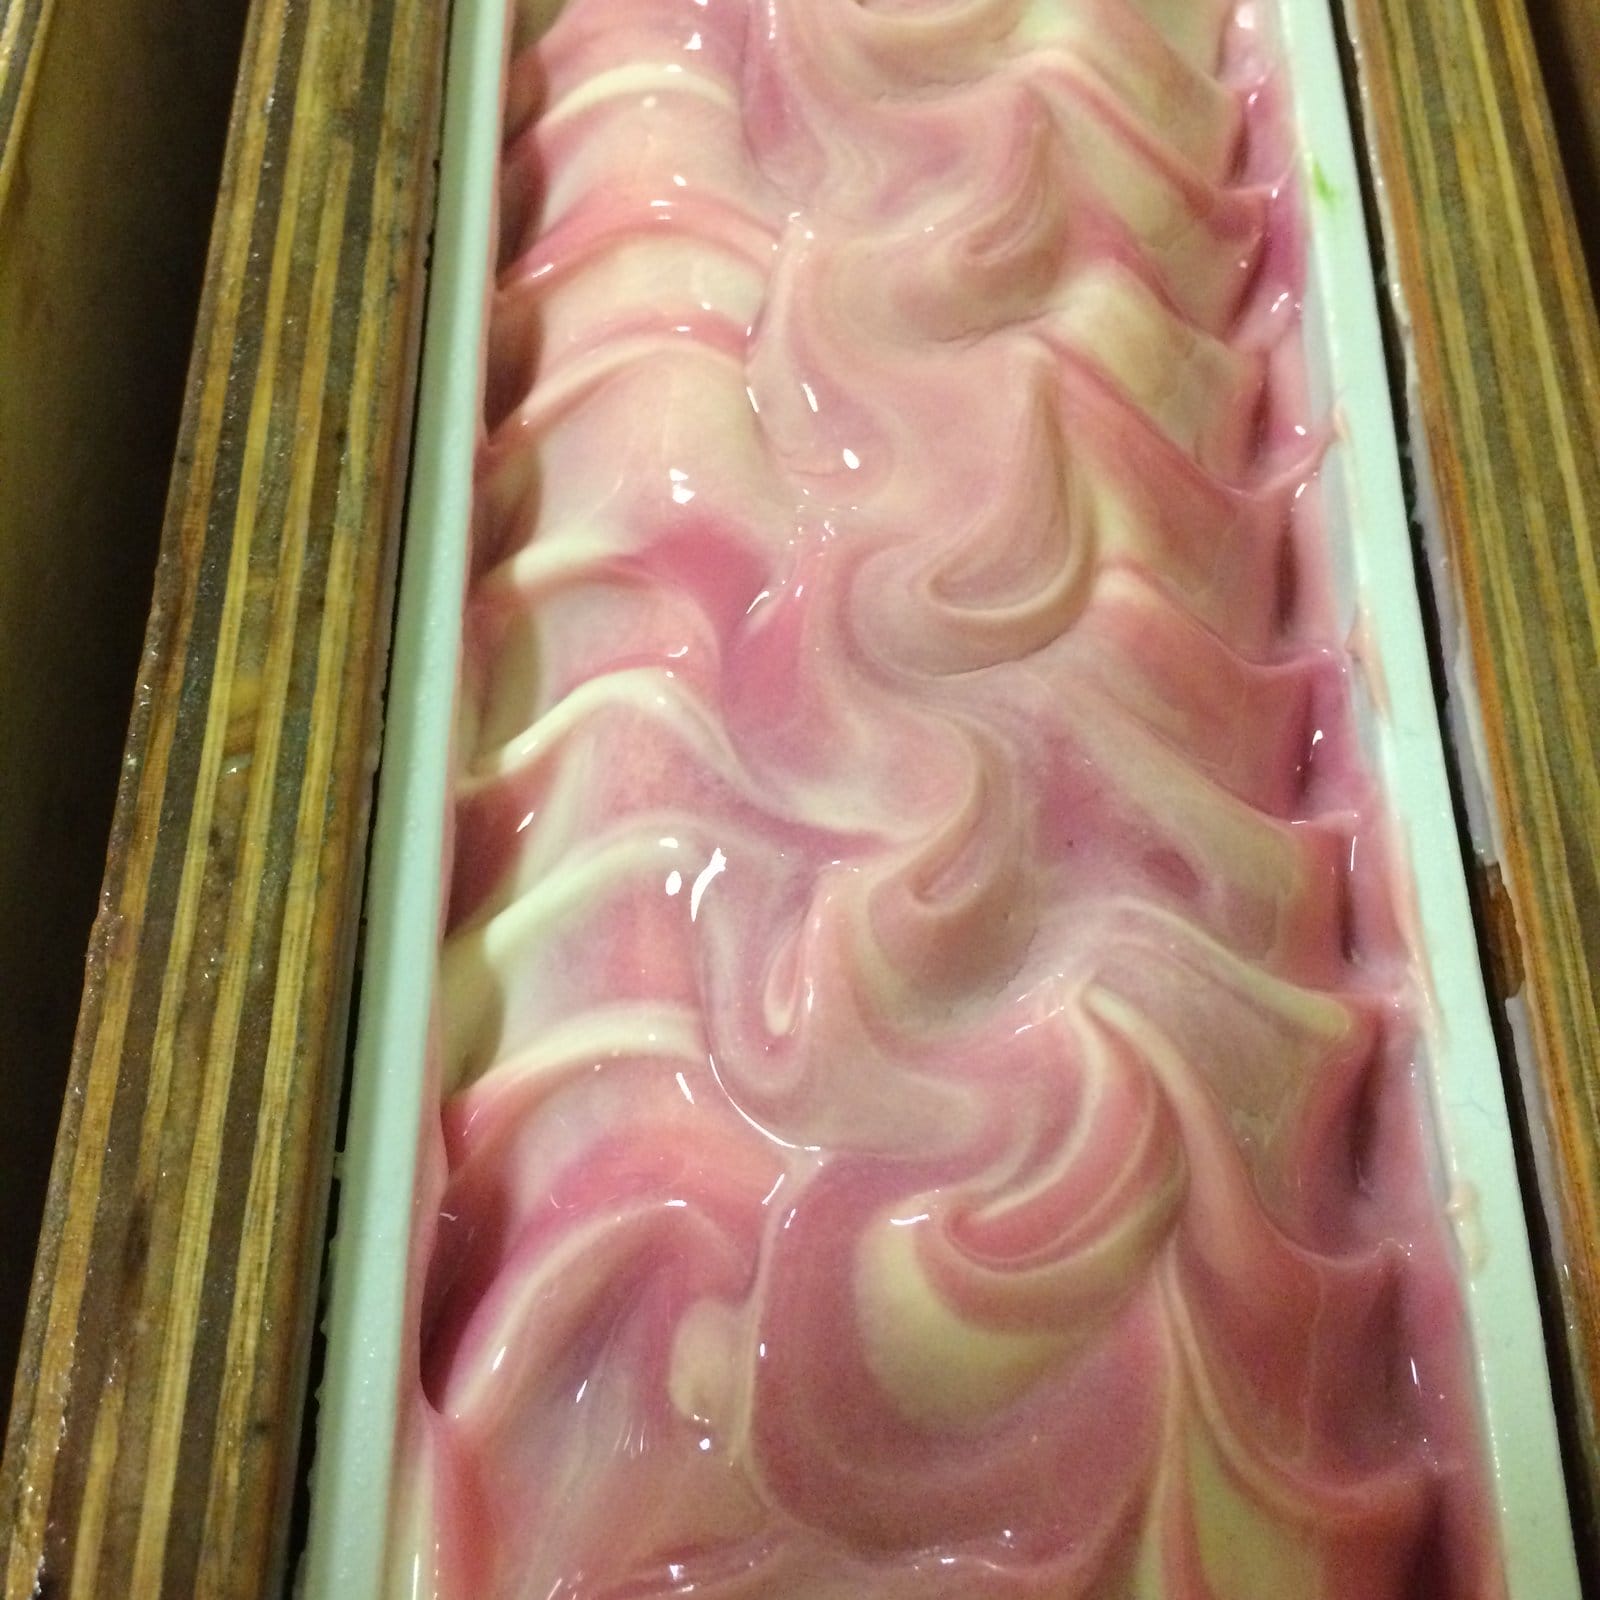
By this stage the batter is quite a bit thicker than when I started to pour, and looks none too tidy, but it doesn’t really matter once I start adding texture to the top:

Mid-texturing the top
Starting to tidy up the top

And the finished item:

Tutti Frutti ready to set up
Tutti Frutti in the mould

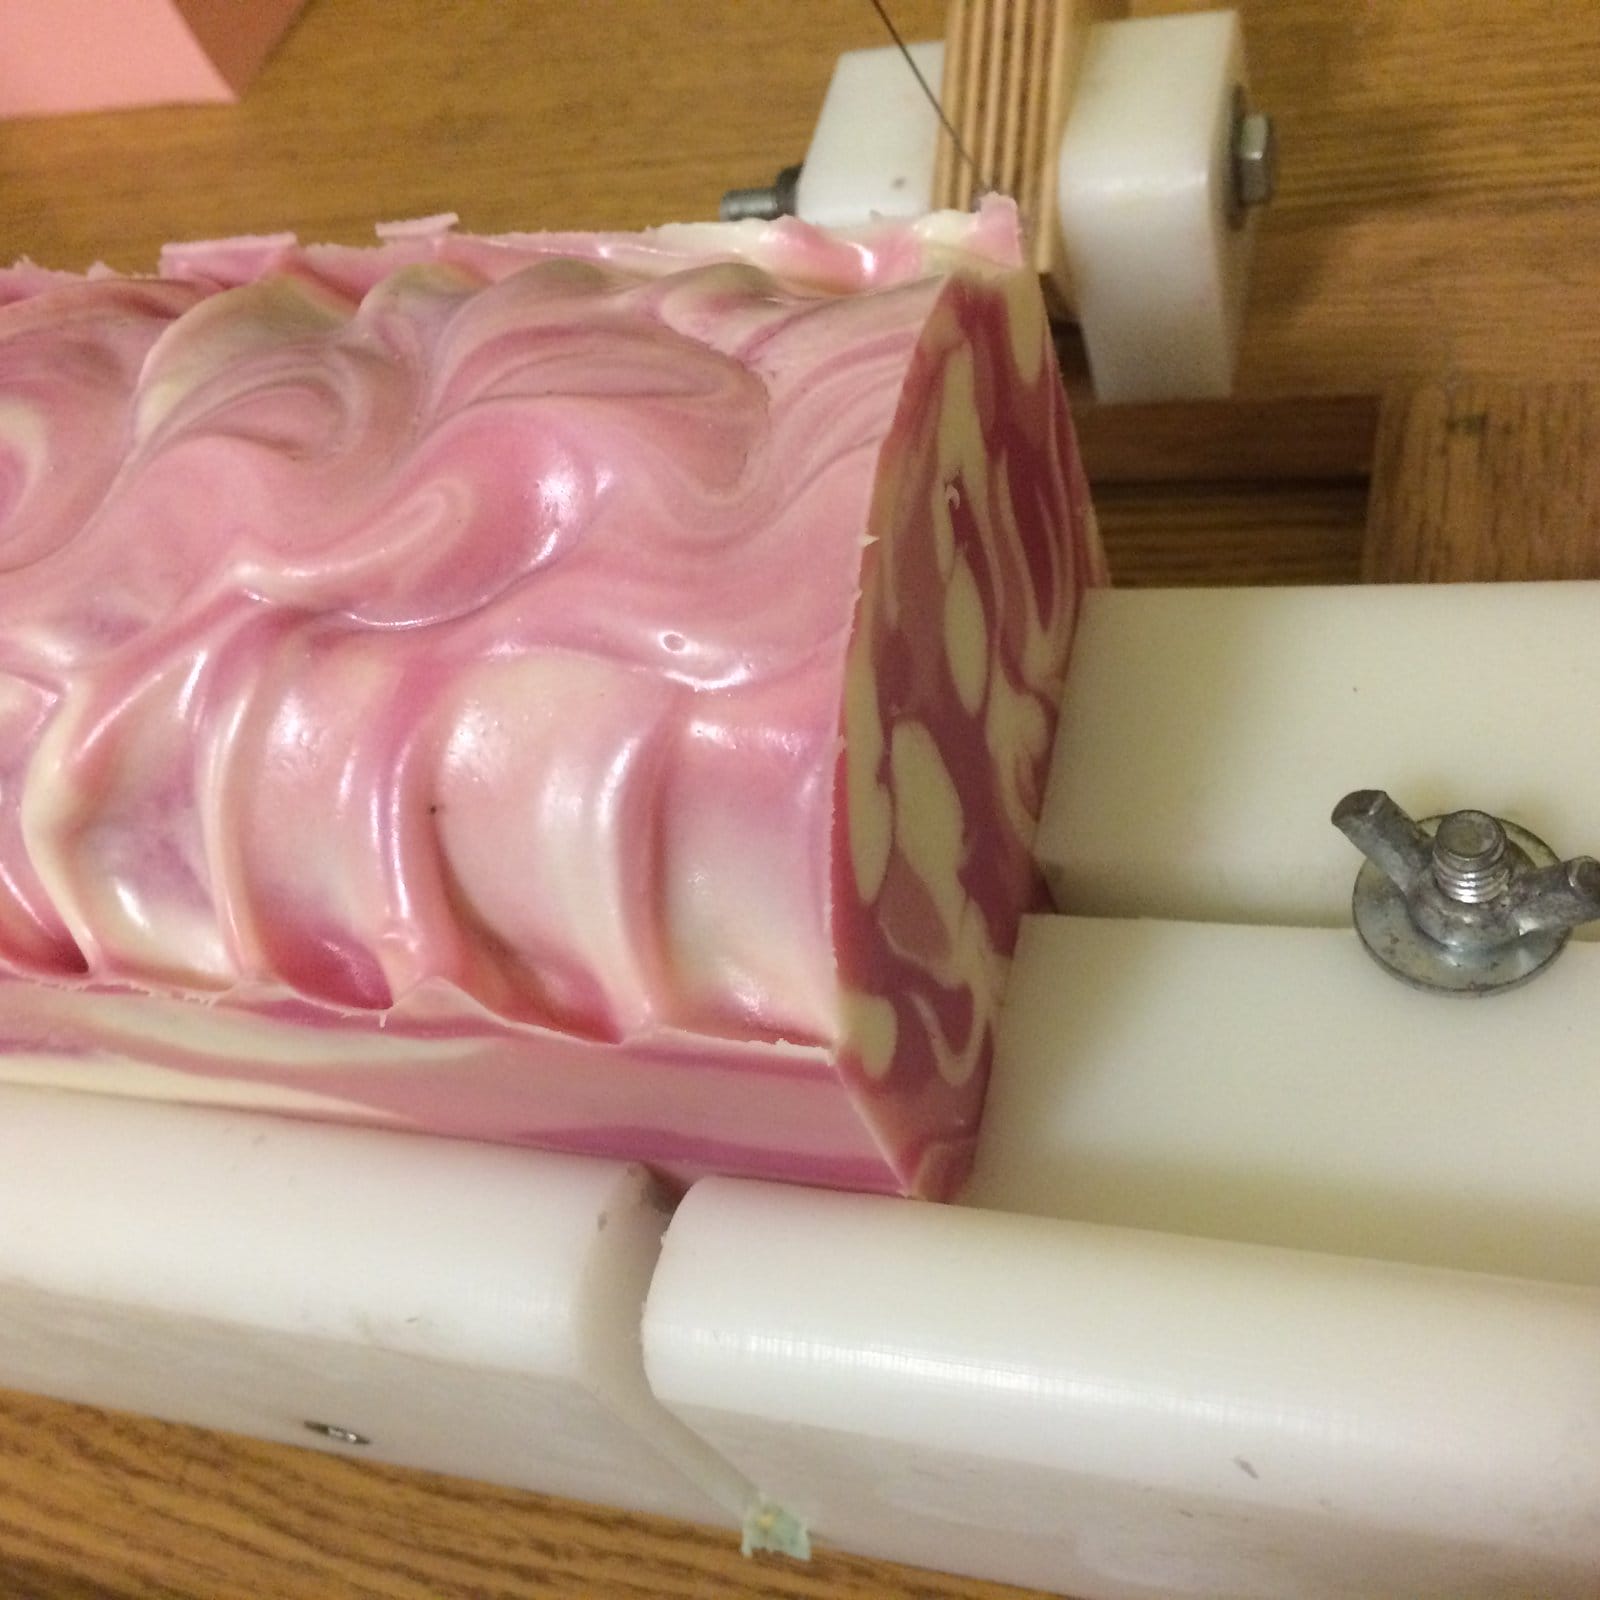
I generally leave soap in the mould for 48 hours before I unmould and cut:

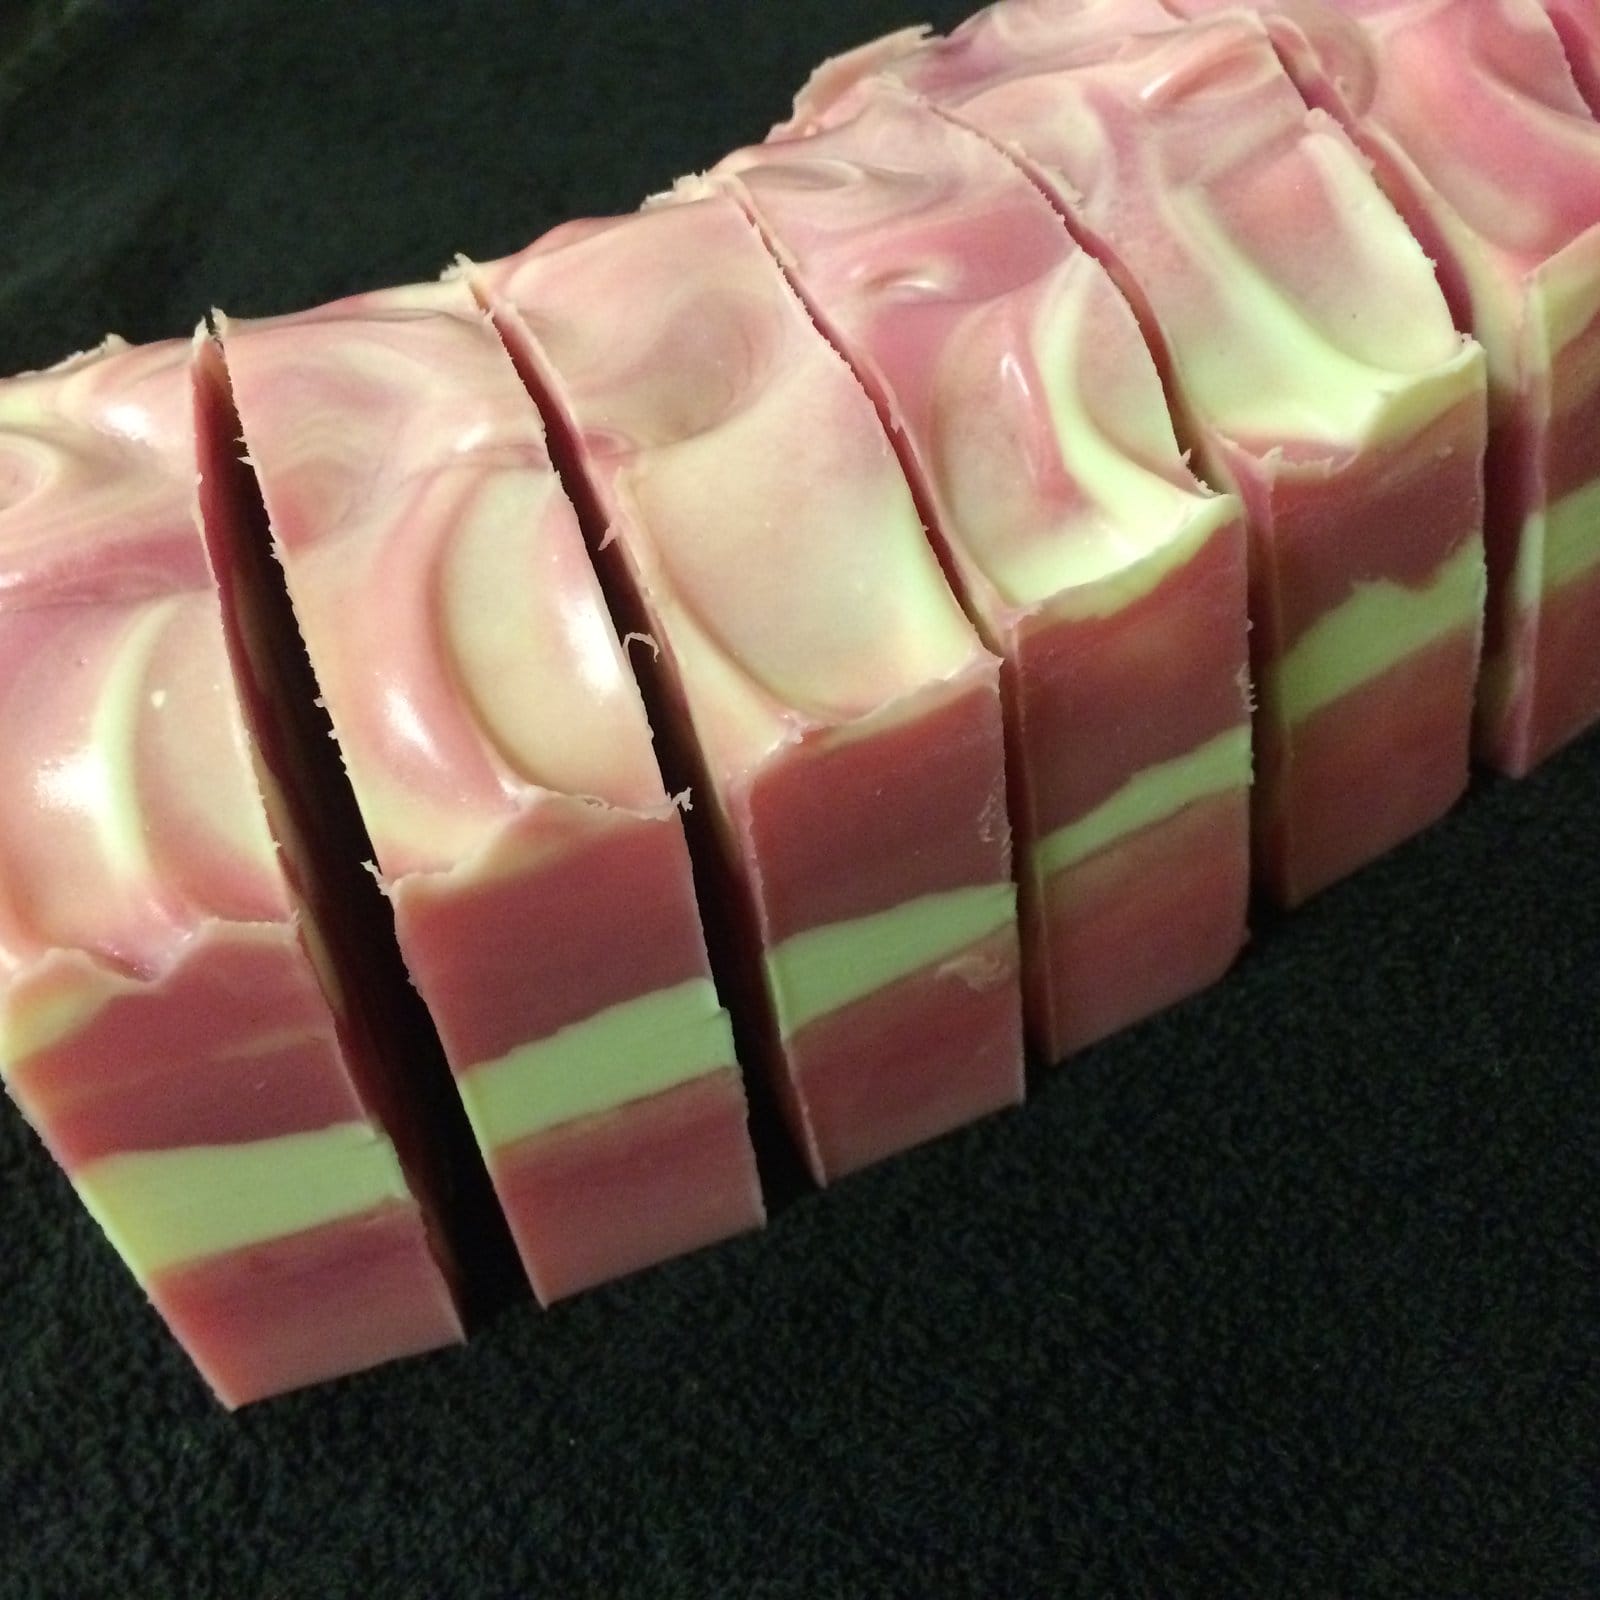
Rainbow Drop Swirl mid-cut

And that’s it.  It’s cured for 4 weeks, bevelled and tidied up, cured for another 2 weeks then released for sale.

Some time ago I started using the Instagram hashtag #dropsaretops for some of my photos – please use the tag to share your own drop swirls and make this drop swirl junkie very happy 😀

 

Posted on 7 Comments

Making Castile Soap

Traditional castile soap is made of nothing more than olive oils and a sodium hydroxide solution, and its origins lie in the soap that has been made for many centuries in Aleppo (Syria), from local olive & laurel berry oils. When the recipe was brought to Europe (specifically the Castile area of Spain, with its abundance of olive trees) it would appear that laurel berry oil was hard to come by, leading to it being dropped completely, becoming the 100% olive oil soap that we know today. It’s considered to be the gentlest of soaps – kind to sensitive skin often used as a baby soap (though personally I don’t think very small babies need any soap at all!)

At the beginning of the year I decided to make it one of my goals for January, and hey presto, last week I made my first ever batch of castile.  I don’t always bother with test batches, and I didn’t think an awful lot could go wrong with this one, so dove right in with a full sized batch. The recipe was simply:

  • 1500g Olive Oil
  • 570g Water
  • 193g Sodium Hydroxide (NaOH)

I used my usual method – made up the lye solution and left it to cool down to room temperature.  For my regular bars I melt together the hard oils/butters, then add the liquid oils and let it cool down to room temperature, but there was none of that faffing about with this one – I just measured my olive oil out of the bottle and into my mixing bowl.

Olive Oil
Olive Oil

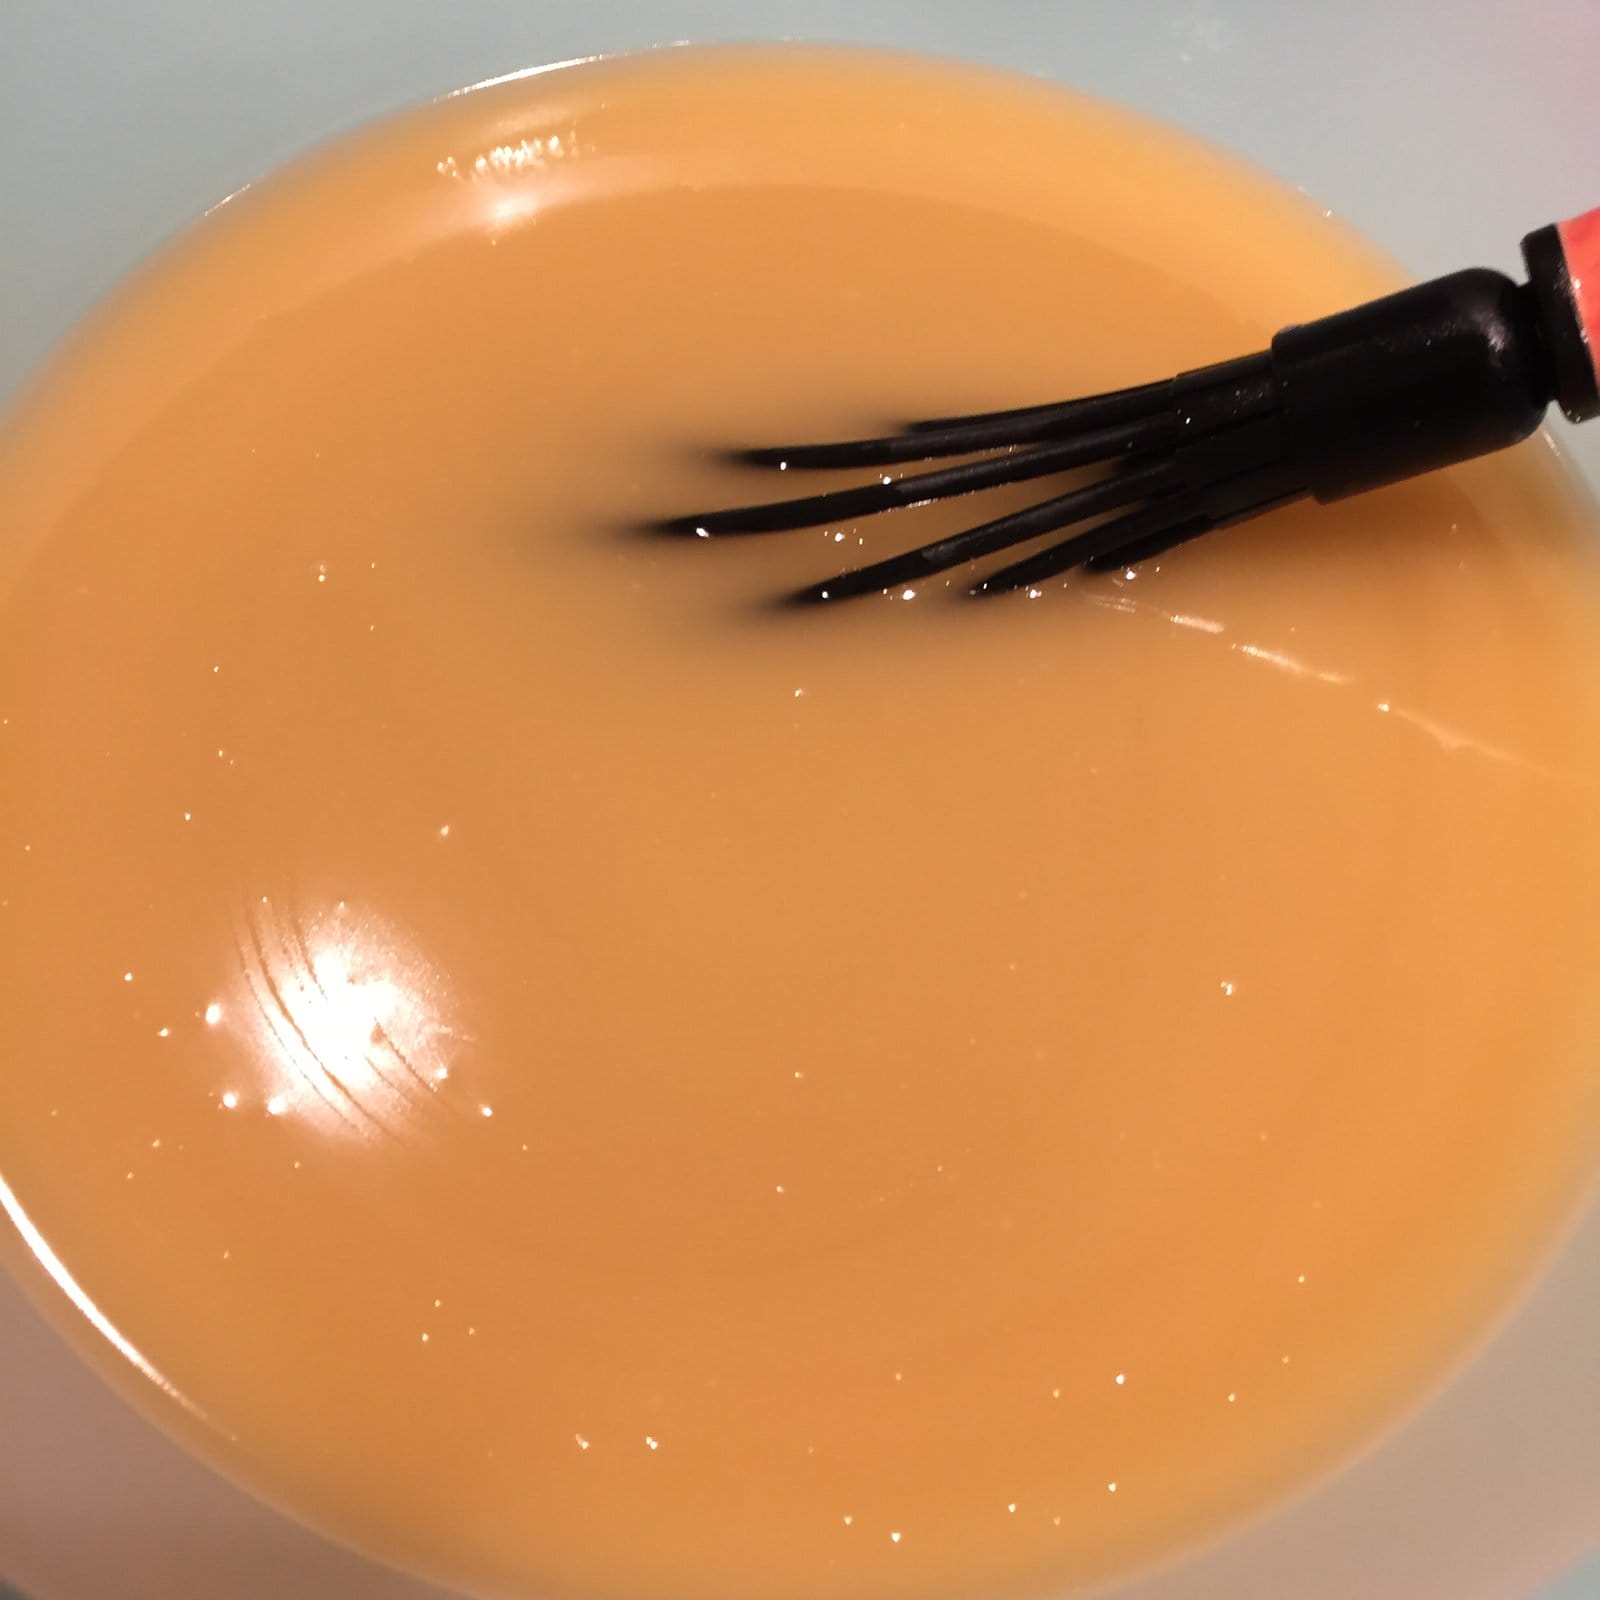
Then added the NaOH and whisked until it was emulsified:

Oil / NaOH Emulsified

Gave it a bit of a mix with the handblender until it traced:

Soap Batter at Trace

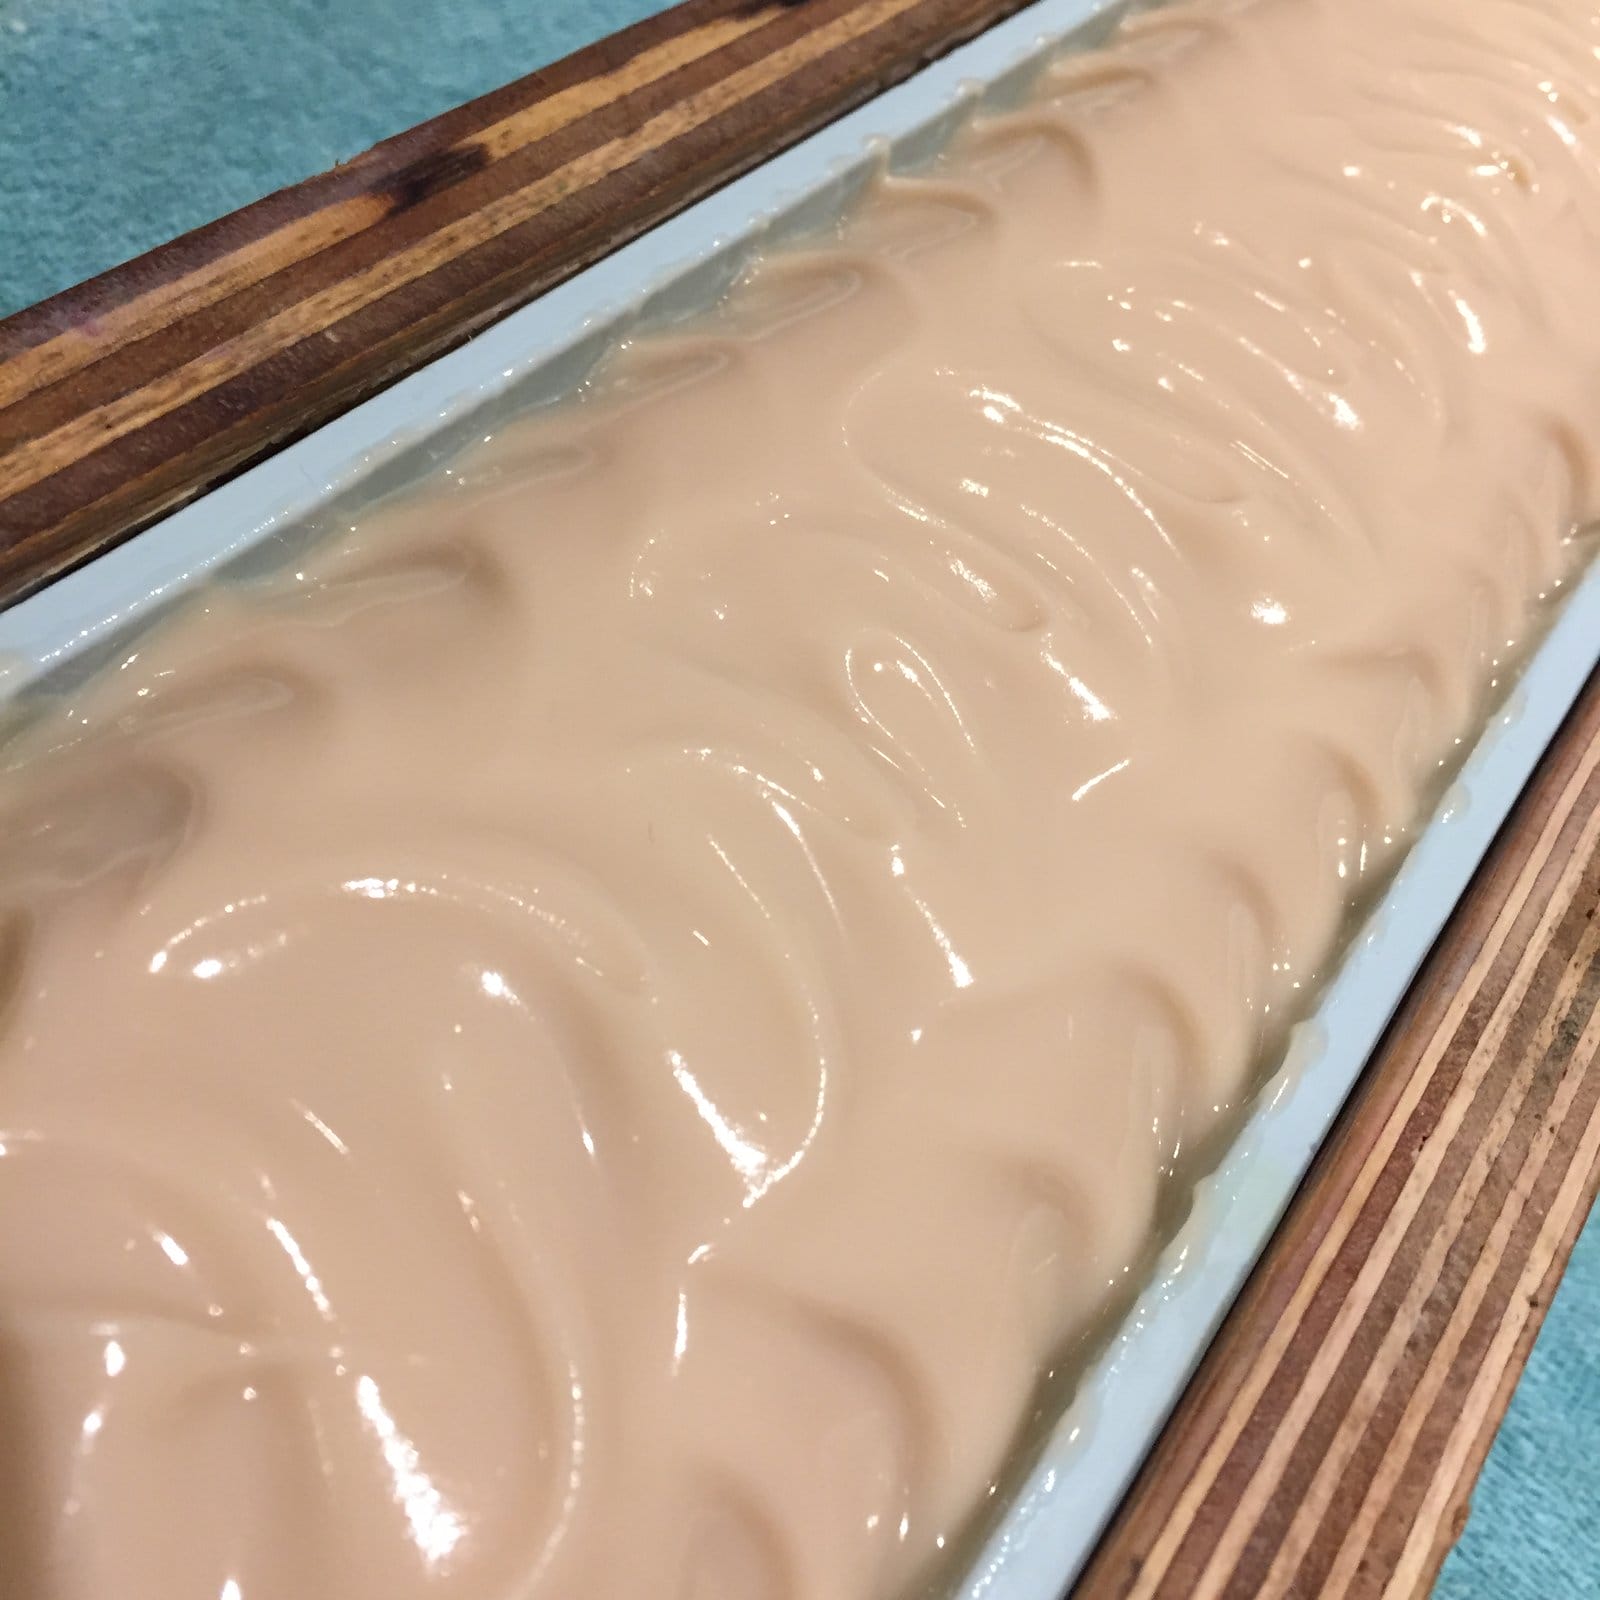
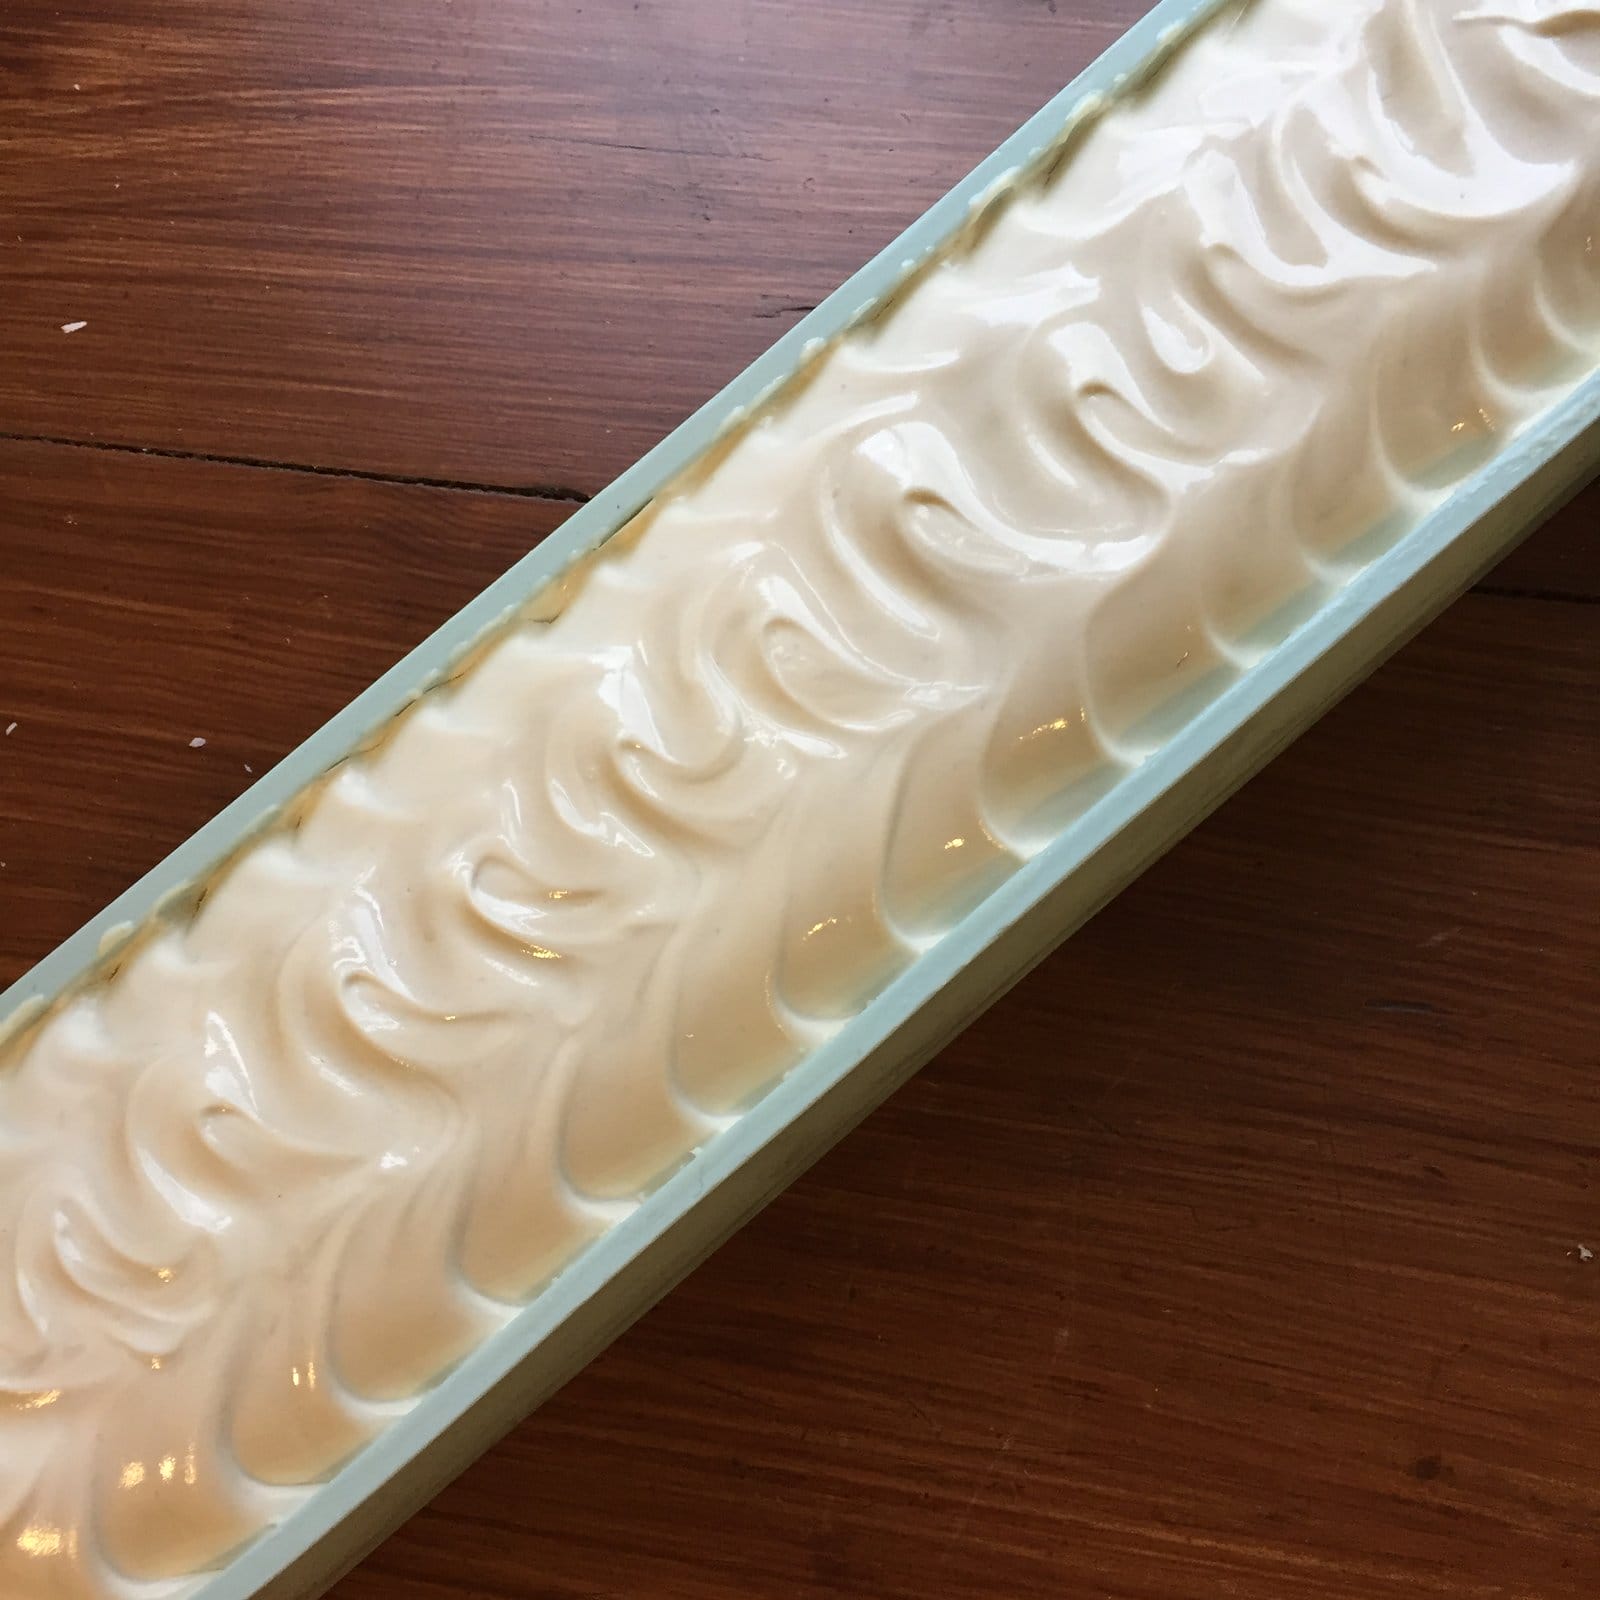
And poured it into the mould:

Castile in the mould

I knew from my reading that I probably wouldn’t be able to unmould / cut after my usual 48 day wait, so I left it a little longer, then kind of forgot about it for a couple of days (oops) and eventually unmoulded it 8 days after it was poured. I was happy to note that it was a lot whiter than it originally appeared to be:

Castile 8 days later

Perhaps I’ll only leave it three or four days next time as it was the hardest batch I’ve ever cut, and I feared for the wire on my poor Bud soap cutter.  I took it slowly, and the end result was this:

Castile freshly cut
Castile freshly cut

The usual recommendation is to allow castile soap to cure for a good six months, if not more, as it’s notoriously slow to harden. I’m not convinced though, and will be testing it often in the next few months to see how it’s developing.

By the way, I’ve never actually used castile soap myself. The things I’ve heard haven’t always been particularly positive – the lather has even been described as ‘slimy’, so I’m going to (try to) put the opinions of others out of my head and be as objective as possible.  Stay tuned and I’ll keep you updated 🙂

Posted on 4 Comments

15 Tips for giving a Soapmaking Talk

Soapmaking TalkFor the last couple of years, from March through to November, I’ve given a weekly soapmaking talk to holidaymakers staying in a local hotel. It’s an opportunity to get paid to rattle on about my favourite subject, and if I’m lucky I’ll sell a few bars as well. Win-win you might think? Well yes, these days I absolutely revel in it, but there’s no denying that the first few times I was really quite nervous. With that in mind I thought it might be helpful to others if I were to note down some of the things I now always do to ensure I give a successful soaping talk.
  1. The first thing I do on arrival at the venue is set up my display of soaps.  A big draw for me of doing a soaping talk is the opportunity to sell as well, so make your display as appealing as possible, with samples available to touch and smell.
  2. The introduction.  You don’t have to go into too much detail. I usually tell them my name, tell them what I do, the name of my business and where I’m based. I then explain that I’m going to talk them through the process of making soap, and I make it clear that questions are welcome at any point. I’ll then draw their attention to soaps I have on display, and let them know that there will be an opportunity for them to buy some at the end of the talk. Even better, ask the host / venue manager to mention to the audience beforehand that there will be an opportunity to buy.
  3. Let the audience know that they can ask questions at any time.  This is a personal preference – I understand that some people would rather not be interrupted – but I really like it when people are engaged enough to want to know more. If it’s something I’m planning on covering a little further on, I’ll say so.
  4. Take samples of all the different oils and butters you use in your recipes to pass around the room. People love to touch and smell things, and it often gets leads to more questions.
  5. Take an empty bowl.  This is my main prop when talking through the soapmaking process. I explain that while I can’t do a full demonstration, I’ll talk them through the process and ask them to use their imagination.
  6. Take samples of mica (or whichever colourants you use). I pass these around the room, explaining what it is and how it’s used.
  7. Take some NaOH in a small SEALED box and explain to them what it is, and precisely why it’s the only item that evening that you WON’T be passing around.
  8. Take samples of essential oils and/or fragrance oils. Pass them around the room. Explain the differences between them – how they’re made, the pros and cons of each.  Make sure that, whichever fragrances you choose to pass around, you have soap available in those fragrances to buy.  It really does make a difference to what will sell.
  9. Take a mould and liner to show them.  I use wooden loaf moulds and silicone liners and I talk about how I started out lining with freezer paper, and the difficulty I had getting smooth surfaces and sharp corners and hence why I’m a huge fan of silicone liners.
  10. If possible, take an unmoulded soap so that you can unmould it in front of them. I’ve now got into the habit of making at least one batch on a Tuesday night specifically to be able to unmould it at my soaping talk on the Thursday night.  Unmoulding a batch of soap never fails to elicit an ‘Ooooooohhh’ from the audience.
  11. This really should be point 10a.  If at all possible, take along your soap cutter and cut some of that soap that you’ve just unmoulded.  This has major WOW factor and in my experience the audience really enjoys seeing this part of the process.
  12. While I wear gloves to cut the main batch of soap, when I’ve cut a few bars to show the audience, I’ll take the gloves off and hold the end piece, showing them that by this point (48 hours post pouring) the sodium hydroxide has combined fully with the fats and is no longer caustic.
  13. I then talk about the curing process – how and why the soap is cured. Often some audience members are keen to feel end piece, and I’m happy to let them do so. I suggest they compare the softness of that piece with the hardness of one of my fully cured bars.
  14. I then talk about wrapping, labelling, and the legislation related to the selling of soap in the UK/EU.
  15. Finally I ask whether they have any questions. Often they’ll ask how/why I started making soap, or more general questions about commercial soaps. If none are forthcoming, I’ll often ask whether they know anything about the history of soapmaking (a subject that often comes up at this point) and then talk very briefly about the story (myth?) of the discovery of soap via the sacrificial fires on Mt. Sapo and what we know as fact about soap in ancient history.  It’s also an opportunity to talk about the differences between handmade and commercially produced soap.

There are also a few general things I’d recommend to anyone giving a talk, whatever the subject.  These might, quite rightly, be considered common sense, so I’m not including them in the ’15’ tips, but I thought it was worth adding them in, as it’s so easy to overlook stuff when you’re feeling nervous:

  1. Arrive early.  Always arrive early.  At least when you’re starting out.  I know it gives you longer to get worked up and for those butterflies to do their anxiety inducing business, but there’s nothing worse than arriving late to get you flustered.  Arrive early, sit down, mentally run through your presentation, have some water and do some deep breathing.  These days I can turn up with 5 minutes to spare and be absolutely fine, but I don’t recommend it 🙂
  2. Wear something comfortable.  You need to be relaxed, so don’t be tempted to get all glammed up if you’re generally the casual type.  Be neat and tidy of course, but stay true to YOU.
  3. Make sure you have a glass or bottle of water within arm’s reach. It’s surprising how dry your mouth gets when you do a lot of talking. It’s also really useful, if for example you suddenly lose your train of thought, to be able to pause and take a sip of water. Those few seconds can be all you need to get yourself back on track.
  4. Try to bring a little humour into your talk. I often talk about the man who came to me wanting advice about making soap from the lard leftover from his fried breakfasts.  That always gets a laugh and a few groans 😀

Good luck if you’re giving a presentation anytime soon, and let me know if you found any of this useful!

Posted on 5 Comments

Banishing Soda Ash – the easy way…

I see a lot of discussion on line about how to deal with soda ash on soap tops. Freshly poured soap is so glossily glorious – it can be a disappointment when you come back to it a day later to find it dulled and marred by an ashy deposit:

Ashy Soap Top
Ashy Soap Top

The ash is formed when the lye (Sodium Hydroxide, NaOH) in the soap reacts with Carbon Dioxide CO² in the air, and is totally harmless; the soap is no less effective. Nevertheless many find it to be aesthetically displeasing, and I’ve seen many methods used, some fairly elaborate, to eradicate it.  In my early soapmaking days I was advised dip each individual bar into a pan of boiling water.  Yes, this removed the ash and resulted in wonderfully glossy bars, but wow, it was tedious.  I then read that could simply hold each bar in the steam that came from a boiling kettle. Only kettles these days don’t boil continuously – and flicking that switch 20 times a minute was….tedious.  Then I had a lightbulb moment – I could hold the soap in the steam that came from a pan of water at a rollling boil.  Yes, I am FULLY aware that I could have easily missed one of those steps out… That worked too but was still pretty longwinded and let’s be honest, tedious.  There was also the ever present risk of scalding myself trying to use these methods. I came perilously close, believe me.

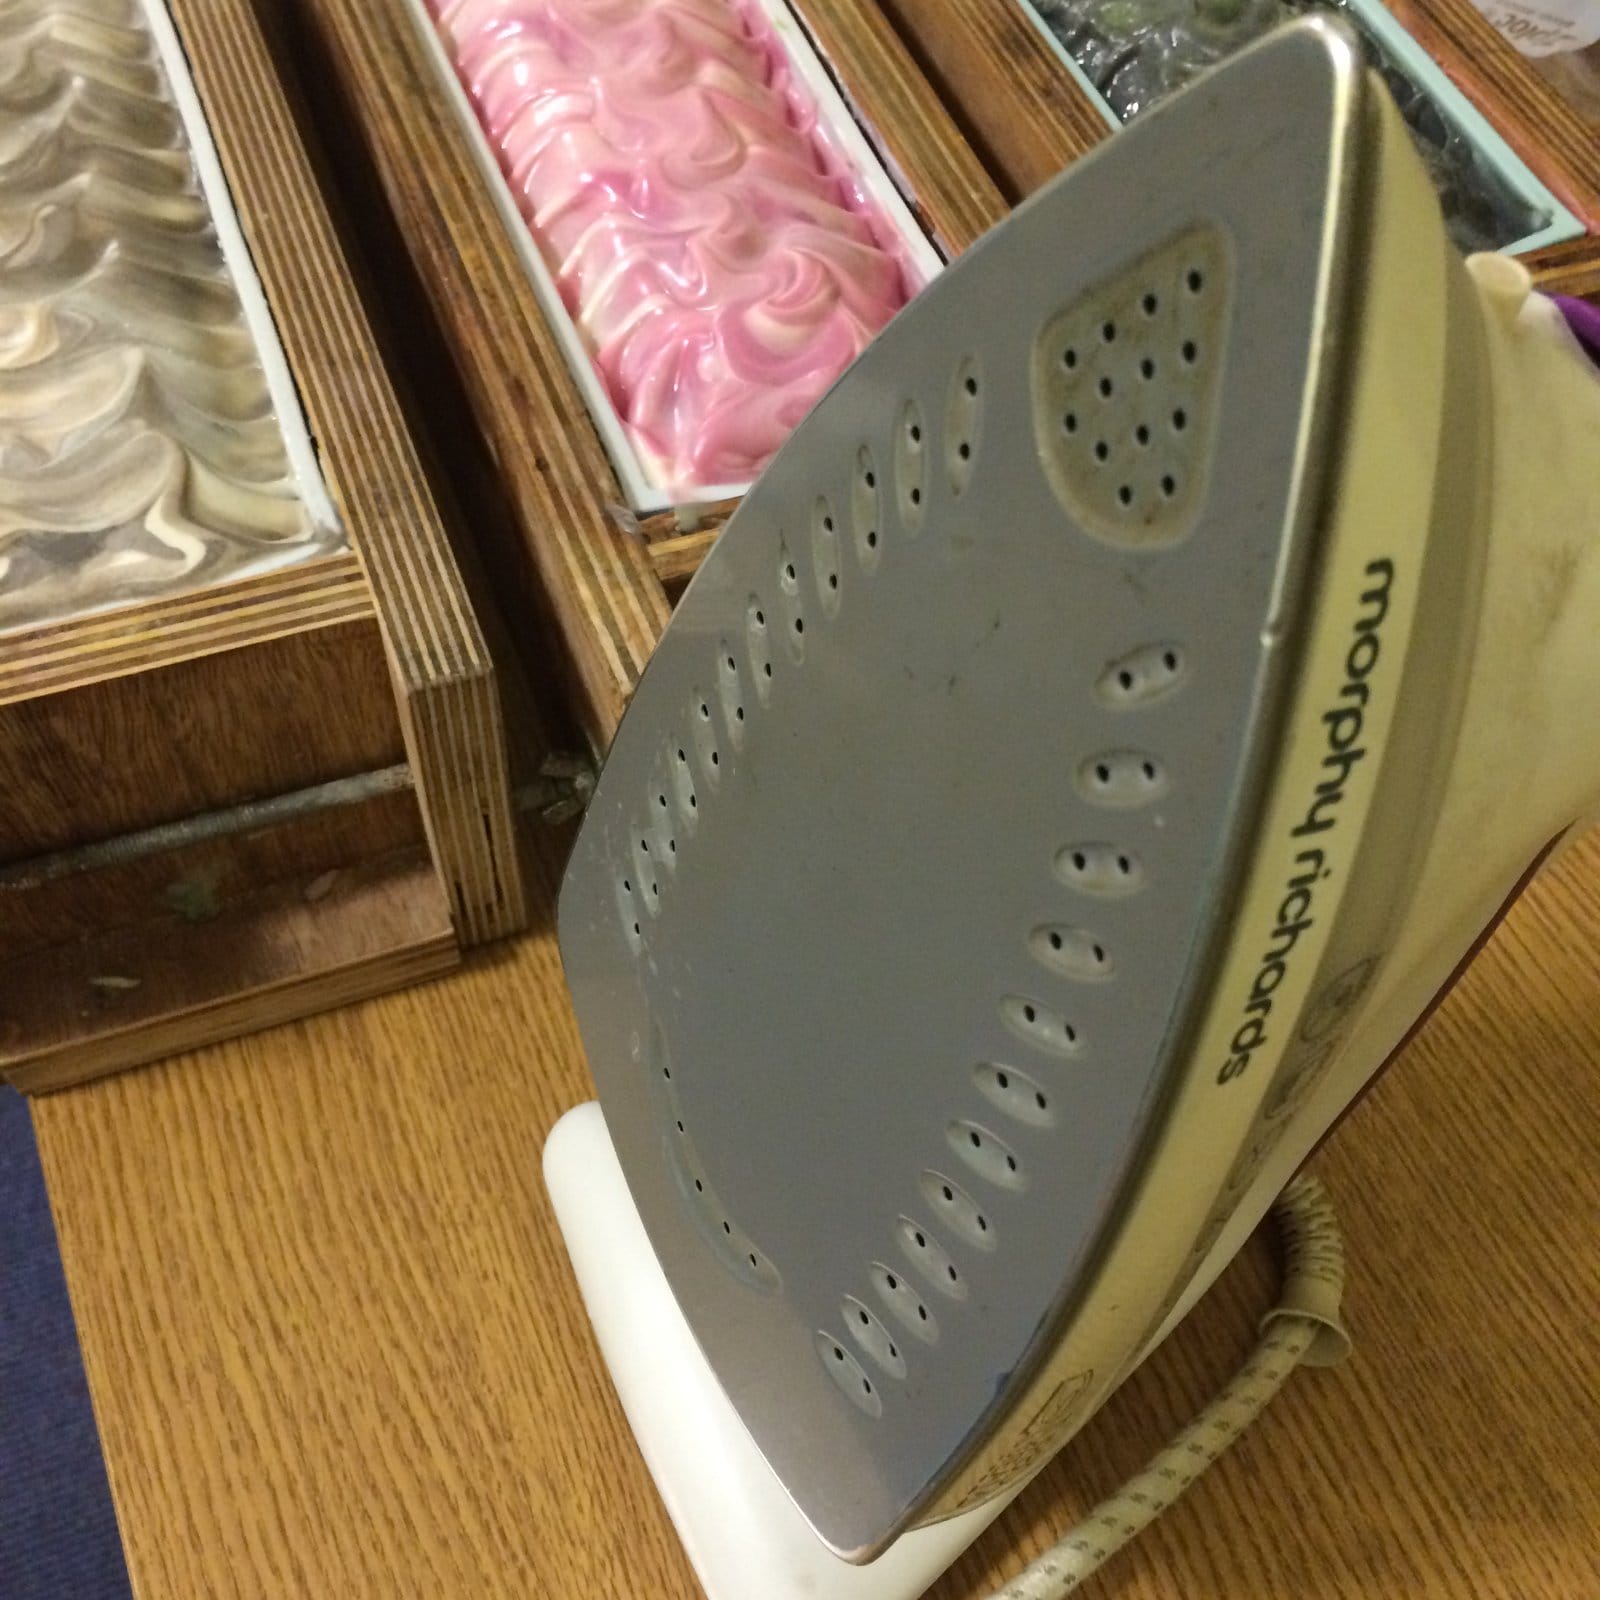
These days my ash removing regime is simple, fast and effective. I use an ordinary steam iron, on steam setting, to remove the ash from the soap tops before I’ve even unmoulded them. Half of this loaf has already been steamed:

Half Steamed
Half Steamed

My old, but trusty, Morphy Richards…

Steam Iron
Steam Iron

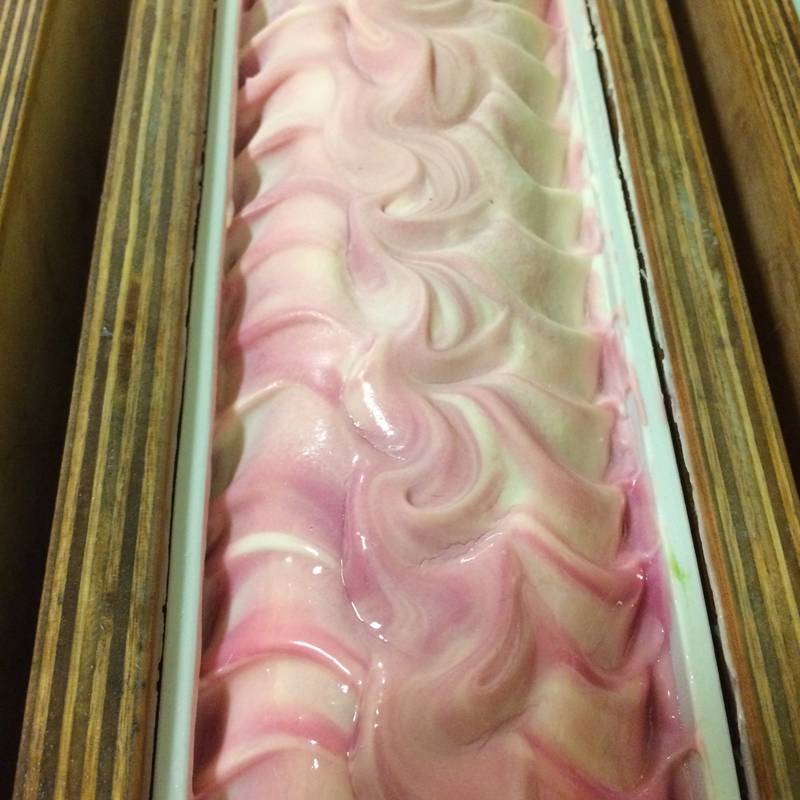
Holding the iron just a couple of inches above the top of the soap, I press the steam button continuously to cover the soap in steam, moving the iron back and forth. This is the result

Steamed top
Steamed top

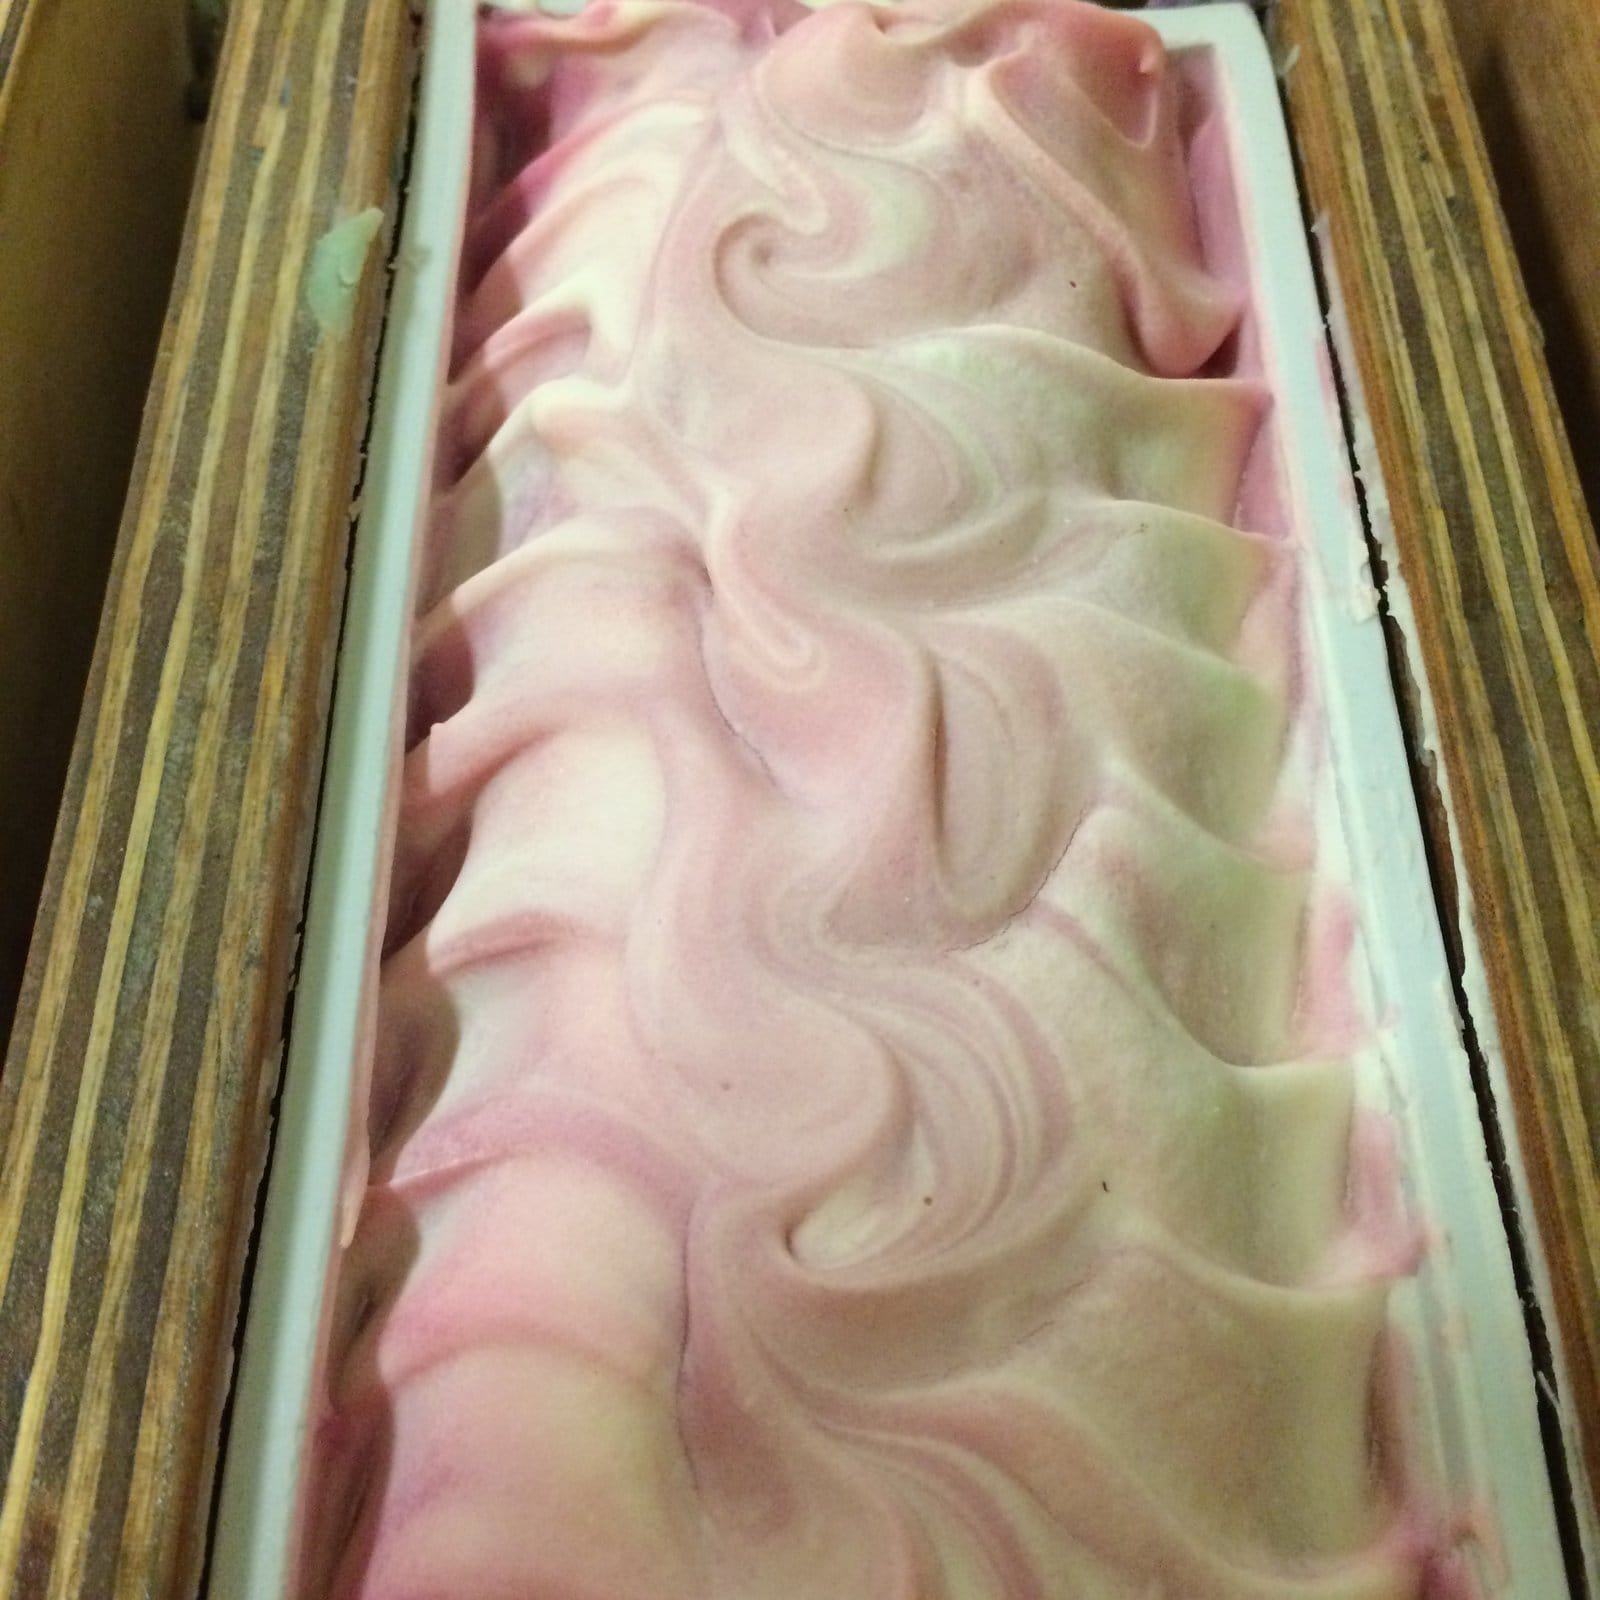
Easy peasy!  And absolutely zero chance of scalding myself.  It looks freshly poured but is actually fully set up and ready to be unmoulded.  I usually leave it for about 10 minutes to dry off, and then unmould:

Unmoulded batch
Unmoulded batch

And cut – notice how glossy it still is:

On the cutter
On the cutter

After the cut, before the tidy up – perfectly dry and glossy:

Cut Soap, Still Glossy

I’ve made a video of the steaming process, but I’m struggling to upload it :-S Once I figure it all out I’ll add it to this post 😀


Posted on 6 Comments

Wrapping Gift Sets – A Tutorial

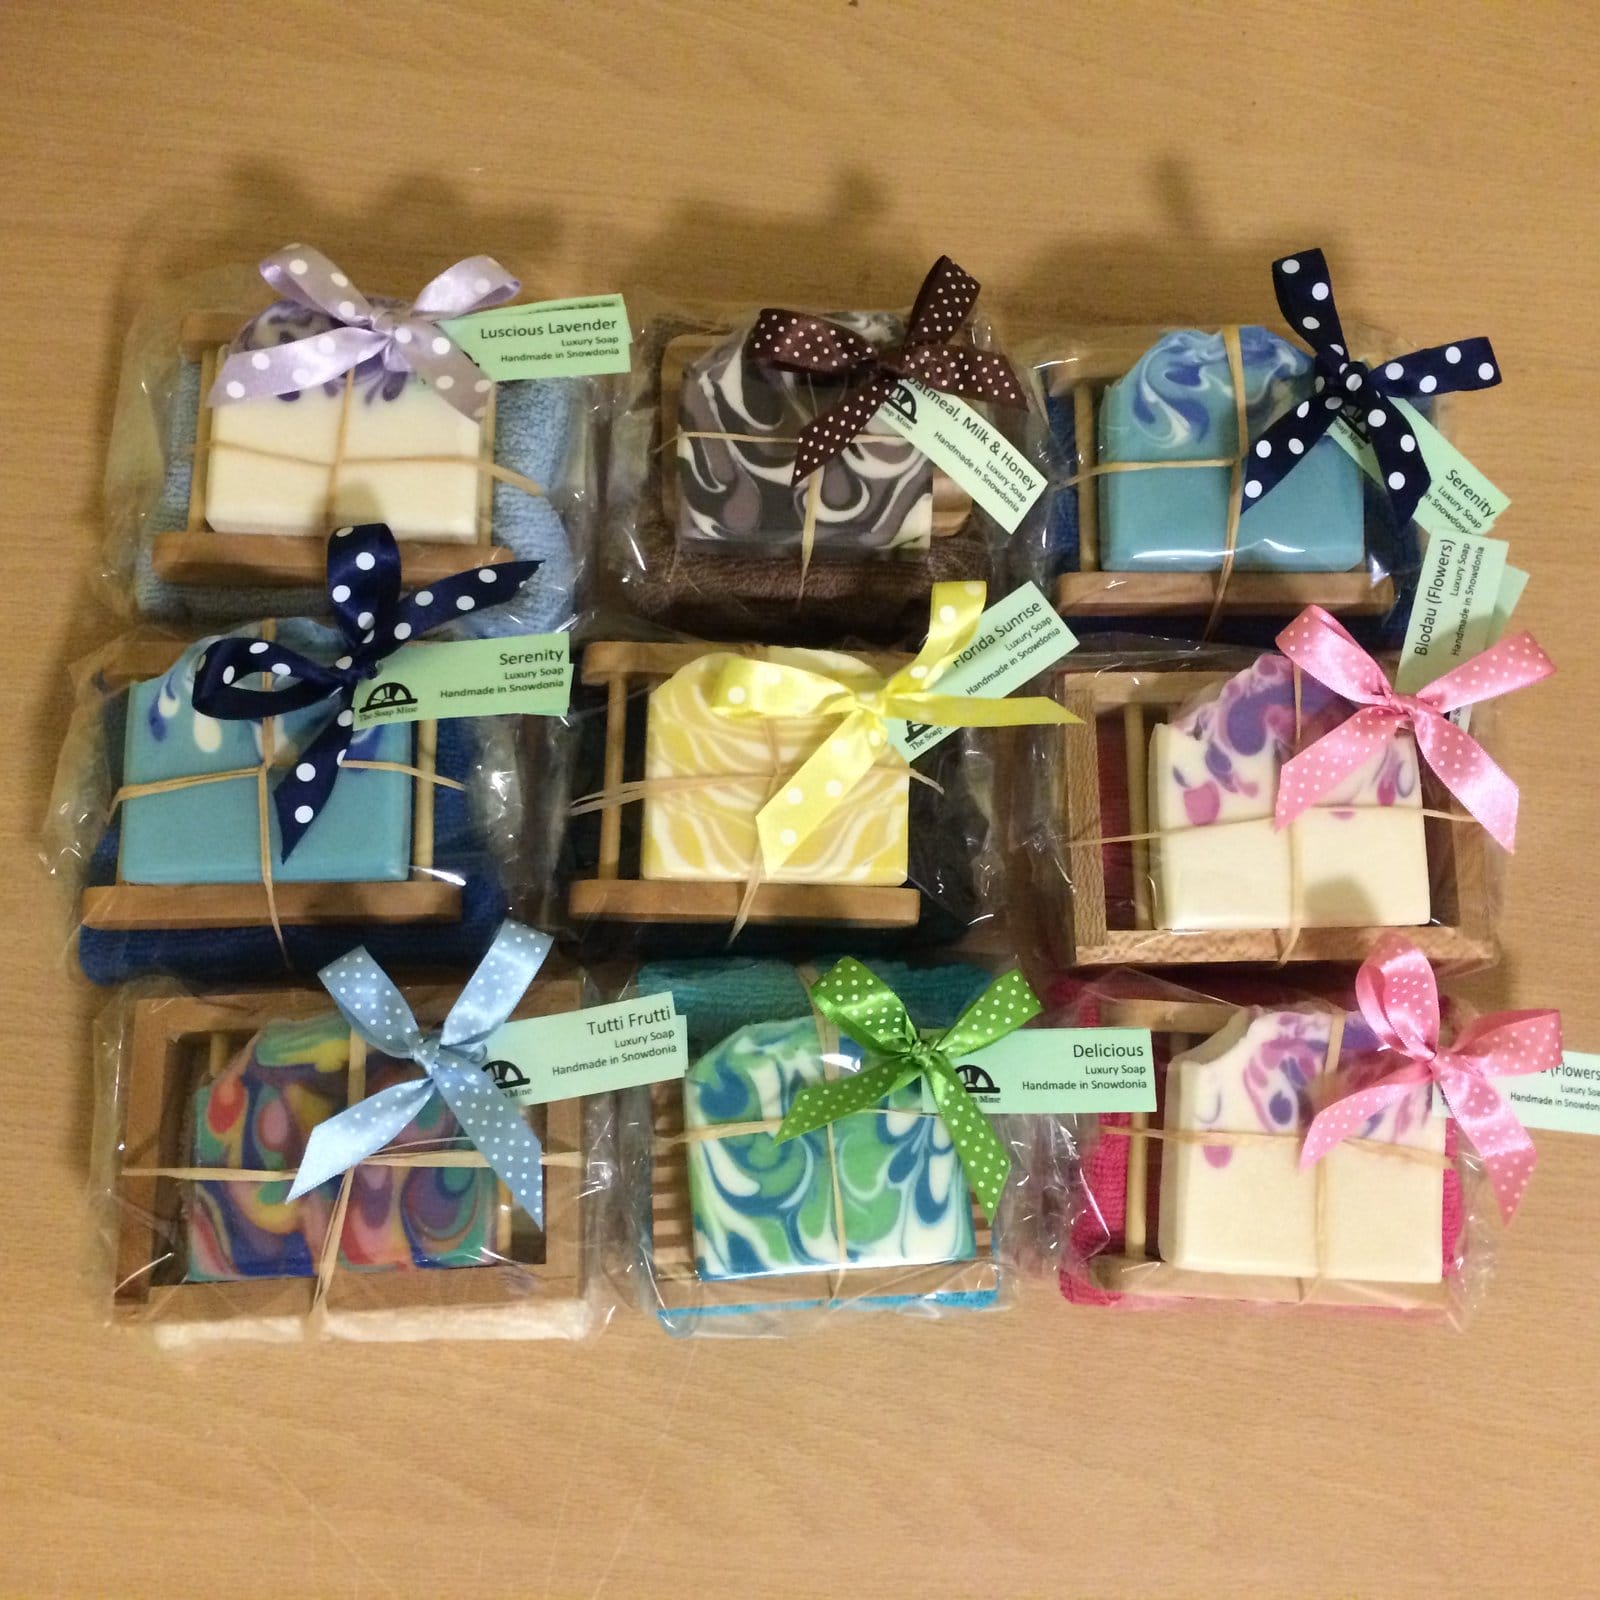
Much of today has been spent putting together gift sets for Saturday’s craft fair:

Gift Sets
Gift Sets
For my Blogtober 2016 Day 26 post (just 5 more to go – hurrah!!) I thought I’d take photographs of the process and share it with you.

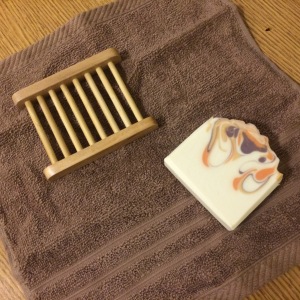
  1. Take a (fully cured & bevelled) bar of soap, a co-ordinating facecloth and a wooden soap stand:

Gift Set Step 1
Step 1
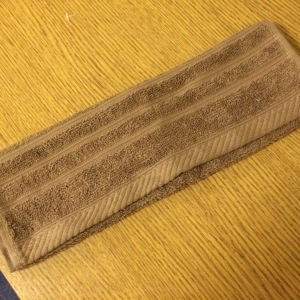
2. Fold the facecloth twice to create three layers:

Step 2
Step 2
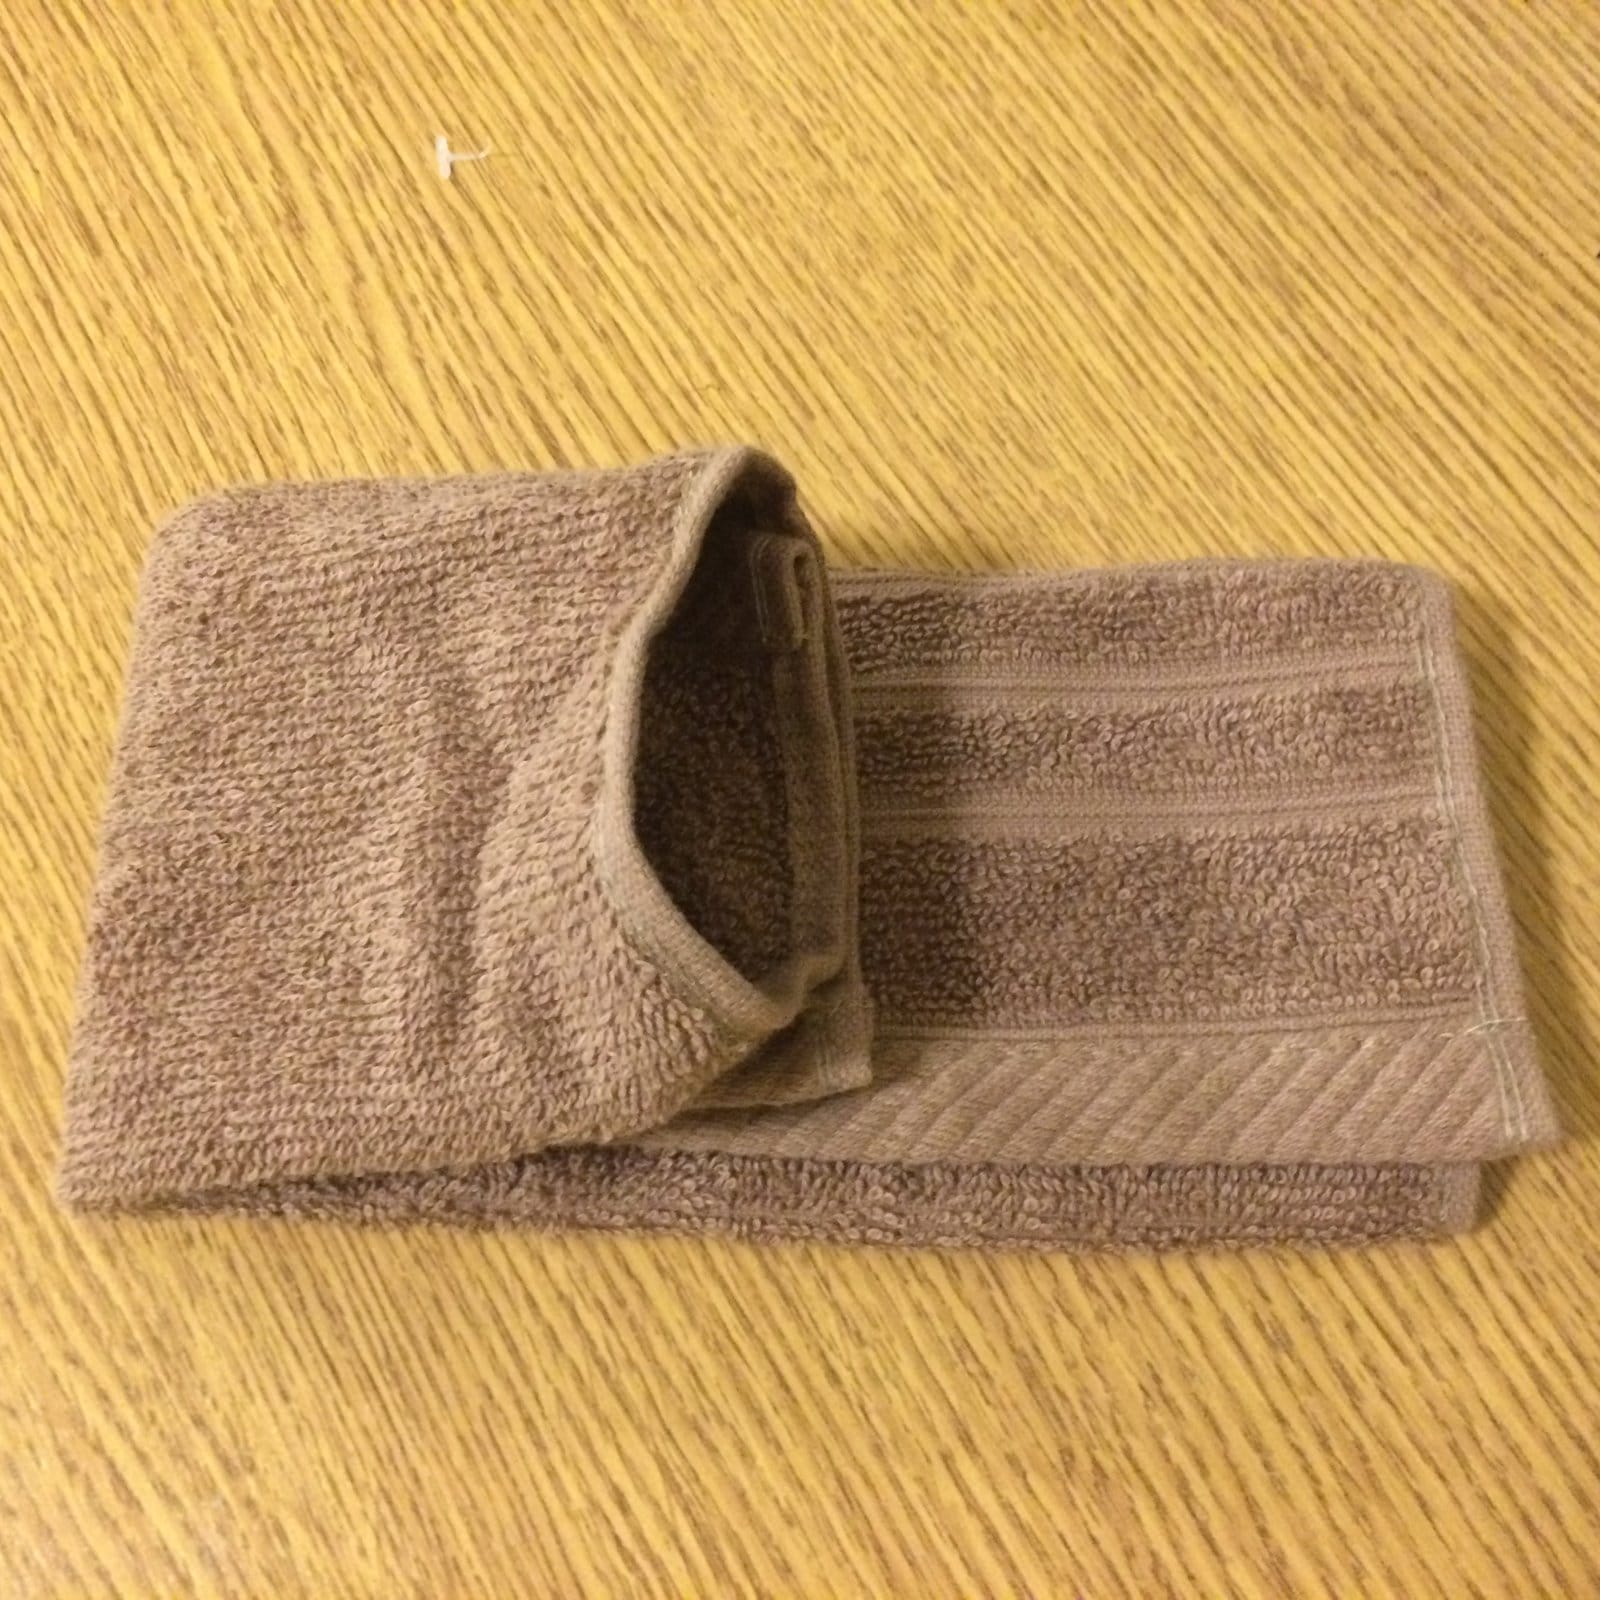
3.  Fold one third of the length over, and open up the end to create a little pocket:

Step 3
Step 3
4. Fold the other half of the facecloth over into the pocket:

Step 4
Step 4
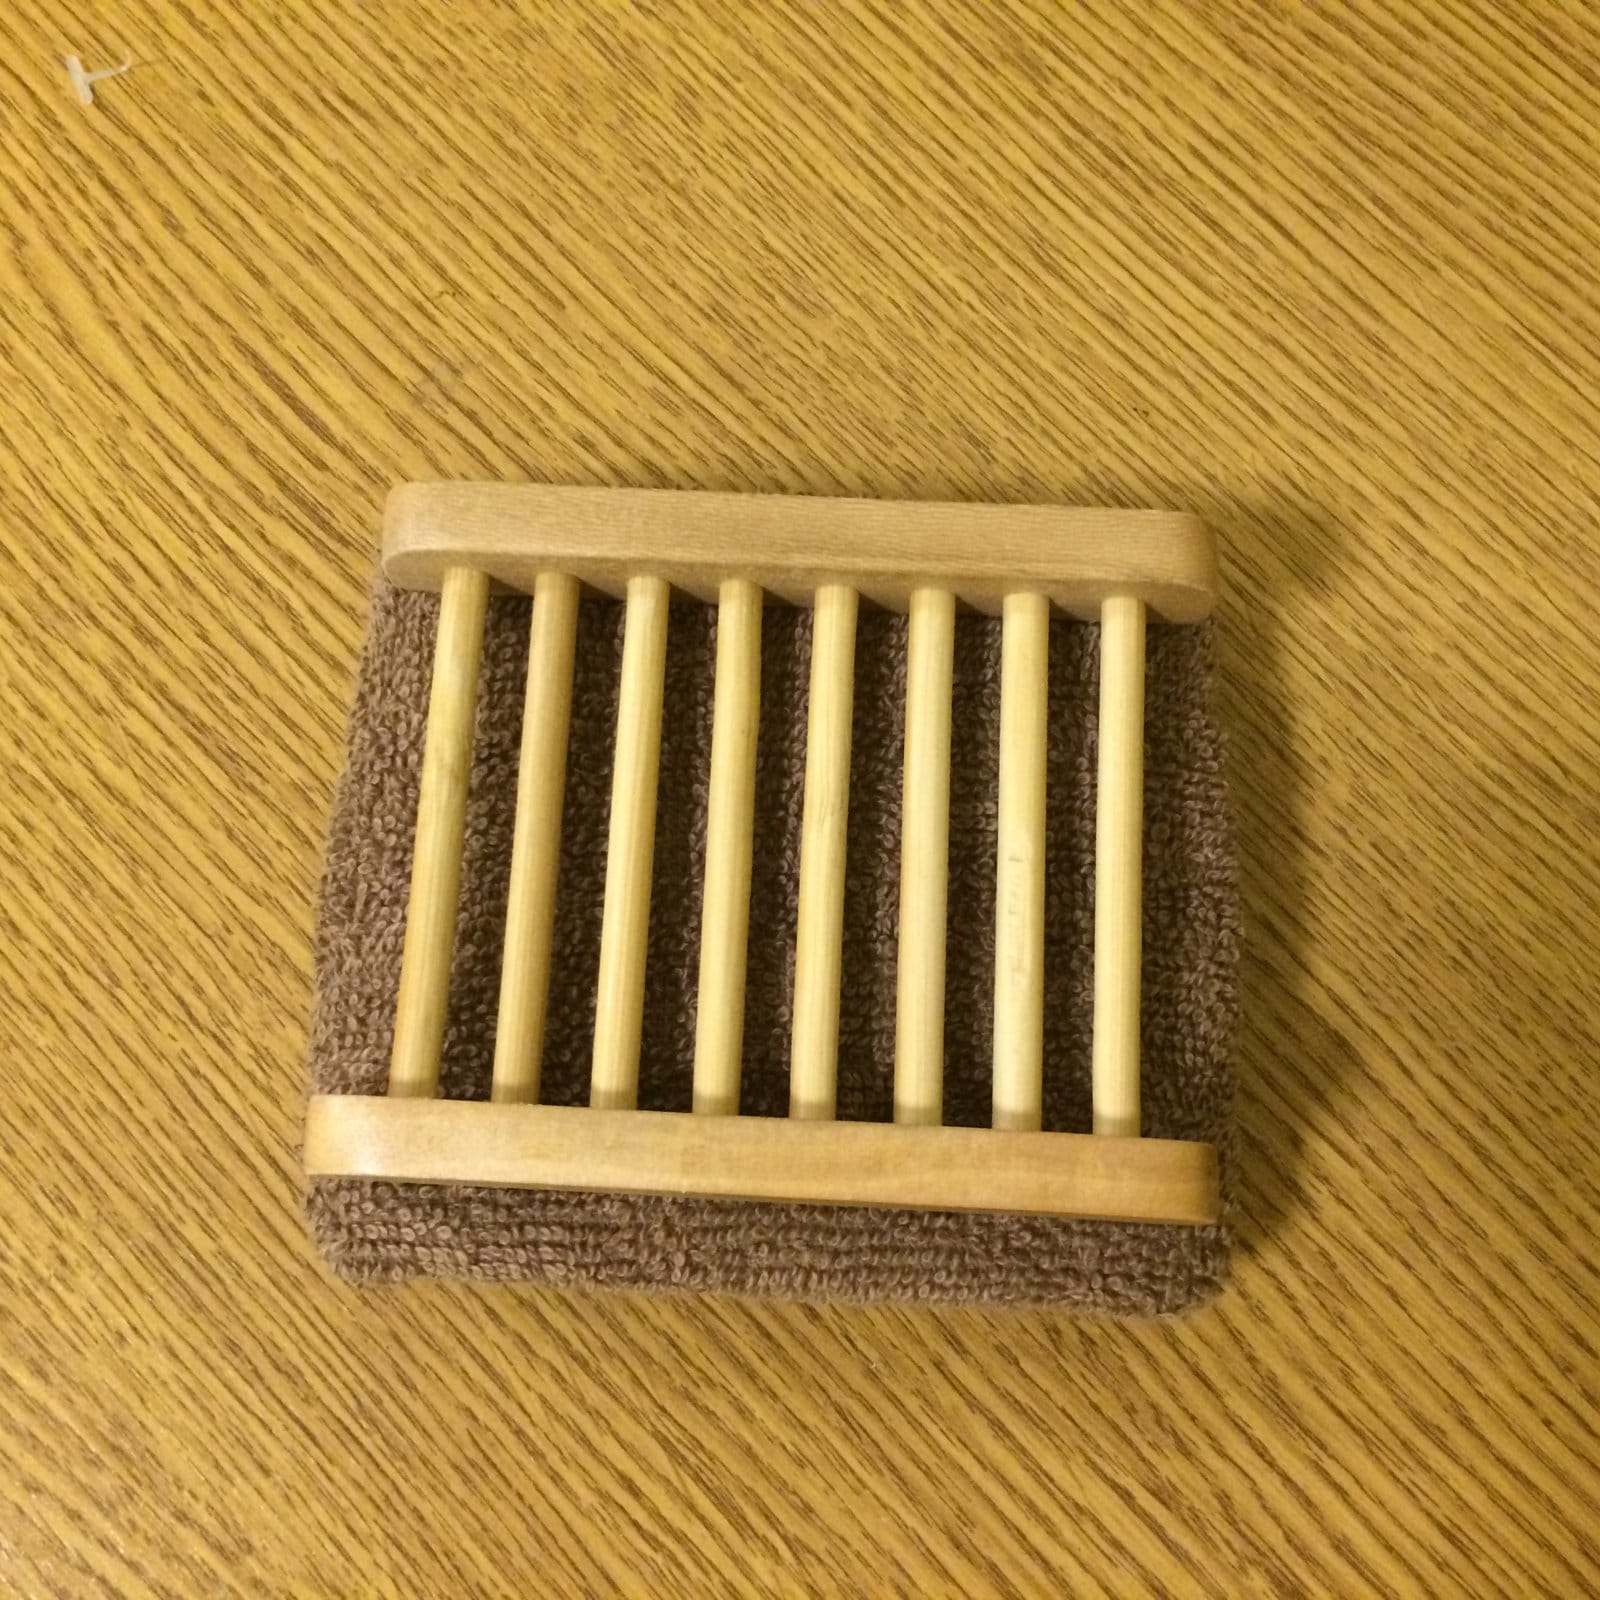
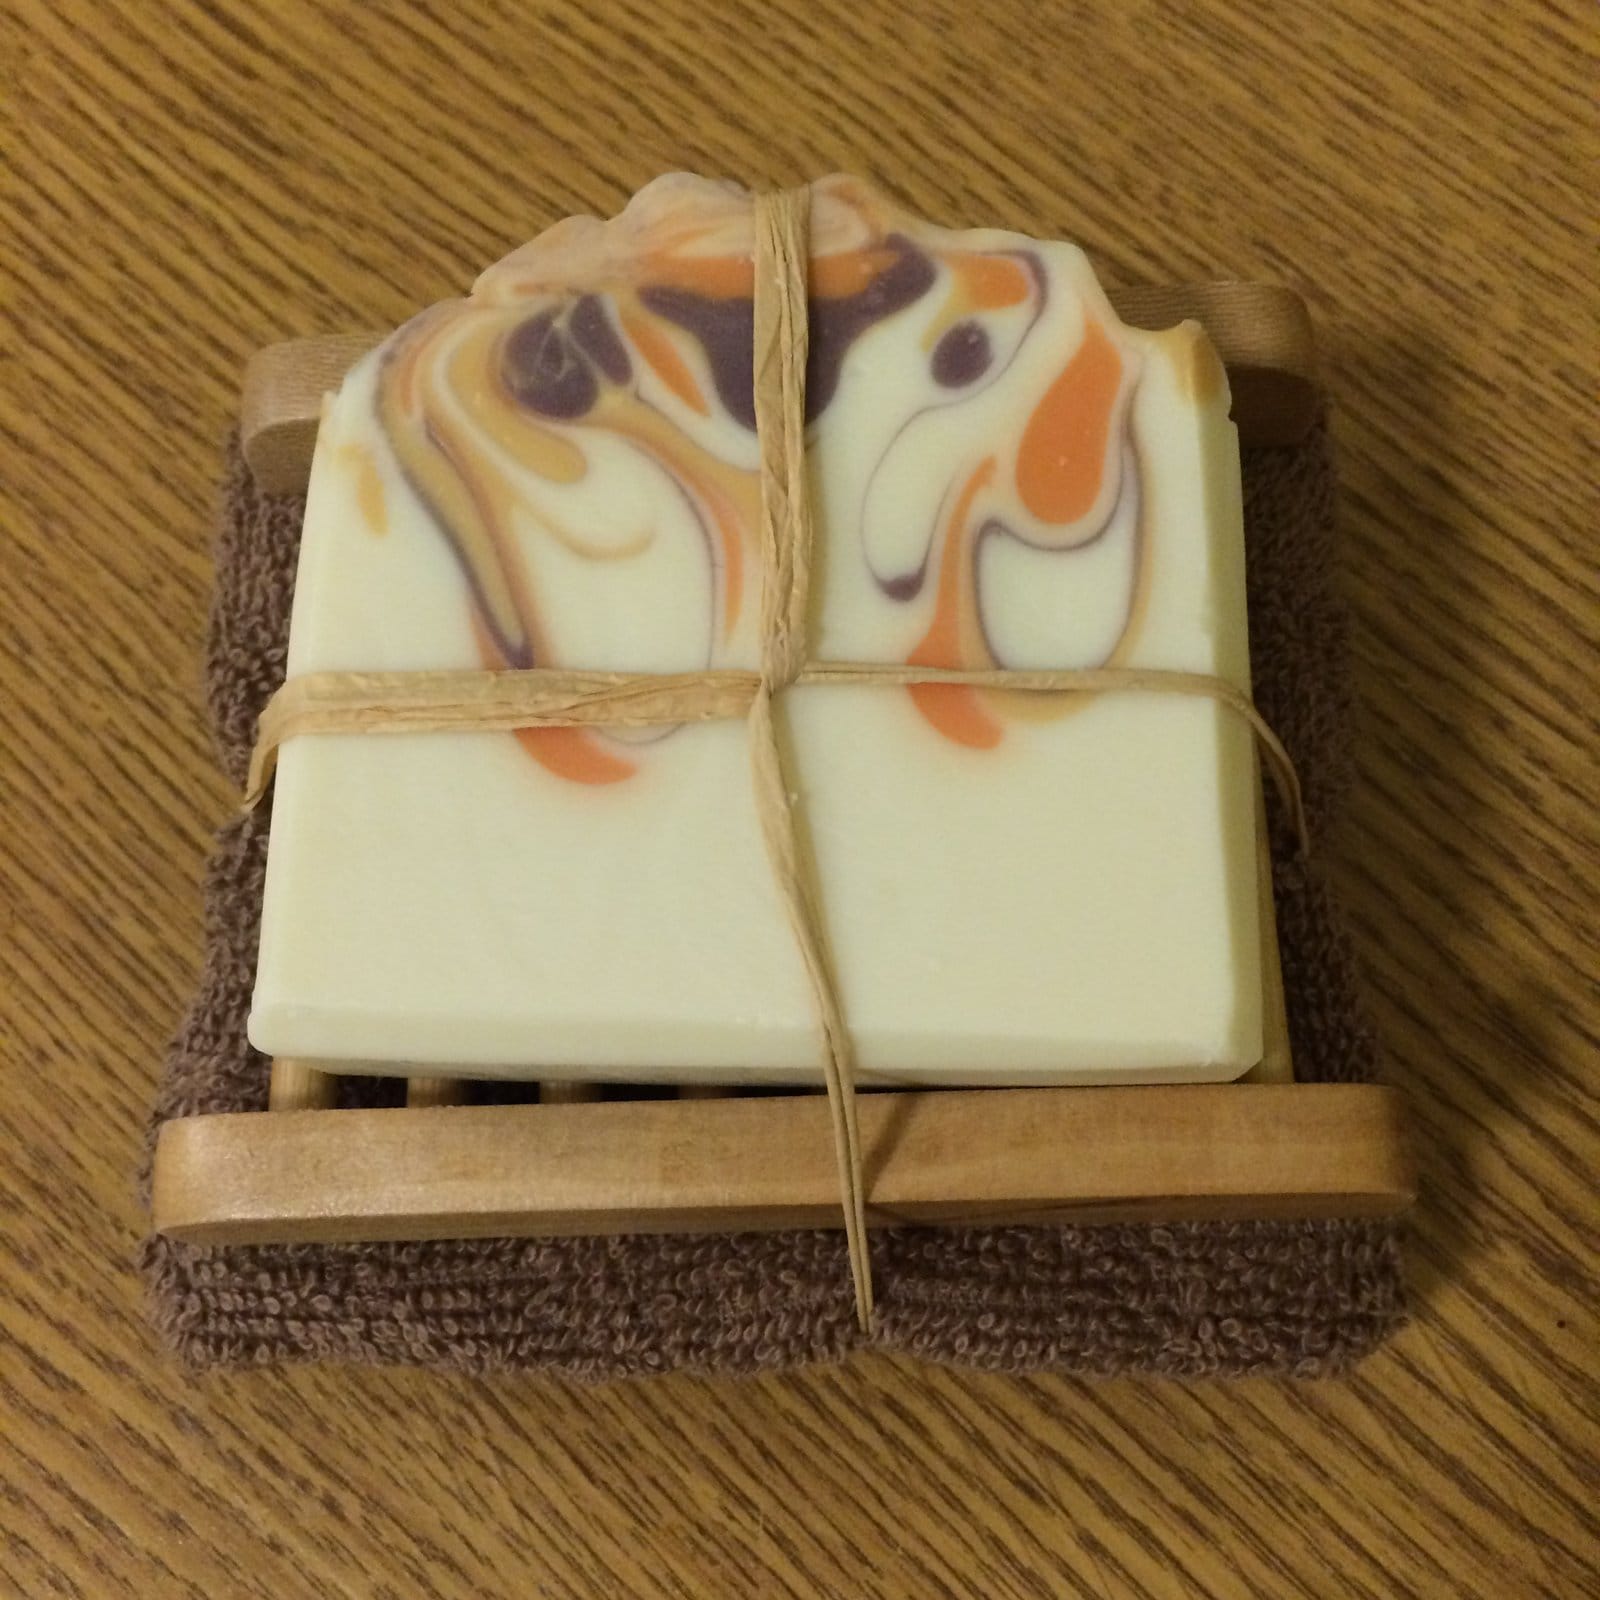
5. Place the wooden soap stand onto the facecloth:

Step 5
Step 5
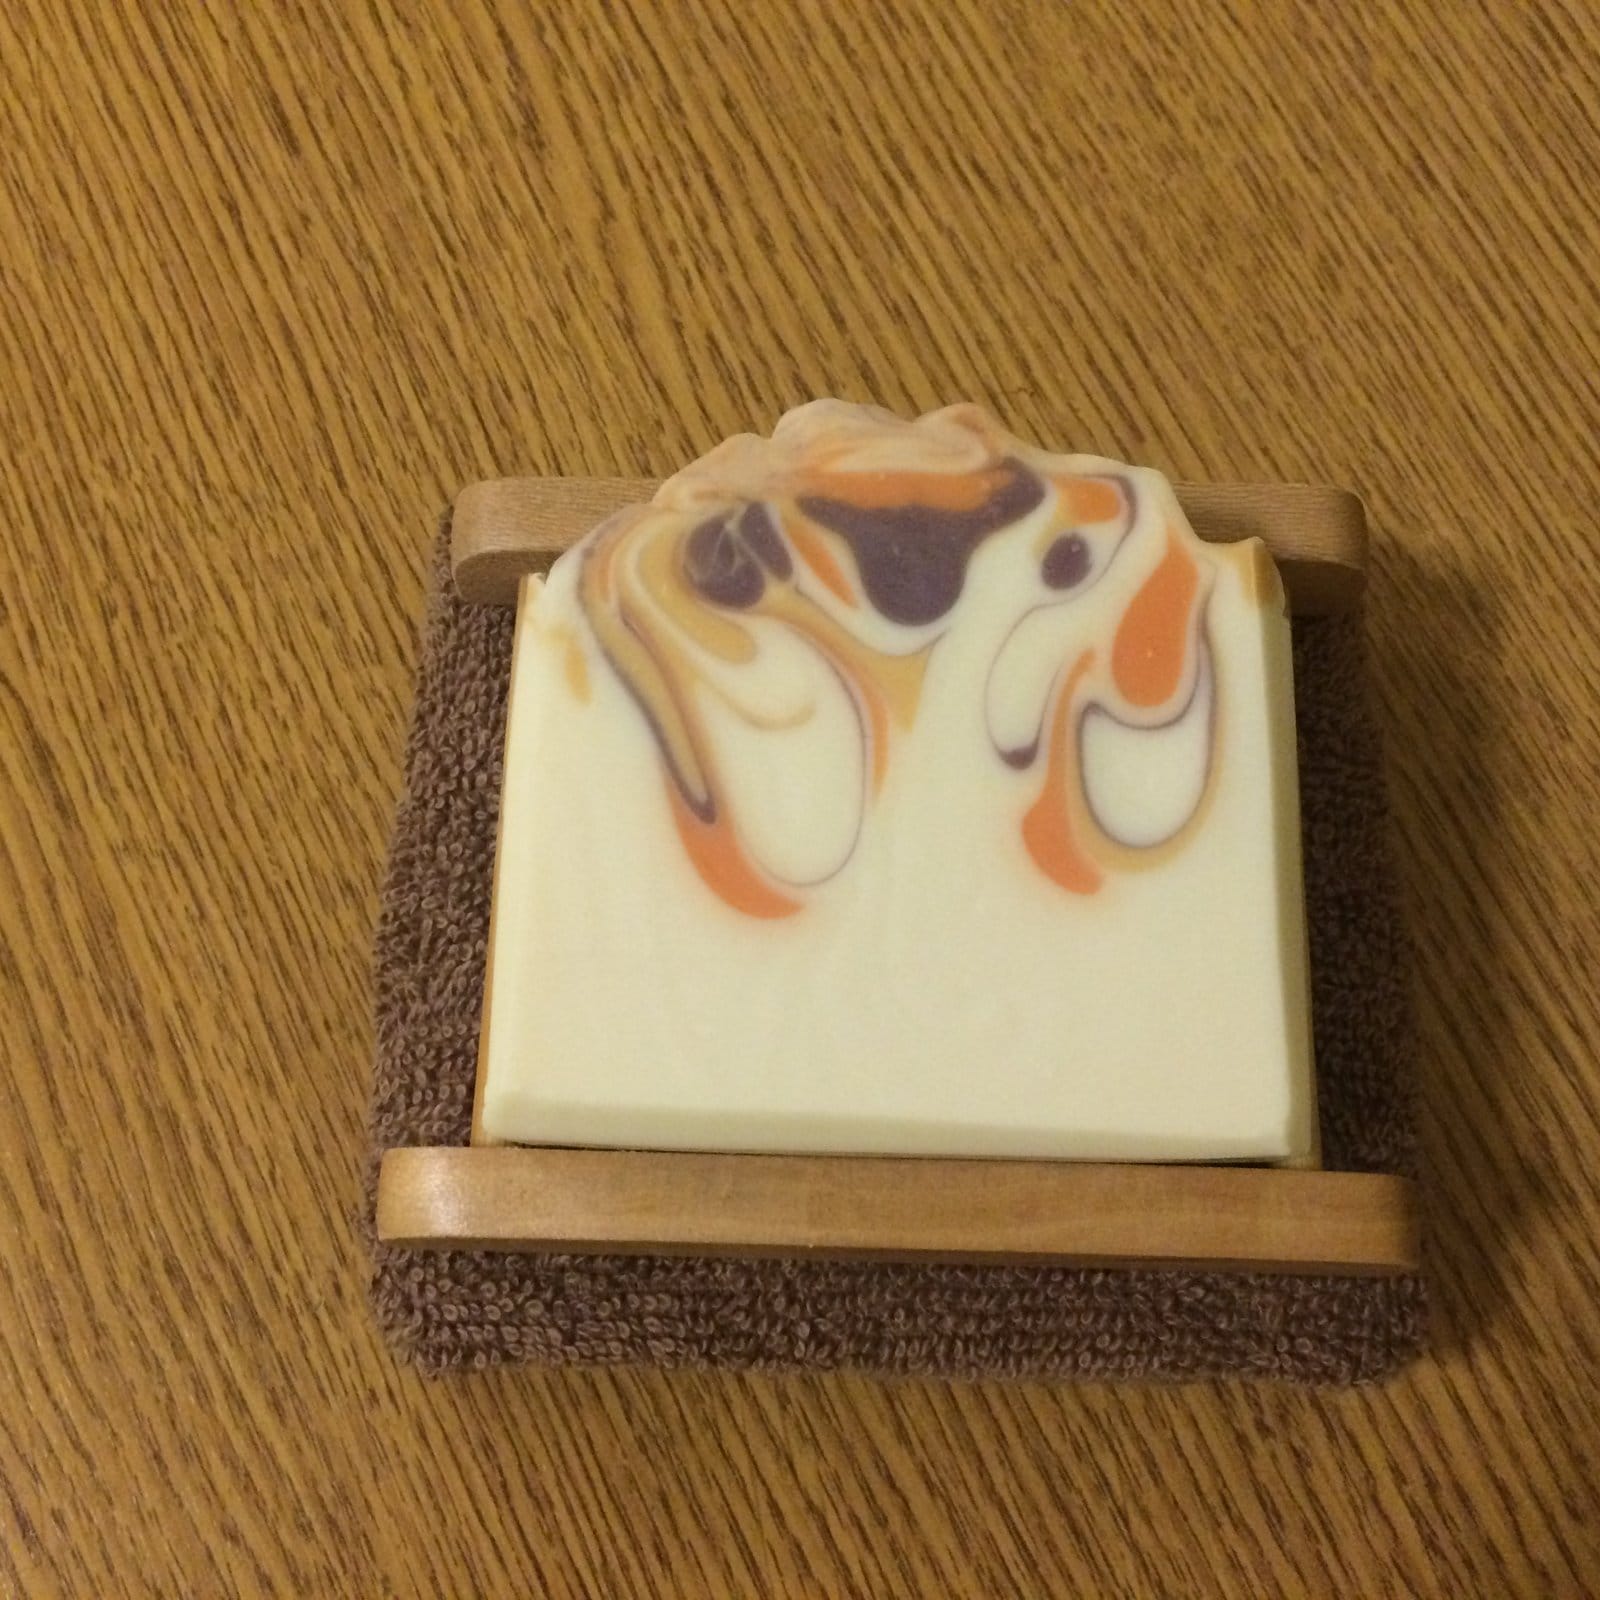
6. Place the soap onto the soap stand:

Step 6
Step 6
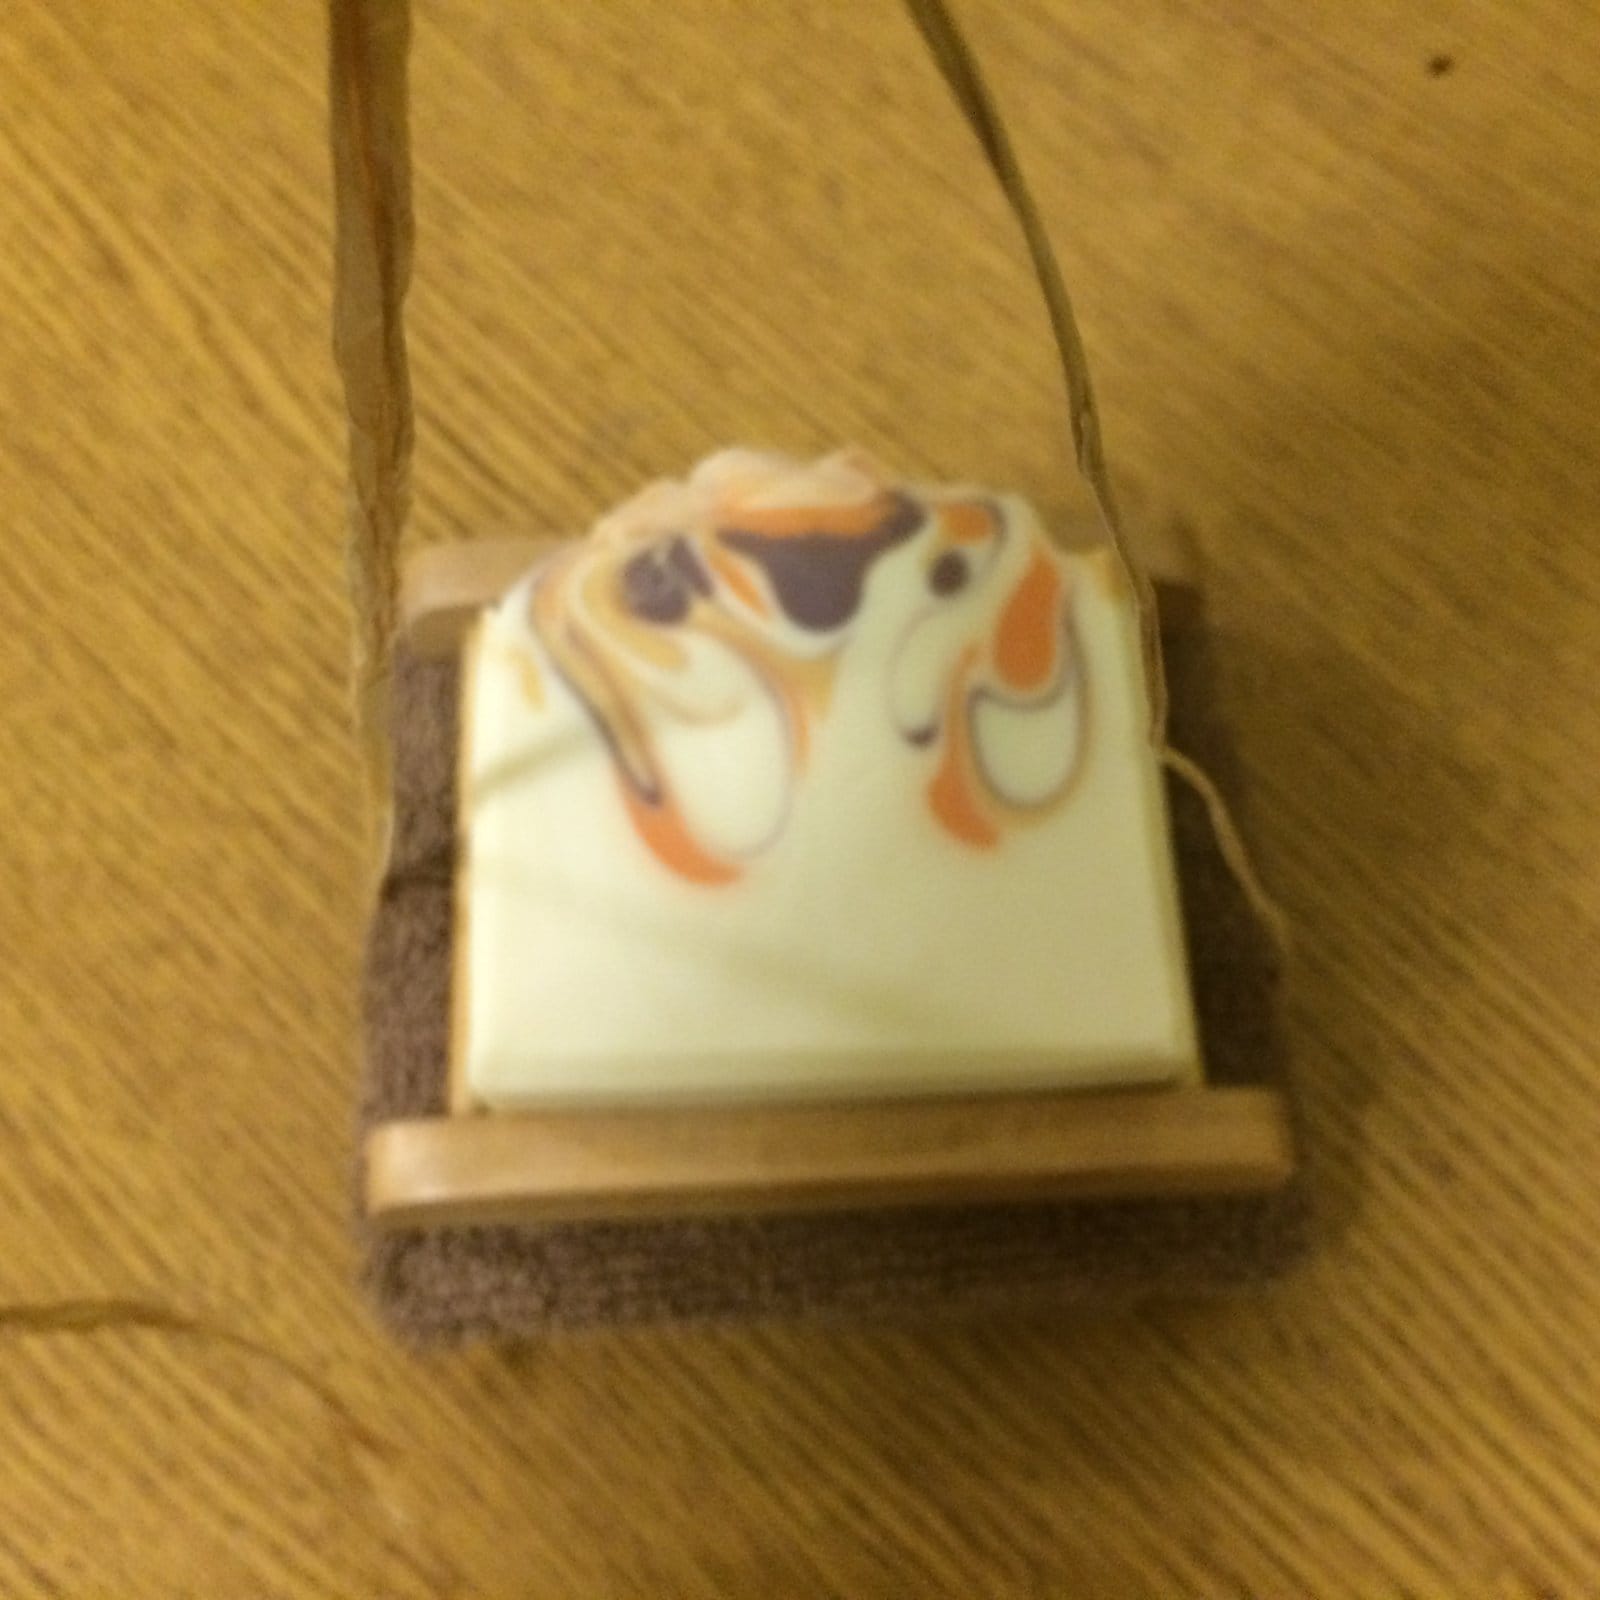
7.  Take a longish piece of string, ribbon or raffia – I use raffia – and place it under the the facecloth (apologies for the quality of the photo here):

Step 7
Step 7
8. Cross the raffia over like so:

Step 8
Step 8
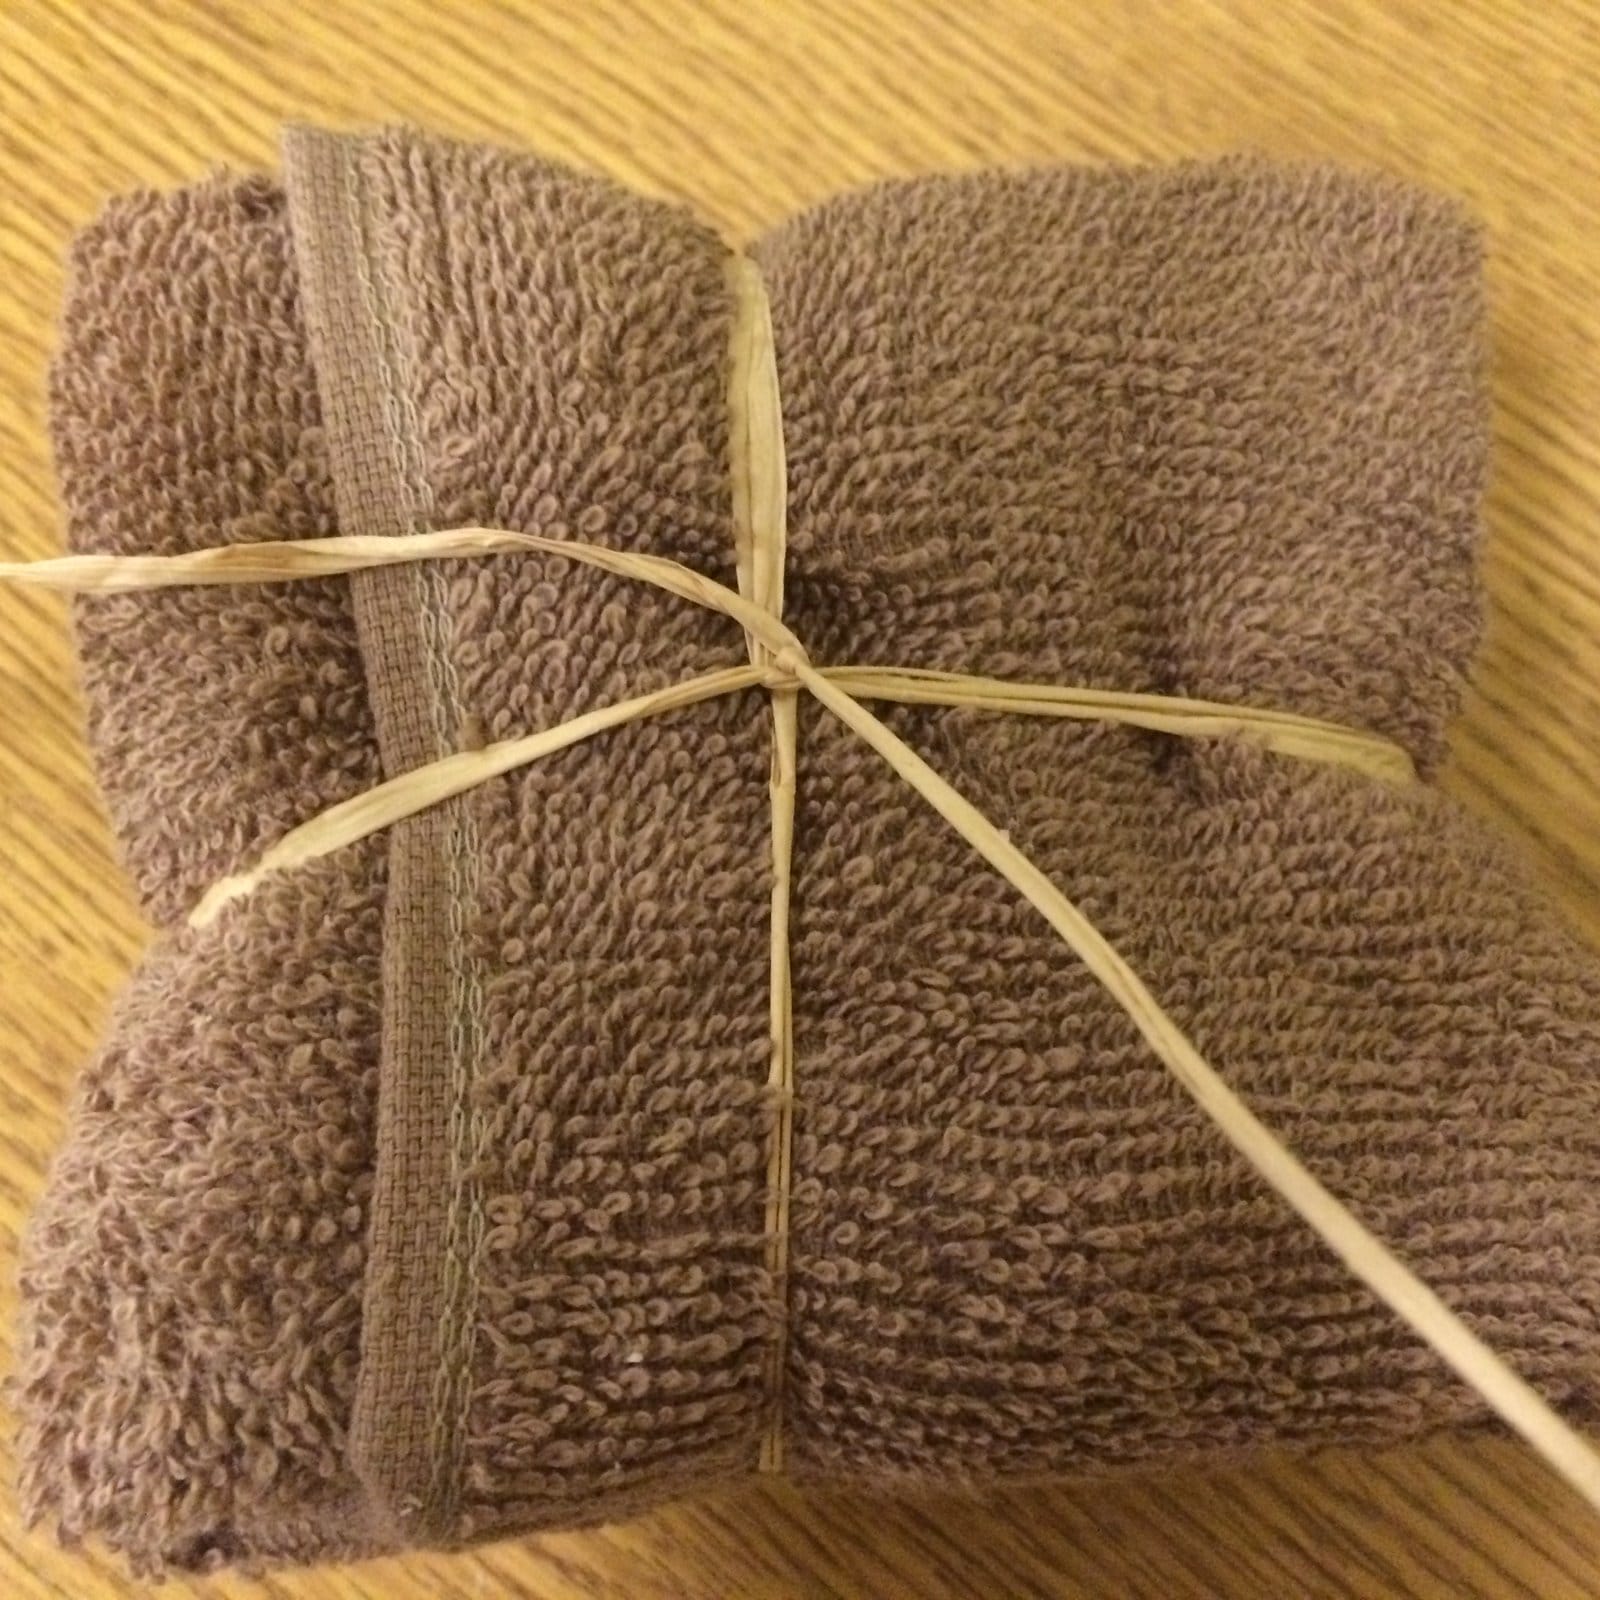
9. Turn the set over and tie the raffia securely:

Step 9
Step 9
10.  I then slip an information card under the raffia

Step 10
Step 10
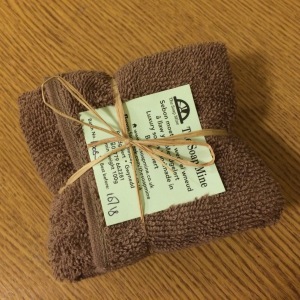
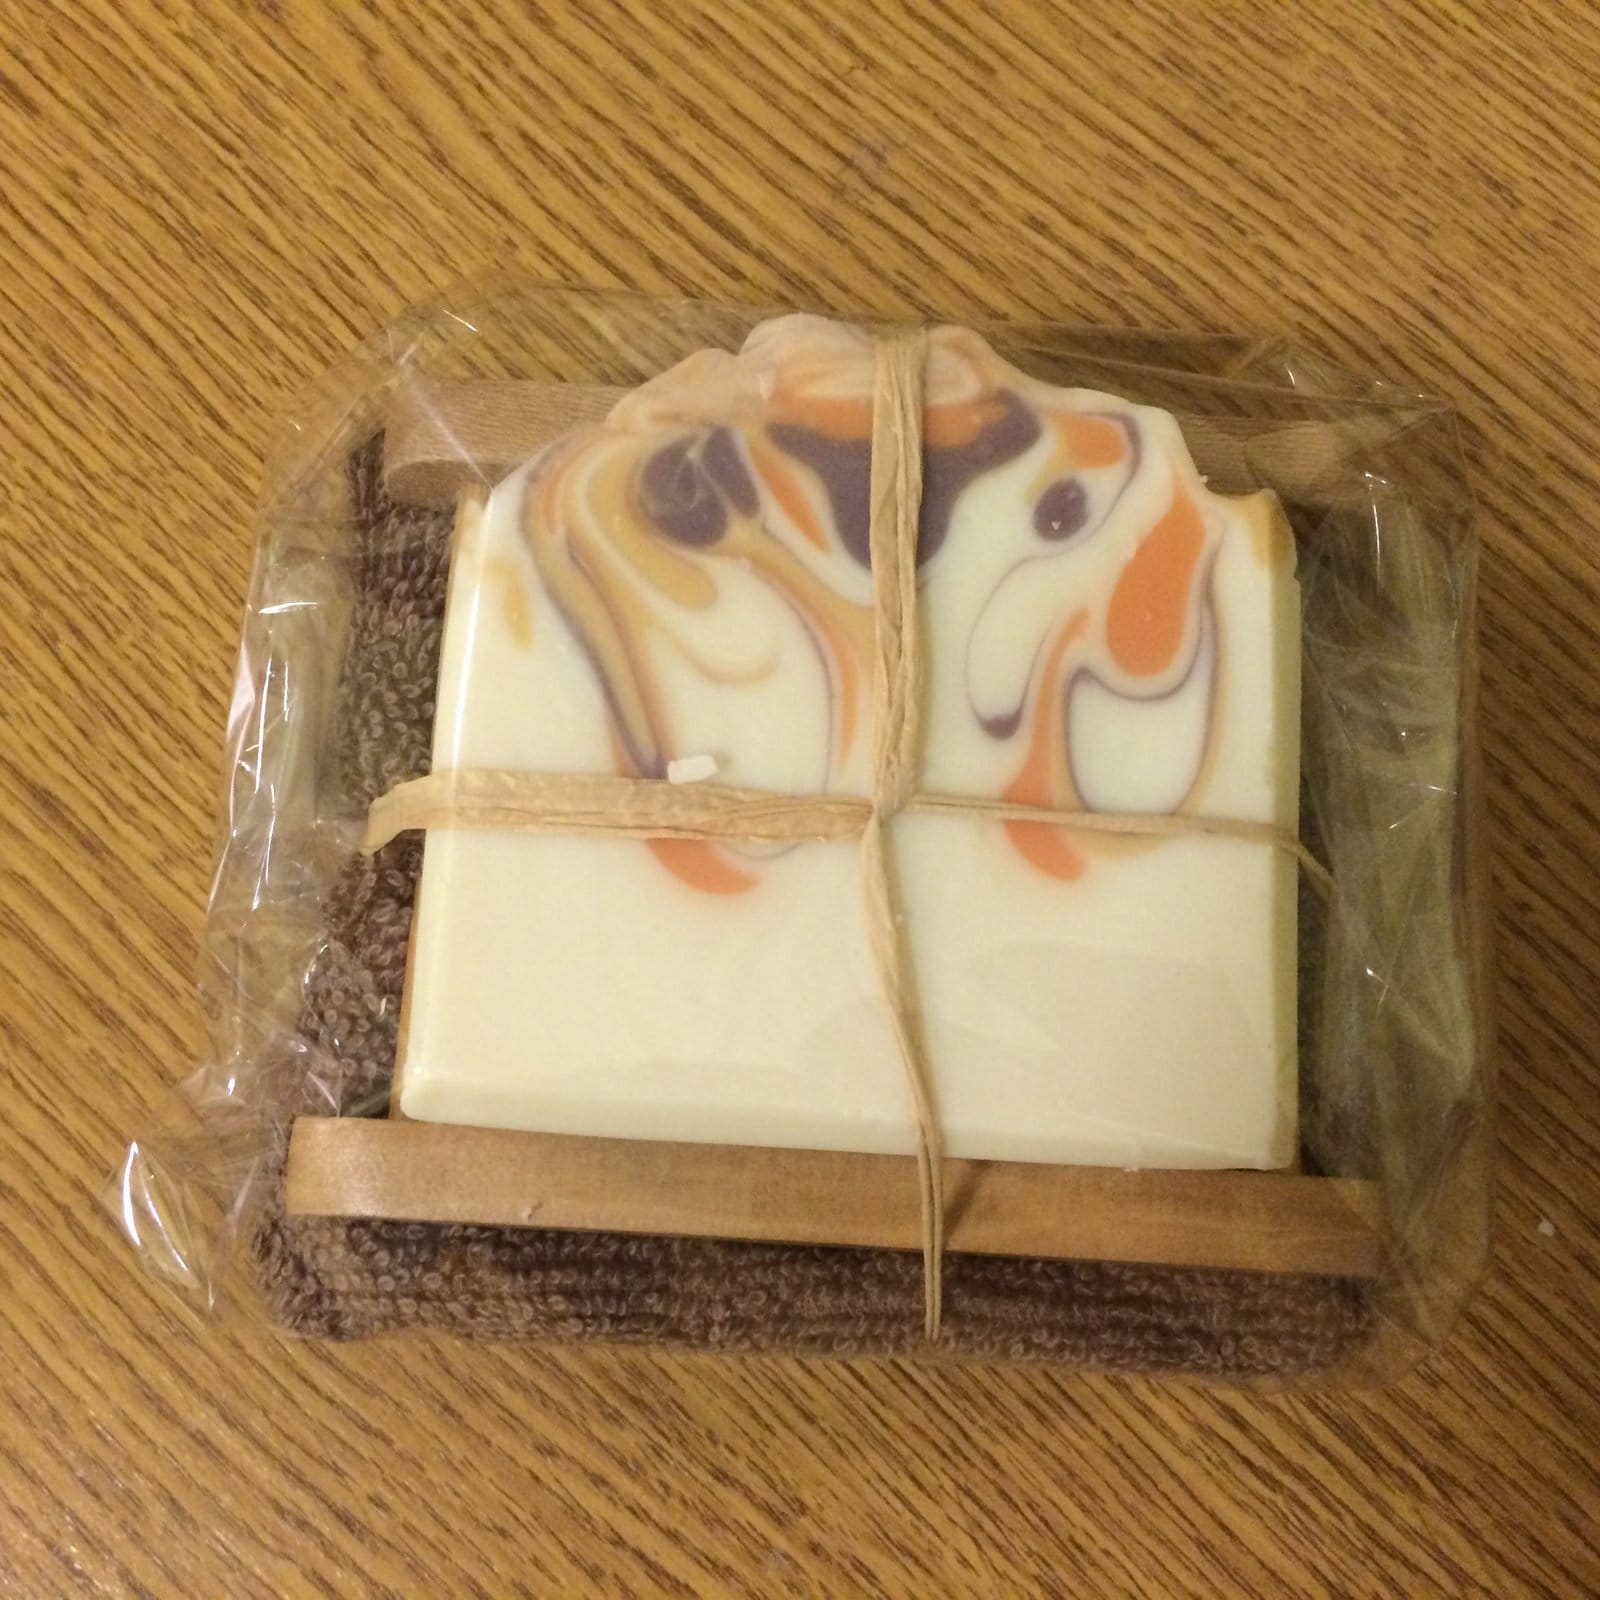
11. The secured set, ready for cellophane:

Step 11
Step 11
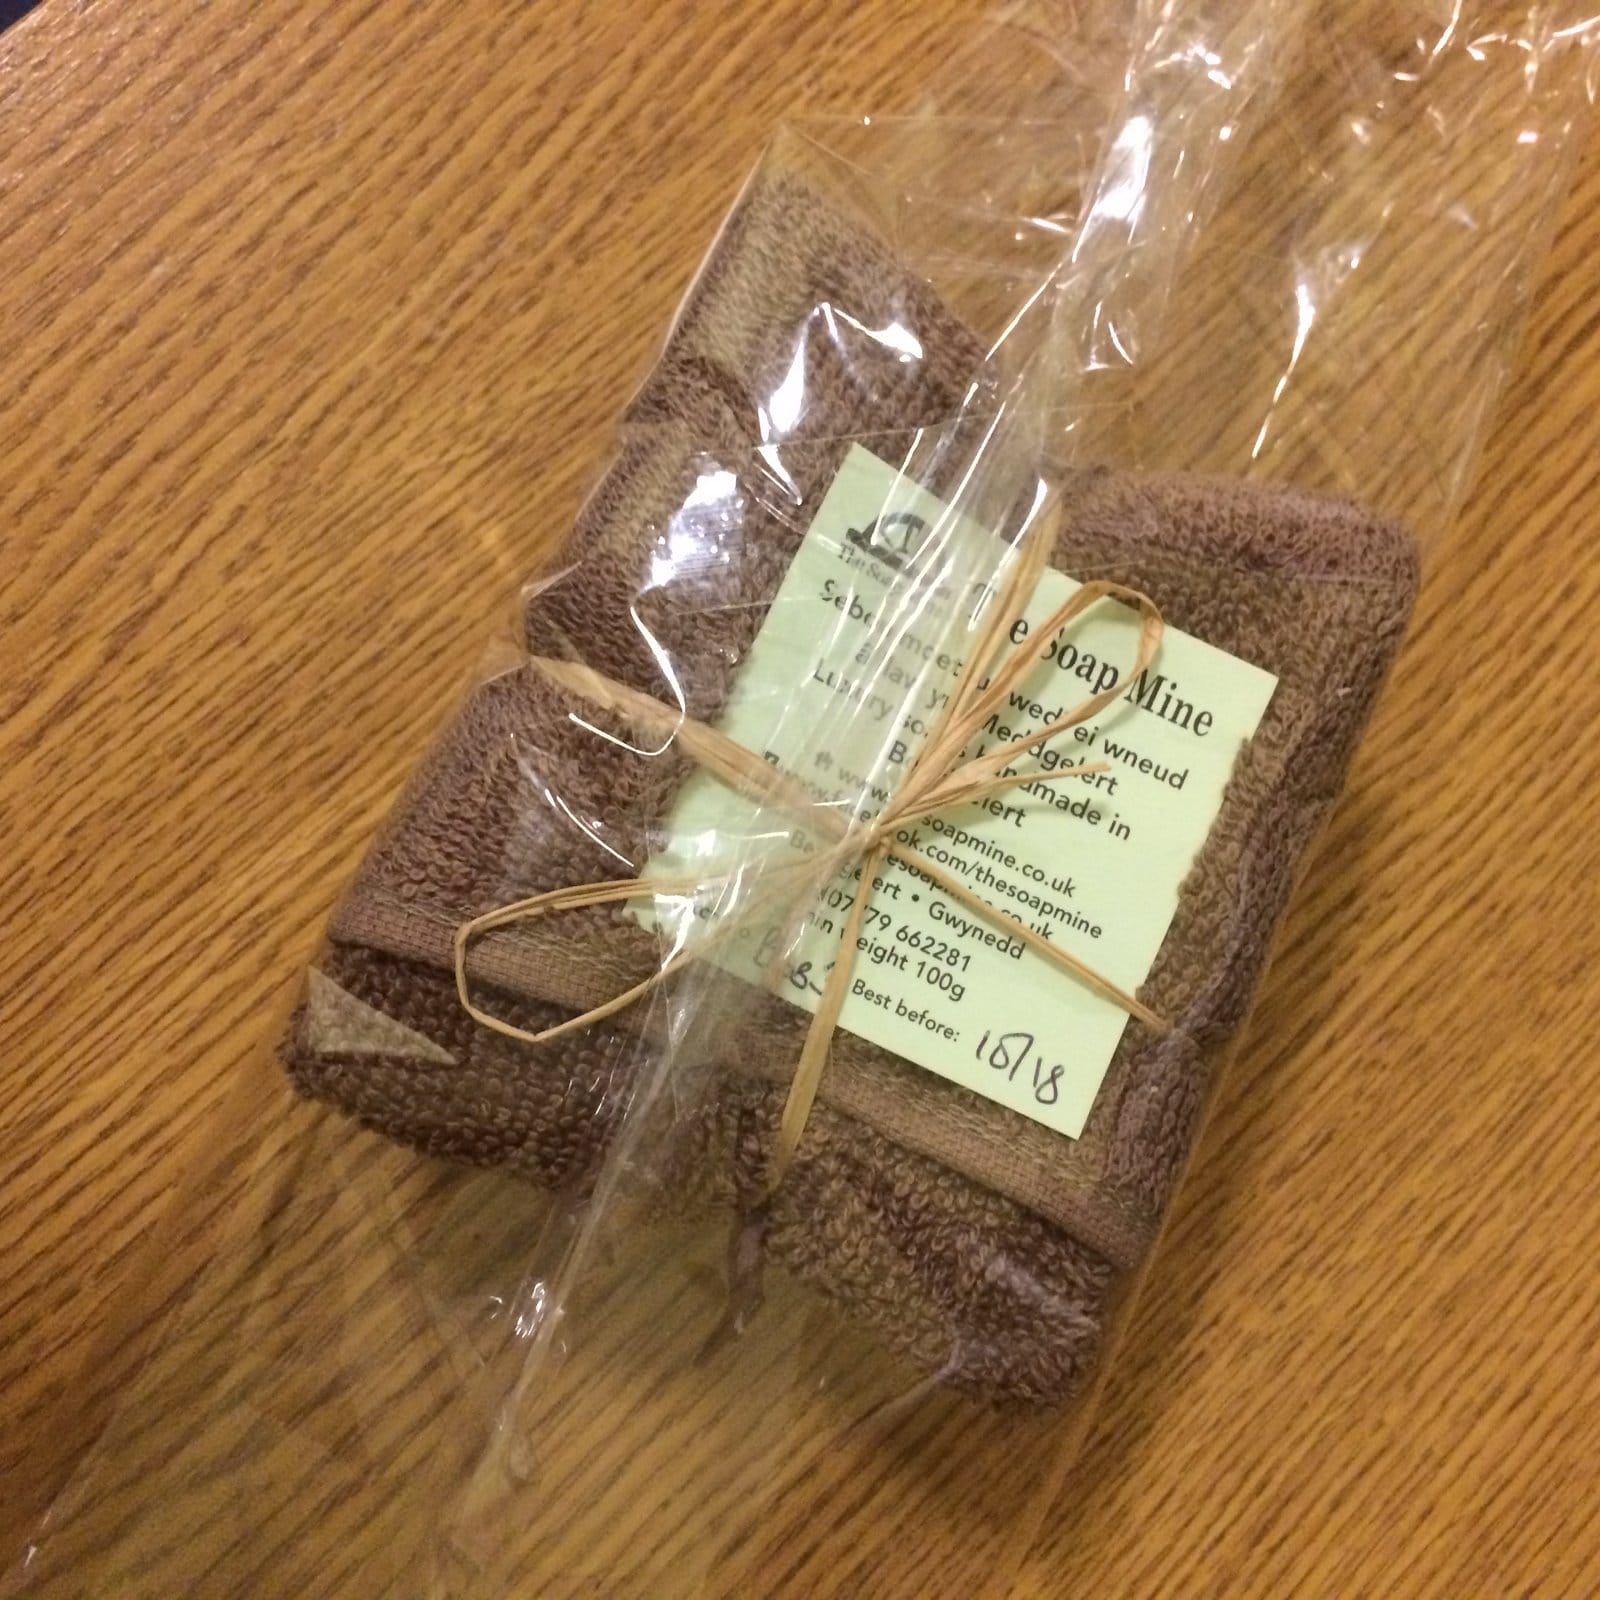
12.  Place the set, face down, on a large square of cellophane, bring up opposing sides and roll over and secure, as if wrapping a gift:

Step 12
Step 12
Step 13:  Fold up the other two sides – again just like wrapping a gift:

Step 13
Step 13
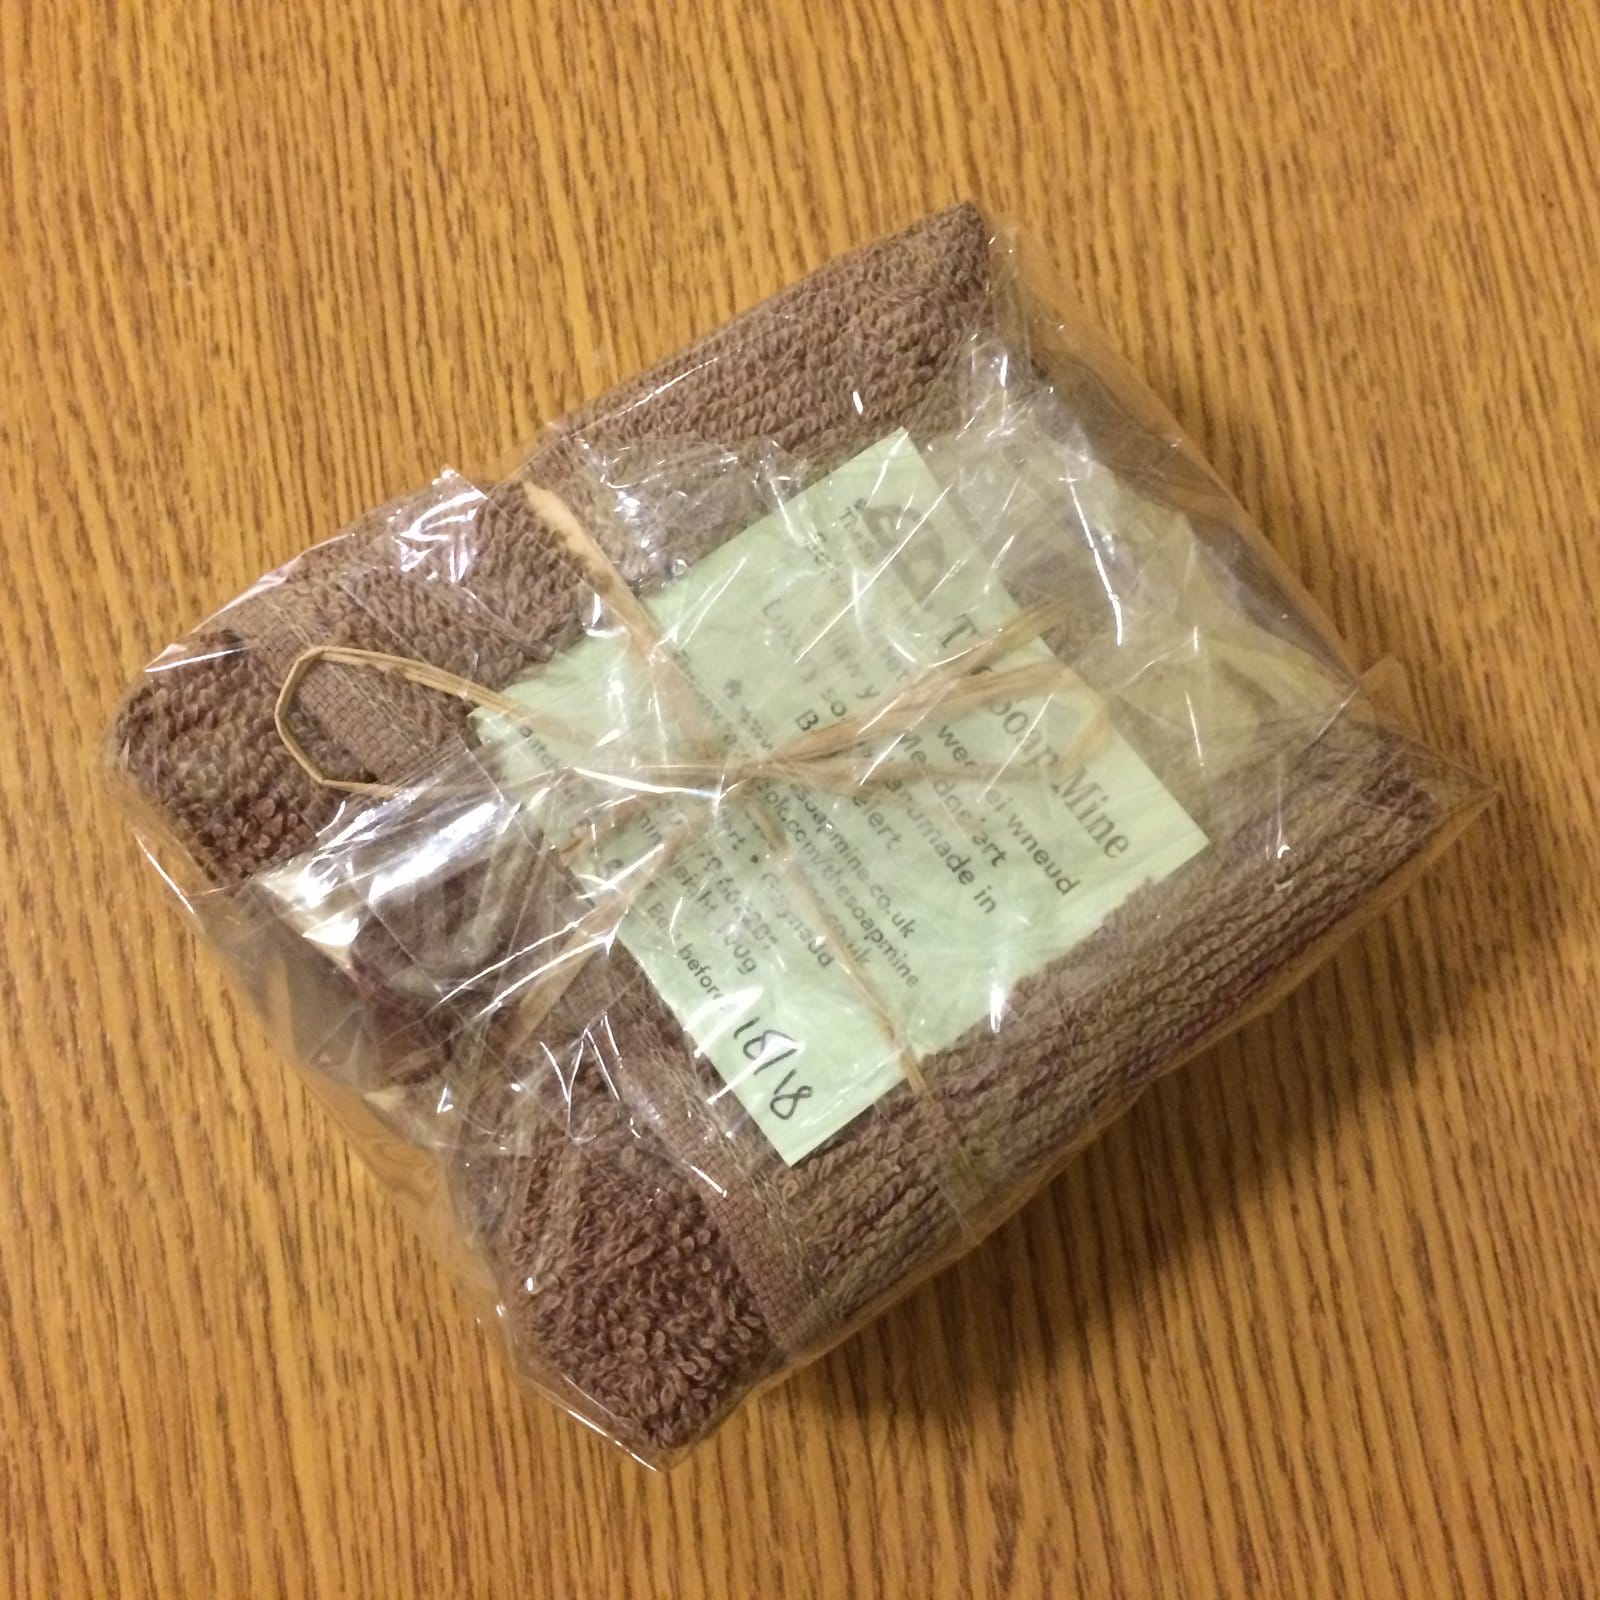
14.  Cellophane wrapped gift set:

Step 14
Step 14
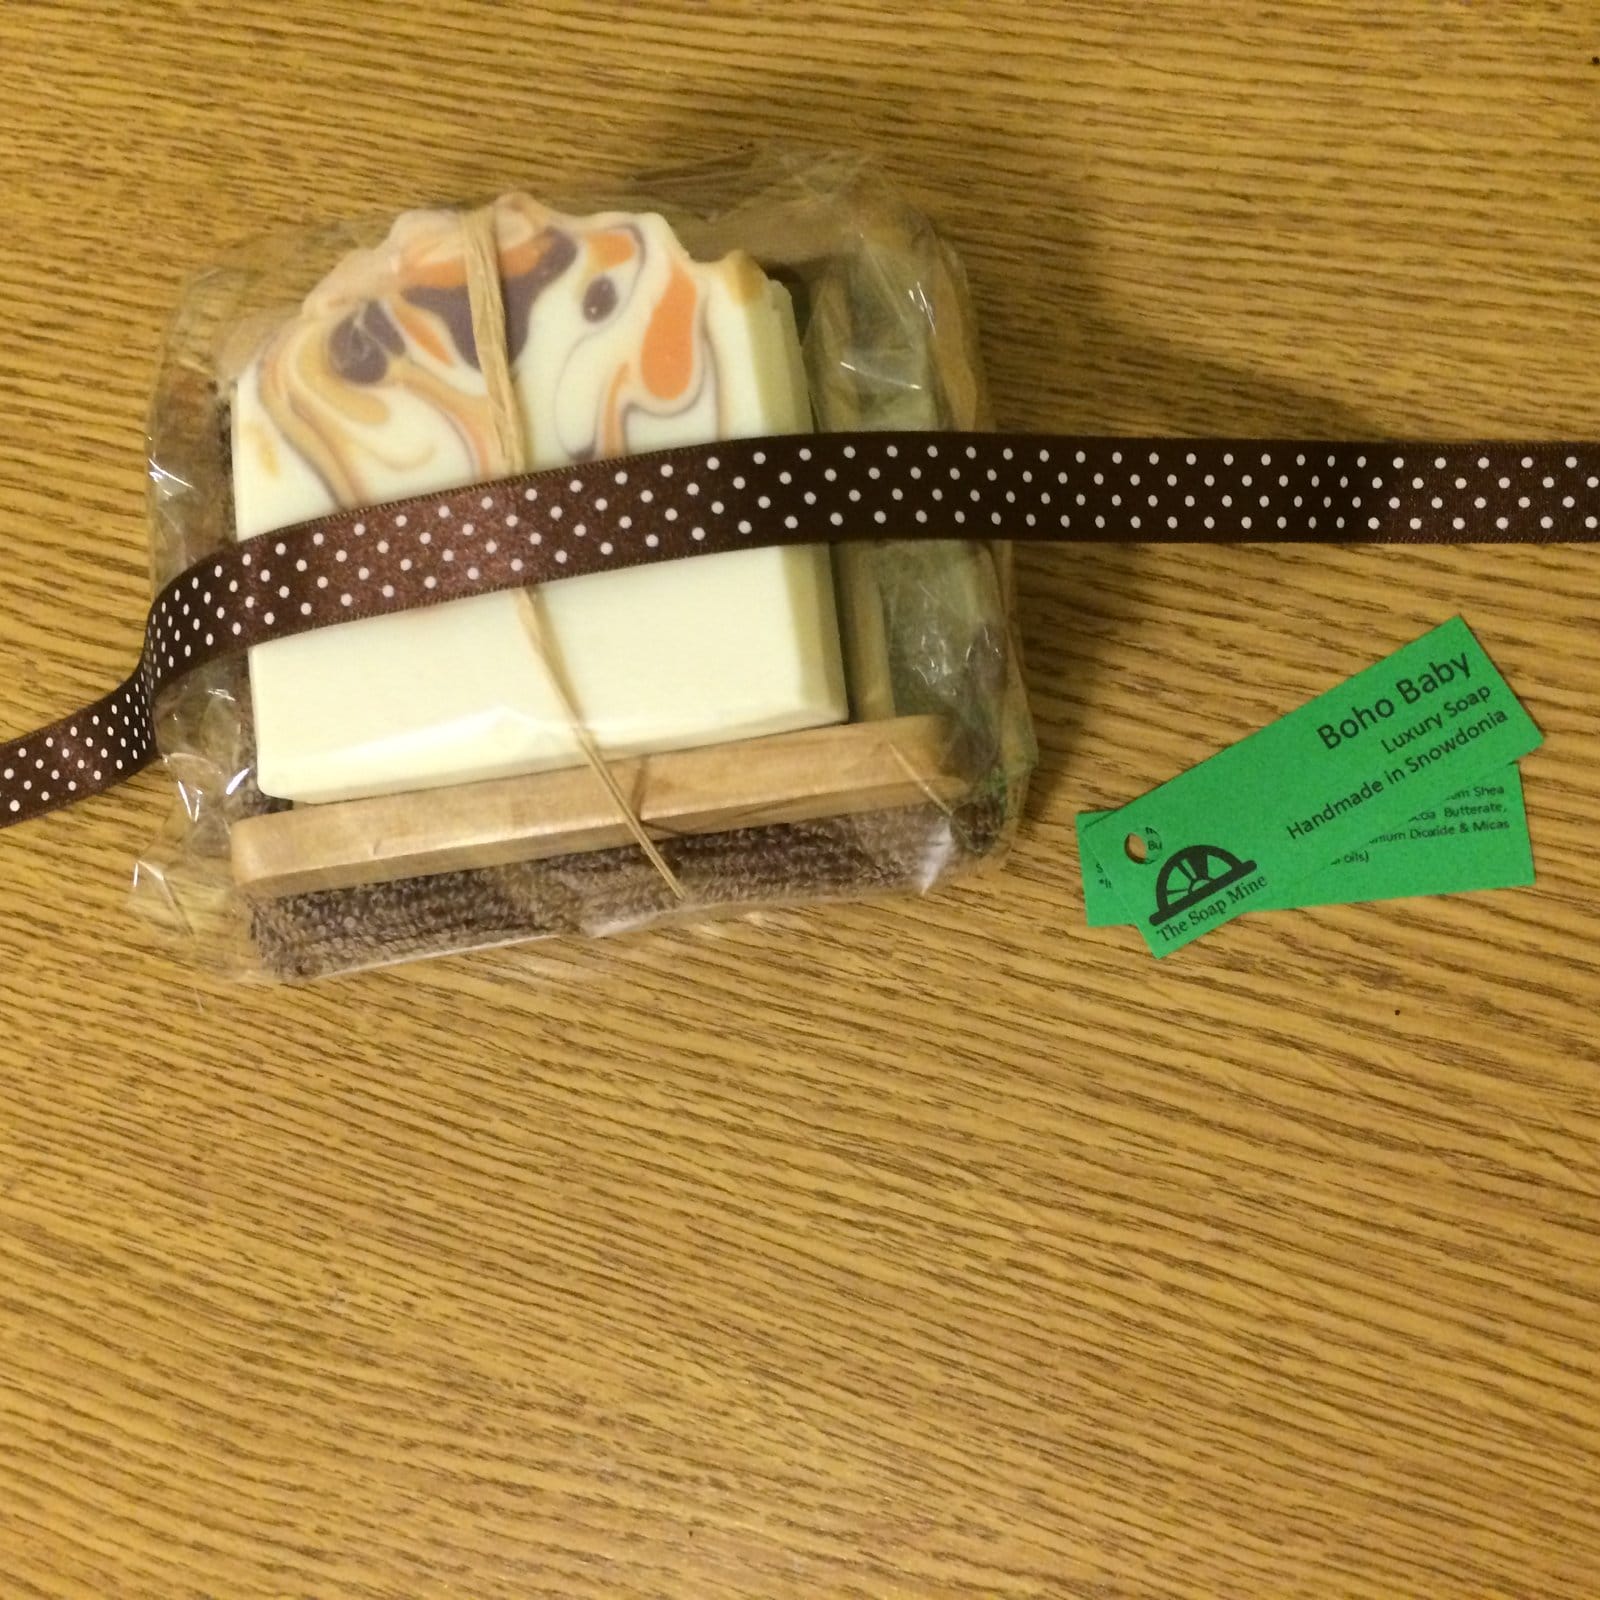
15.  Take a length of co-ordinating ribbon and labels – I have two labels – one for the soap name and one for the ingredients:

Step 15
Step 15
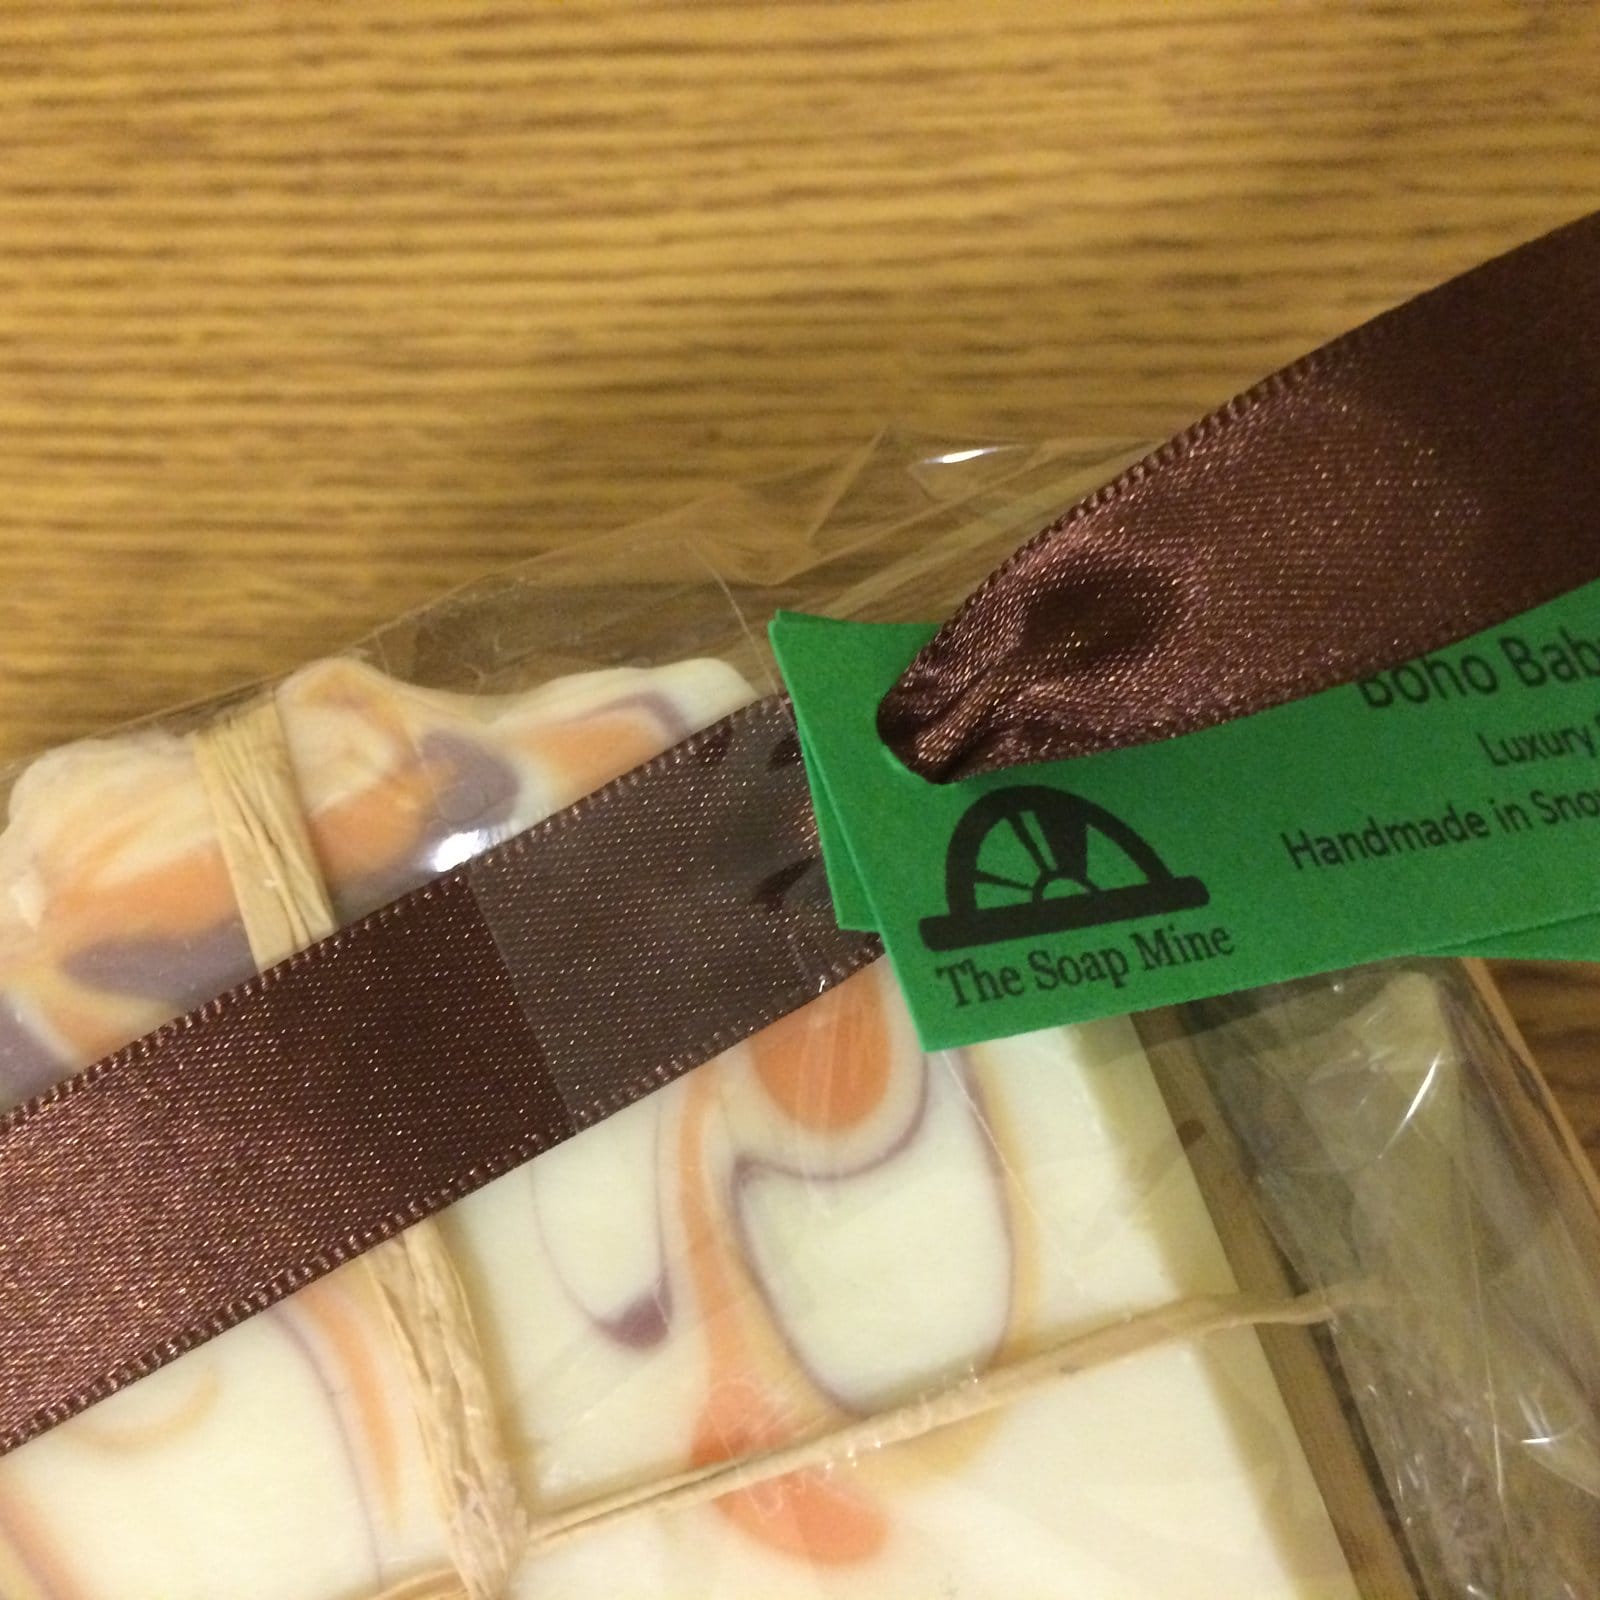
16. Using sticky tape, stick the ribbon in FACE DOWN on the top right corner of the set, and thread on the labels:

Step 16
Step 16
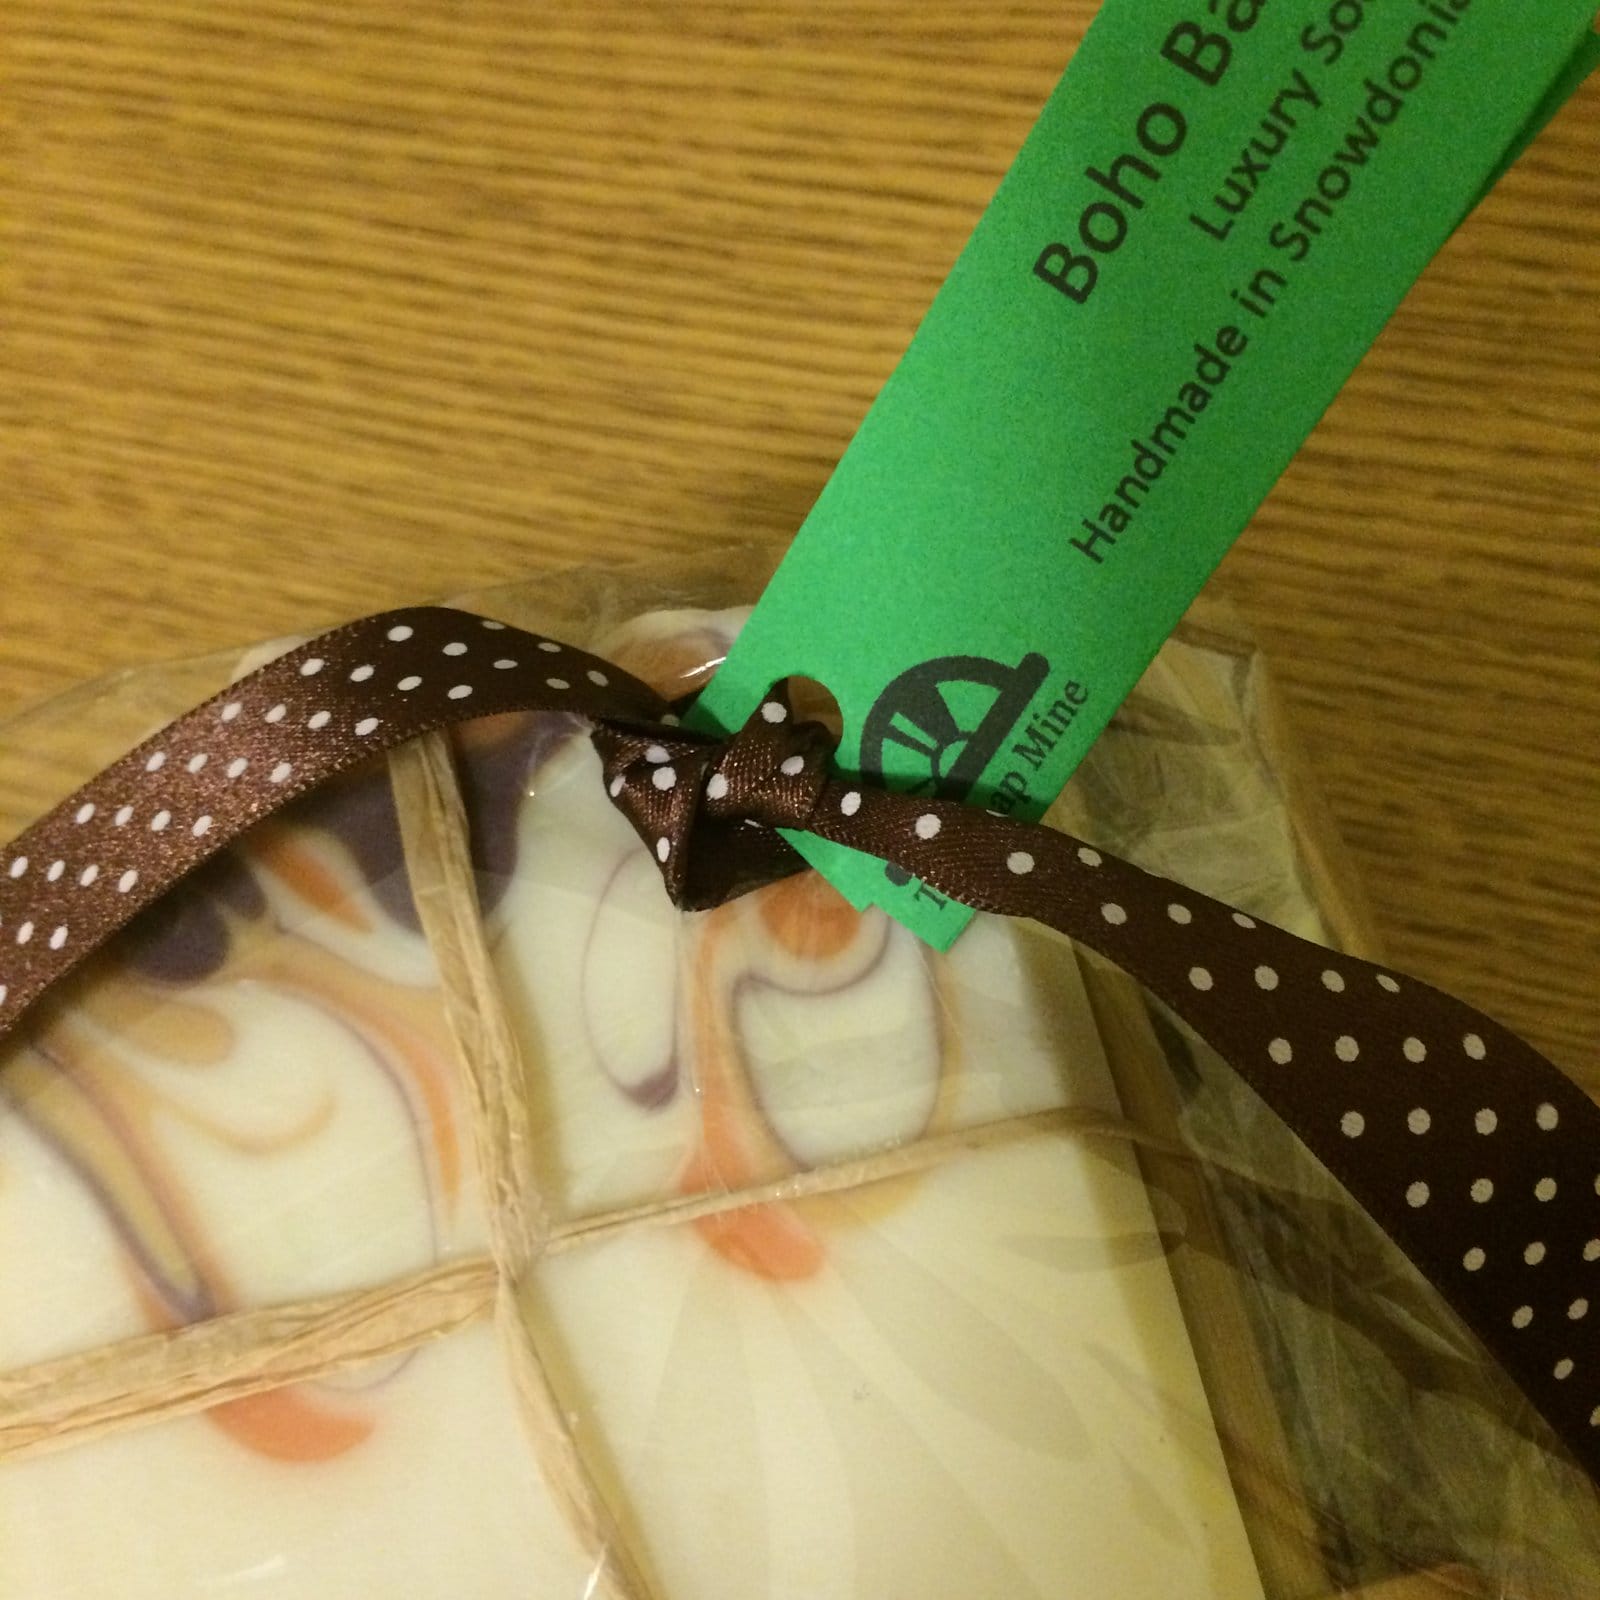
17. Tie a knot in the ribbon – this makes it much easier to create a half decent bow:

Step 17
Step 17
18.  The finished set – Ta-da!

Step 18
Step 18