Posted on 13 Comments

Saaaaaaaave!! (Blogtober 19)

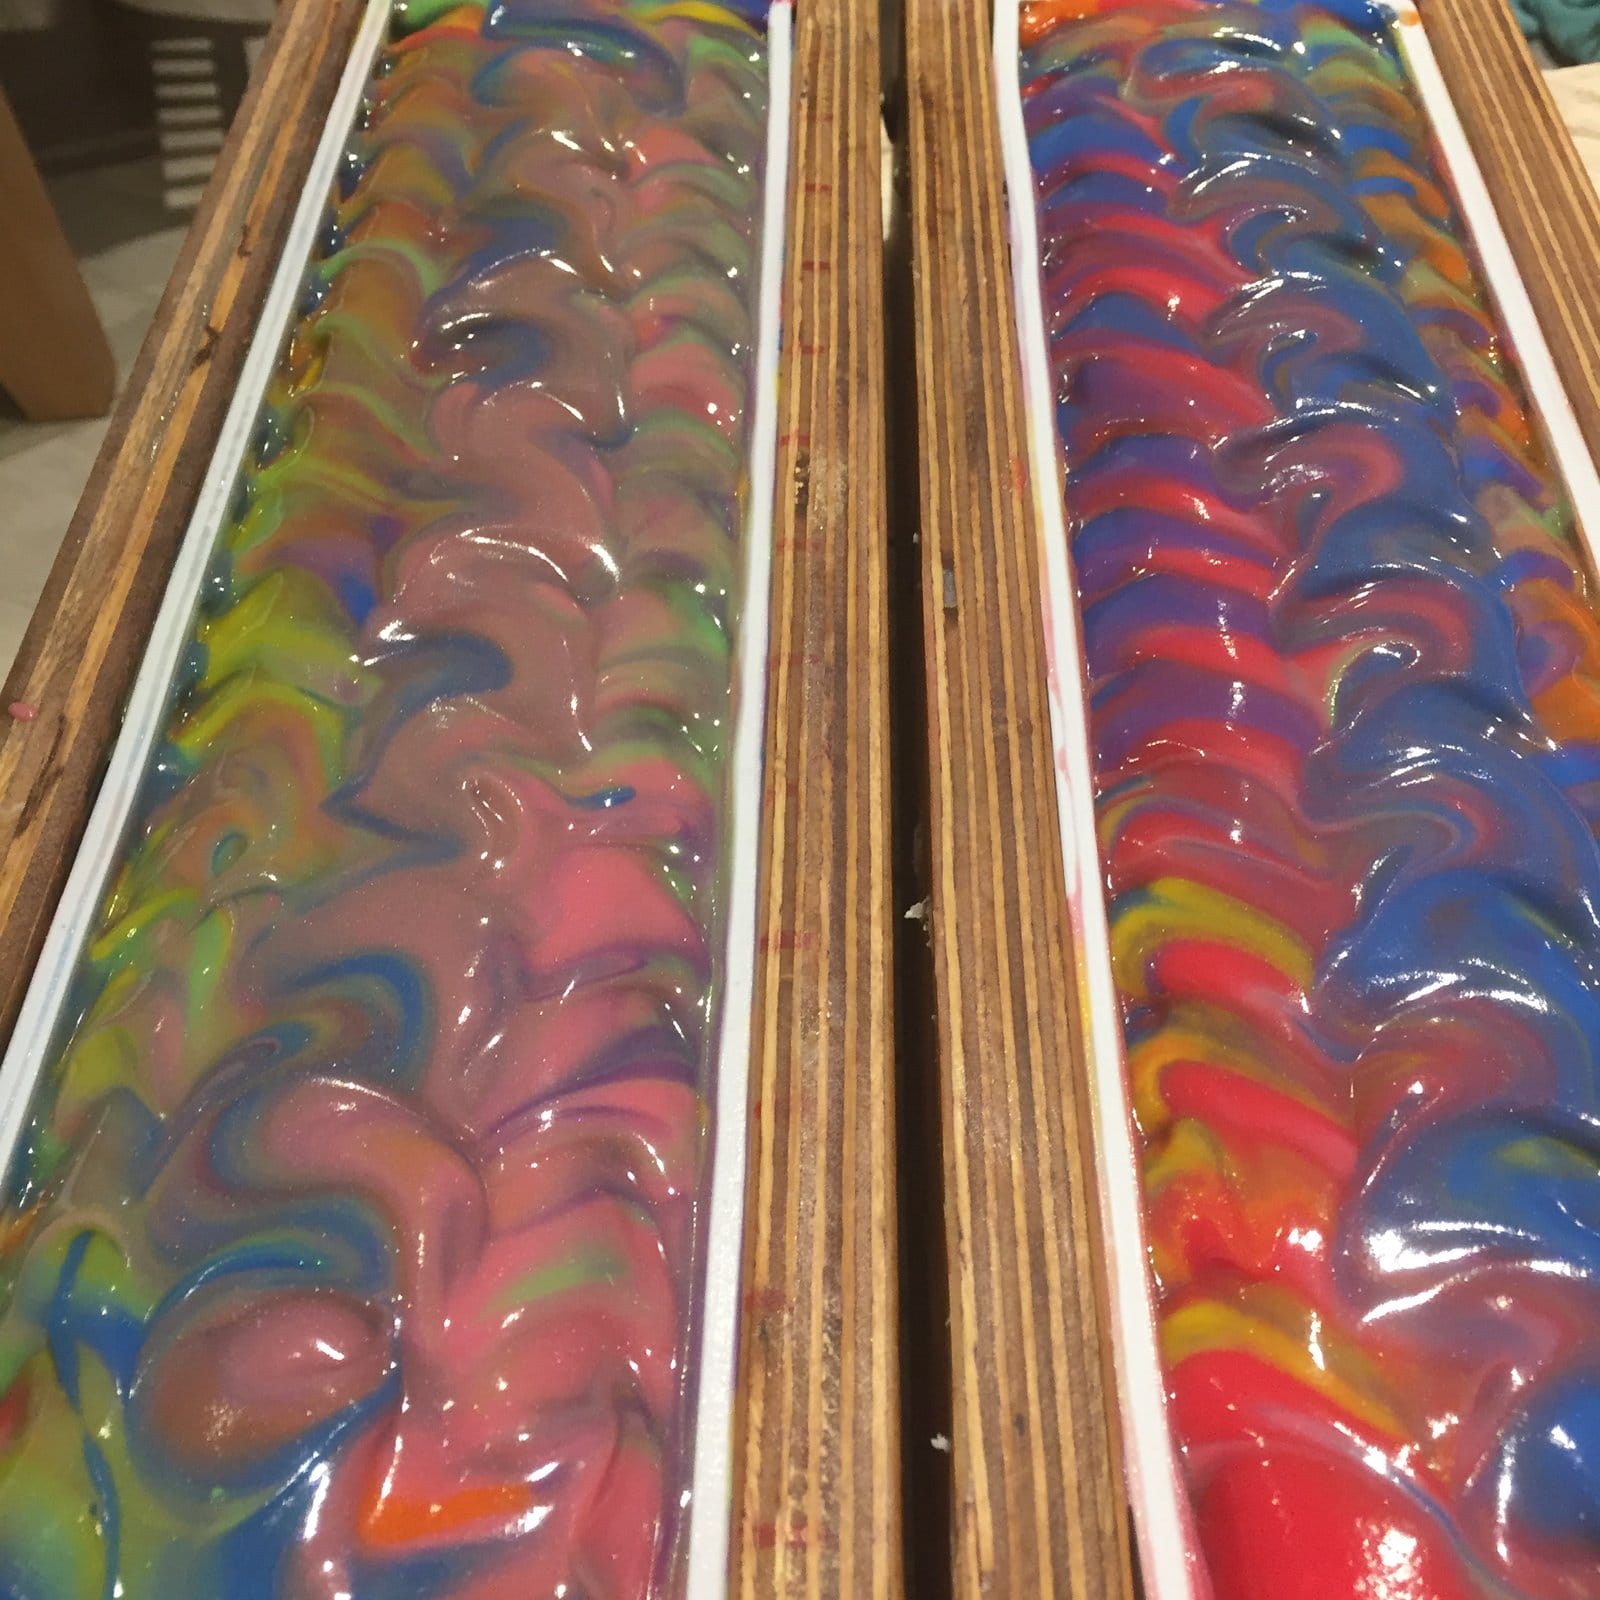
°OMG I’m so relived today.  Remember a couple of day ago in my last Reader’s Questions post where I confessed that I’d recently had two failed double batches of Clarity?  The ones that looked like this when cut?

Clarity fail...
Clarity fail…

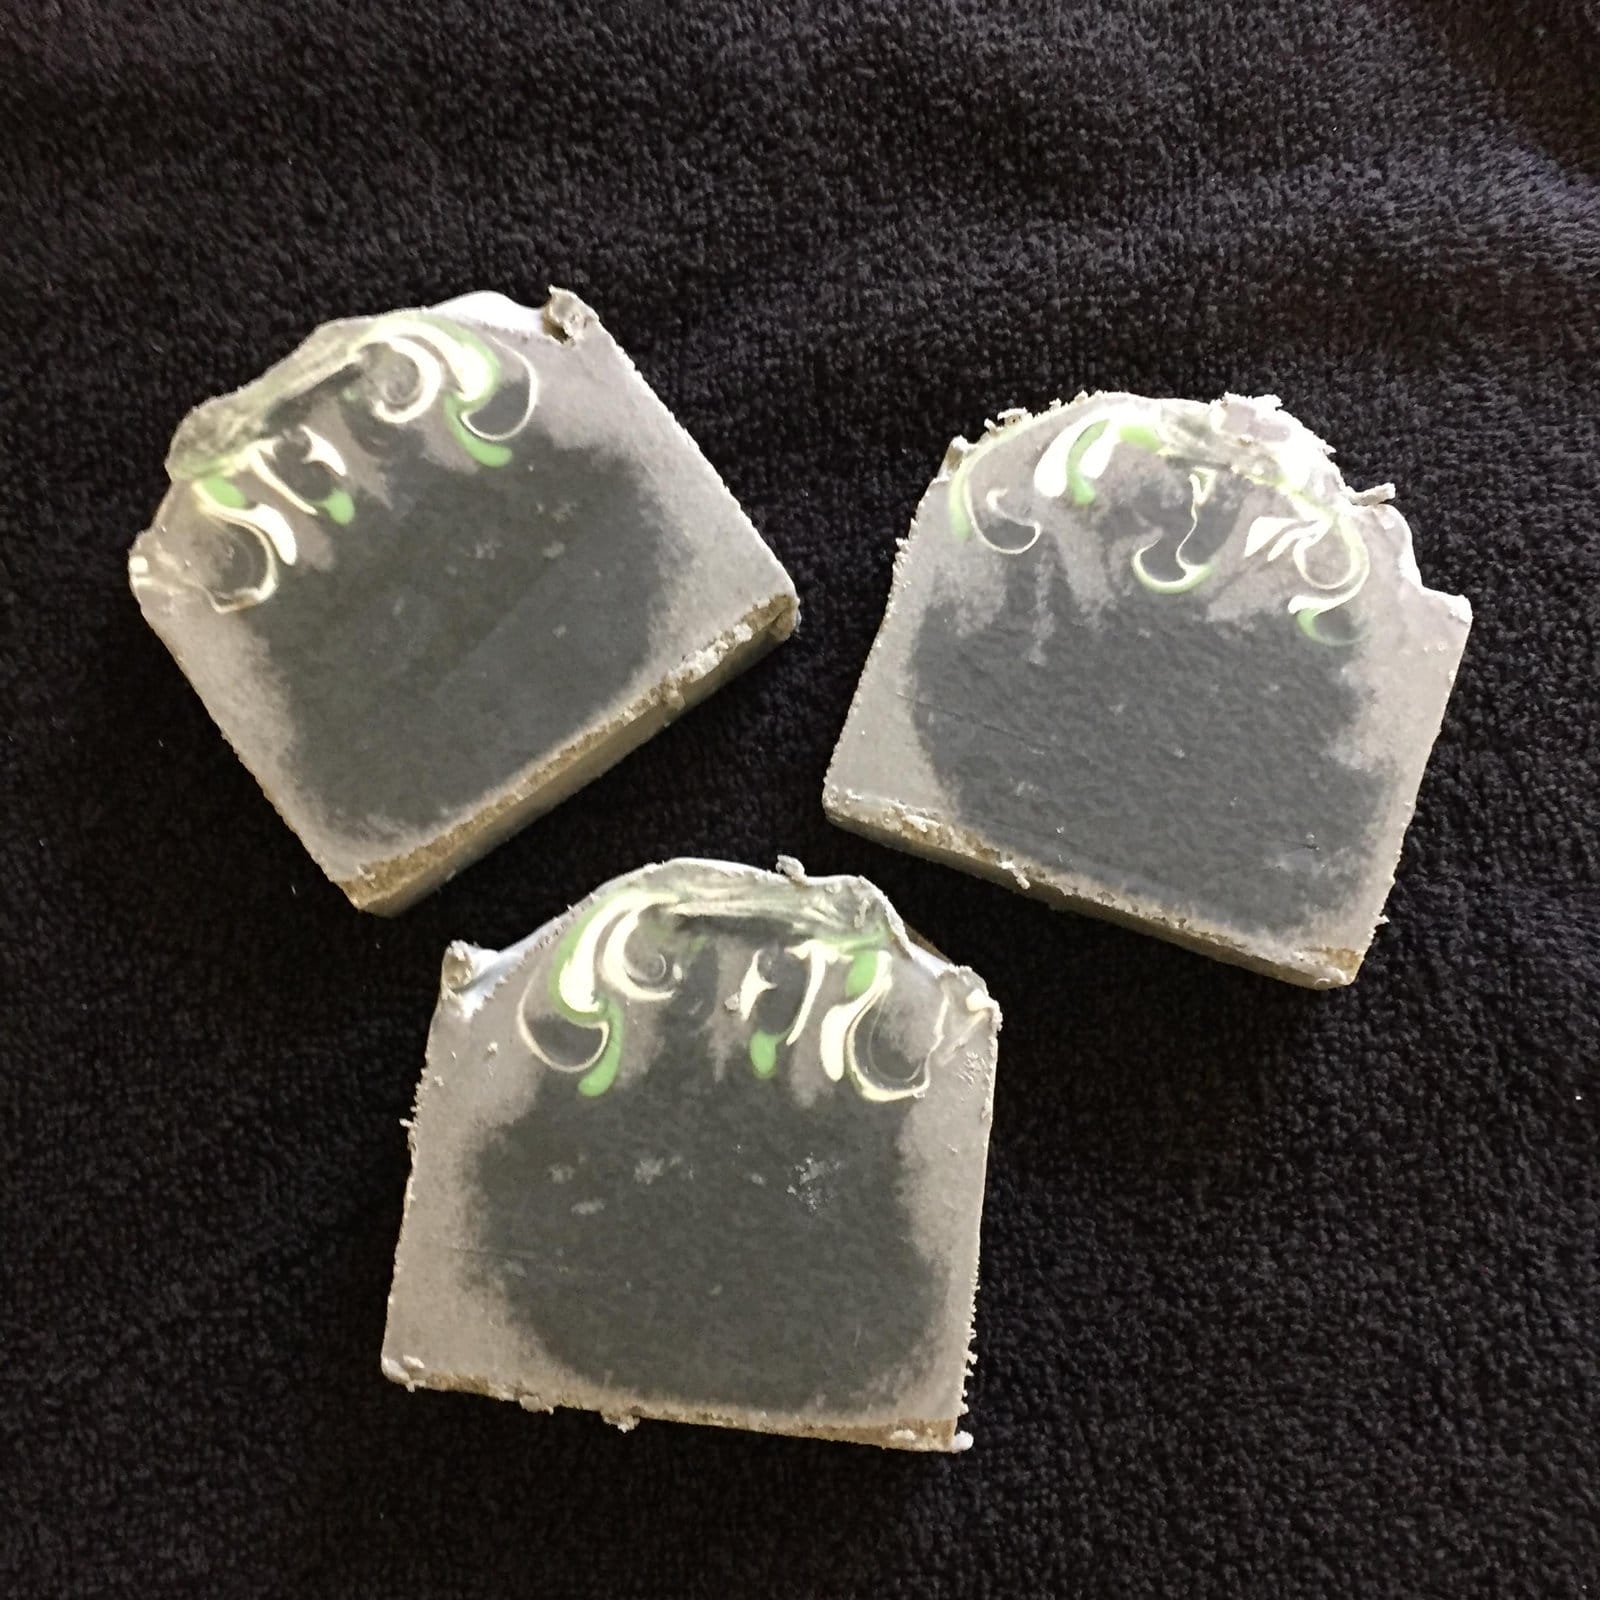
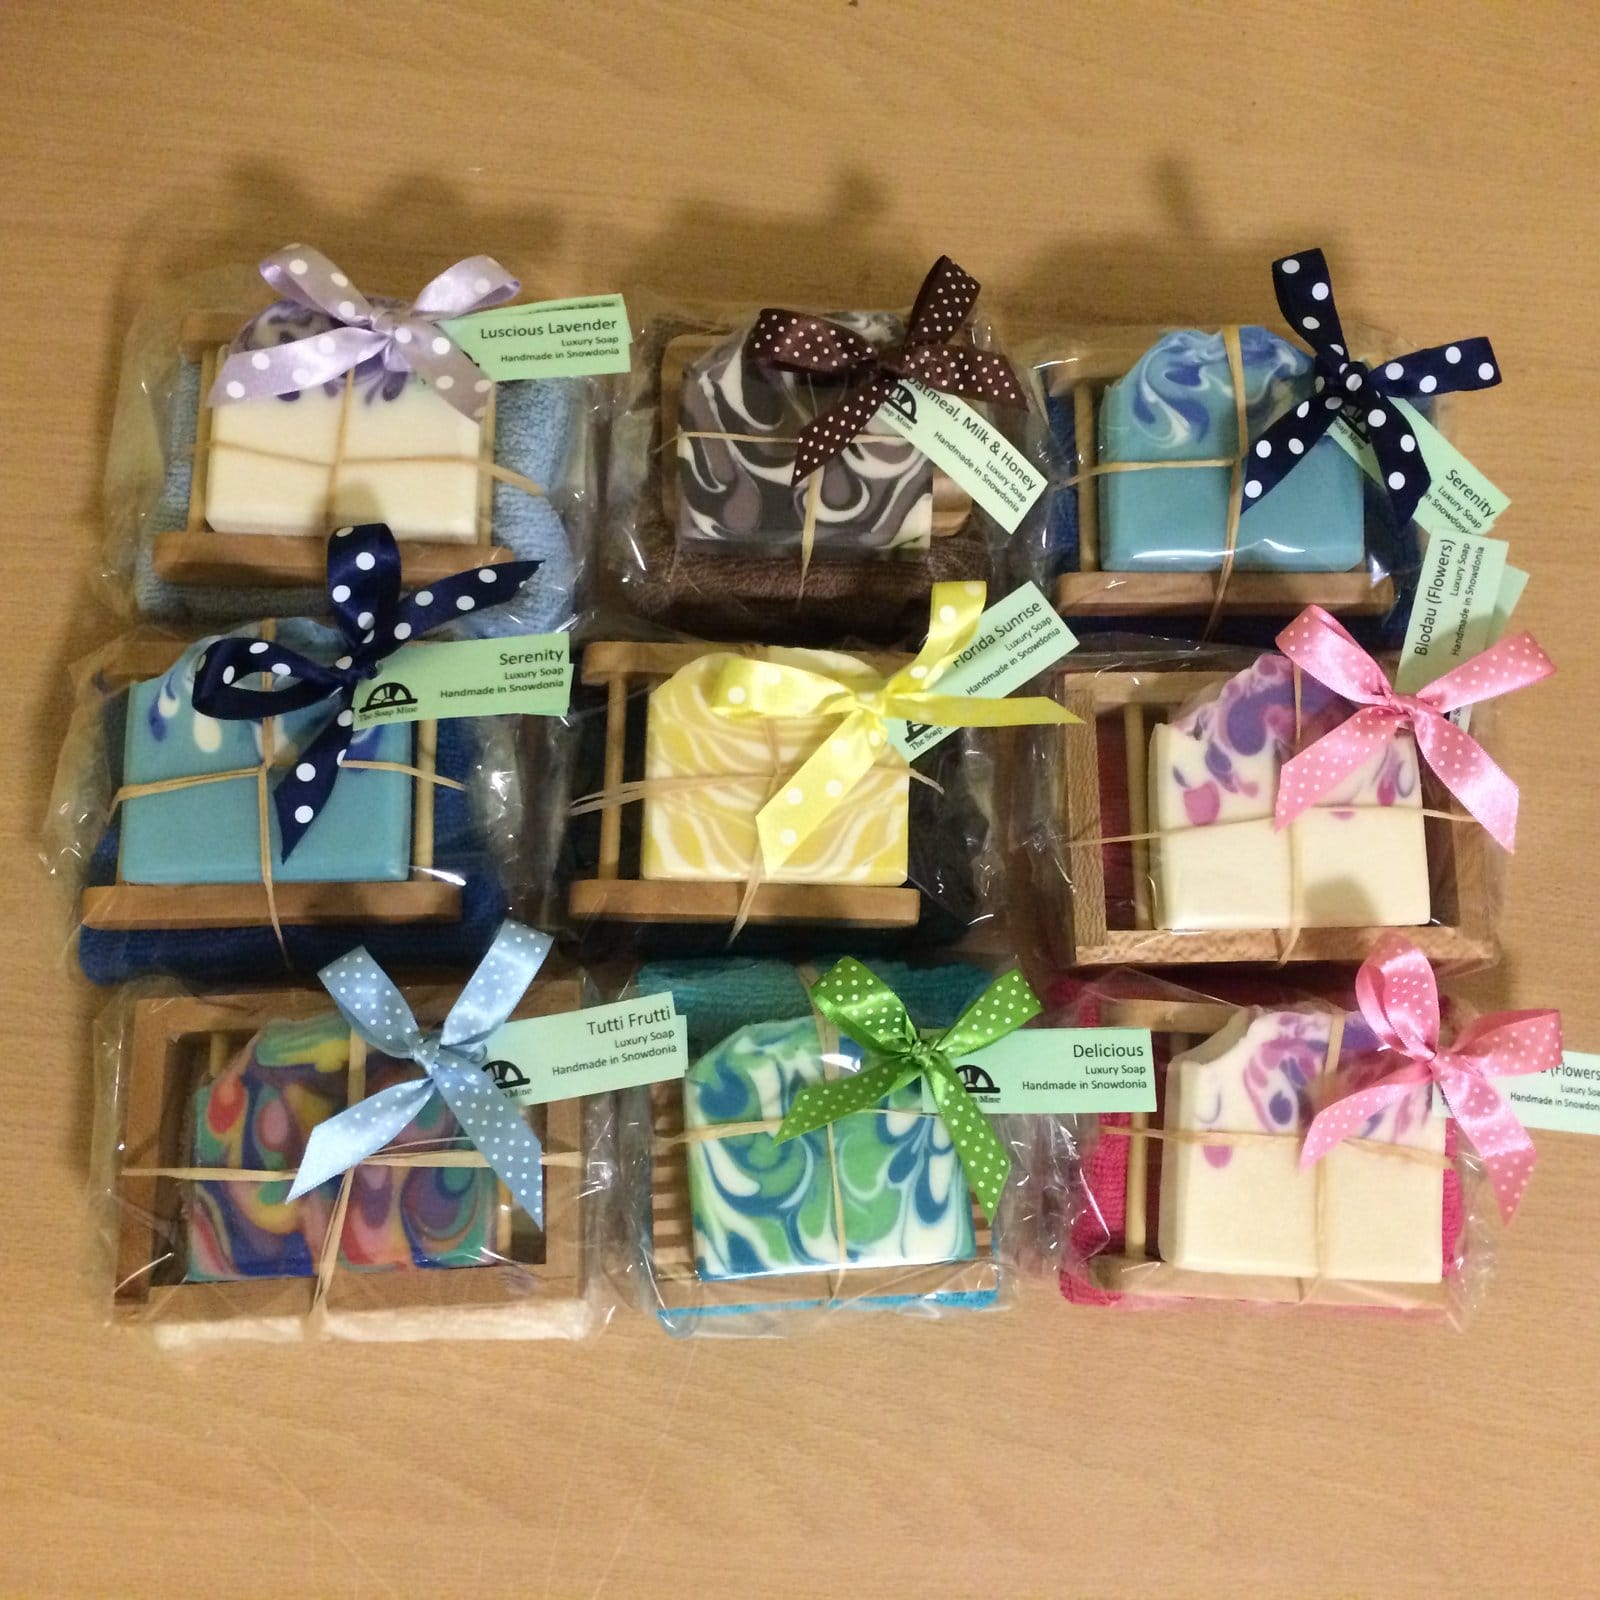
6kg / 12lbs of soap that I don’t know what to do with (except I might have a plan, which I’ll come to in a moment..)

Anyway, it was with much trepidation that I decided I had to attempt making it again. It’s a REALLY good seller, and I can’t afford to run out, but I was nervous – wasting more precious oils (both regular and essential!) wasn’t an option.  I had decided that it was probably down to a partial gel situation, and it would appear that, contrary to what I said here about changes in the weather not affecting my soapmaking, recent changes in the weather had indeed affected my soapmaking (Gah! This is where making bold statements in a blog post gets me!!!!)

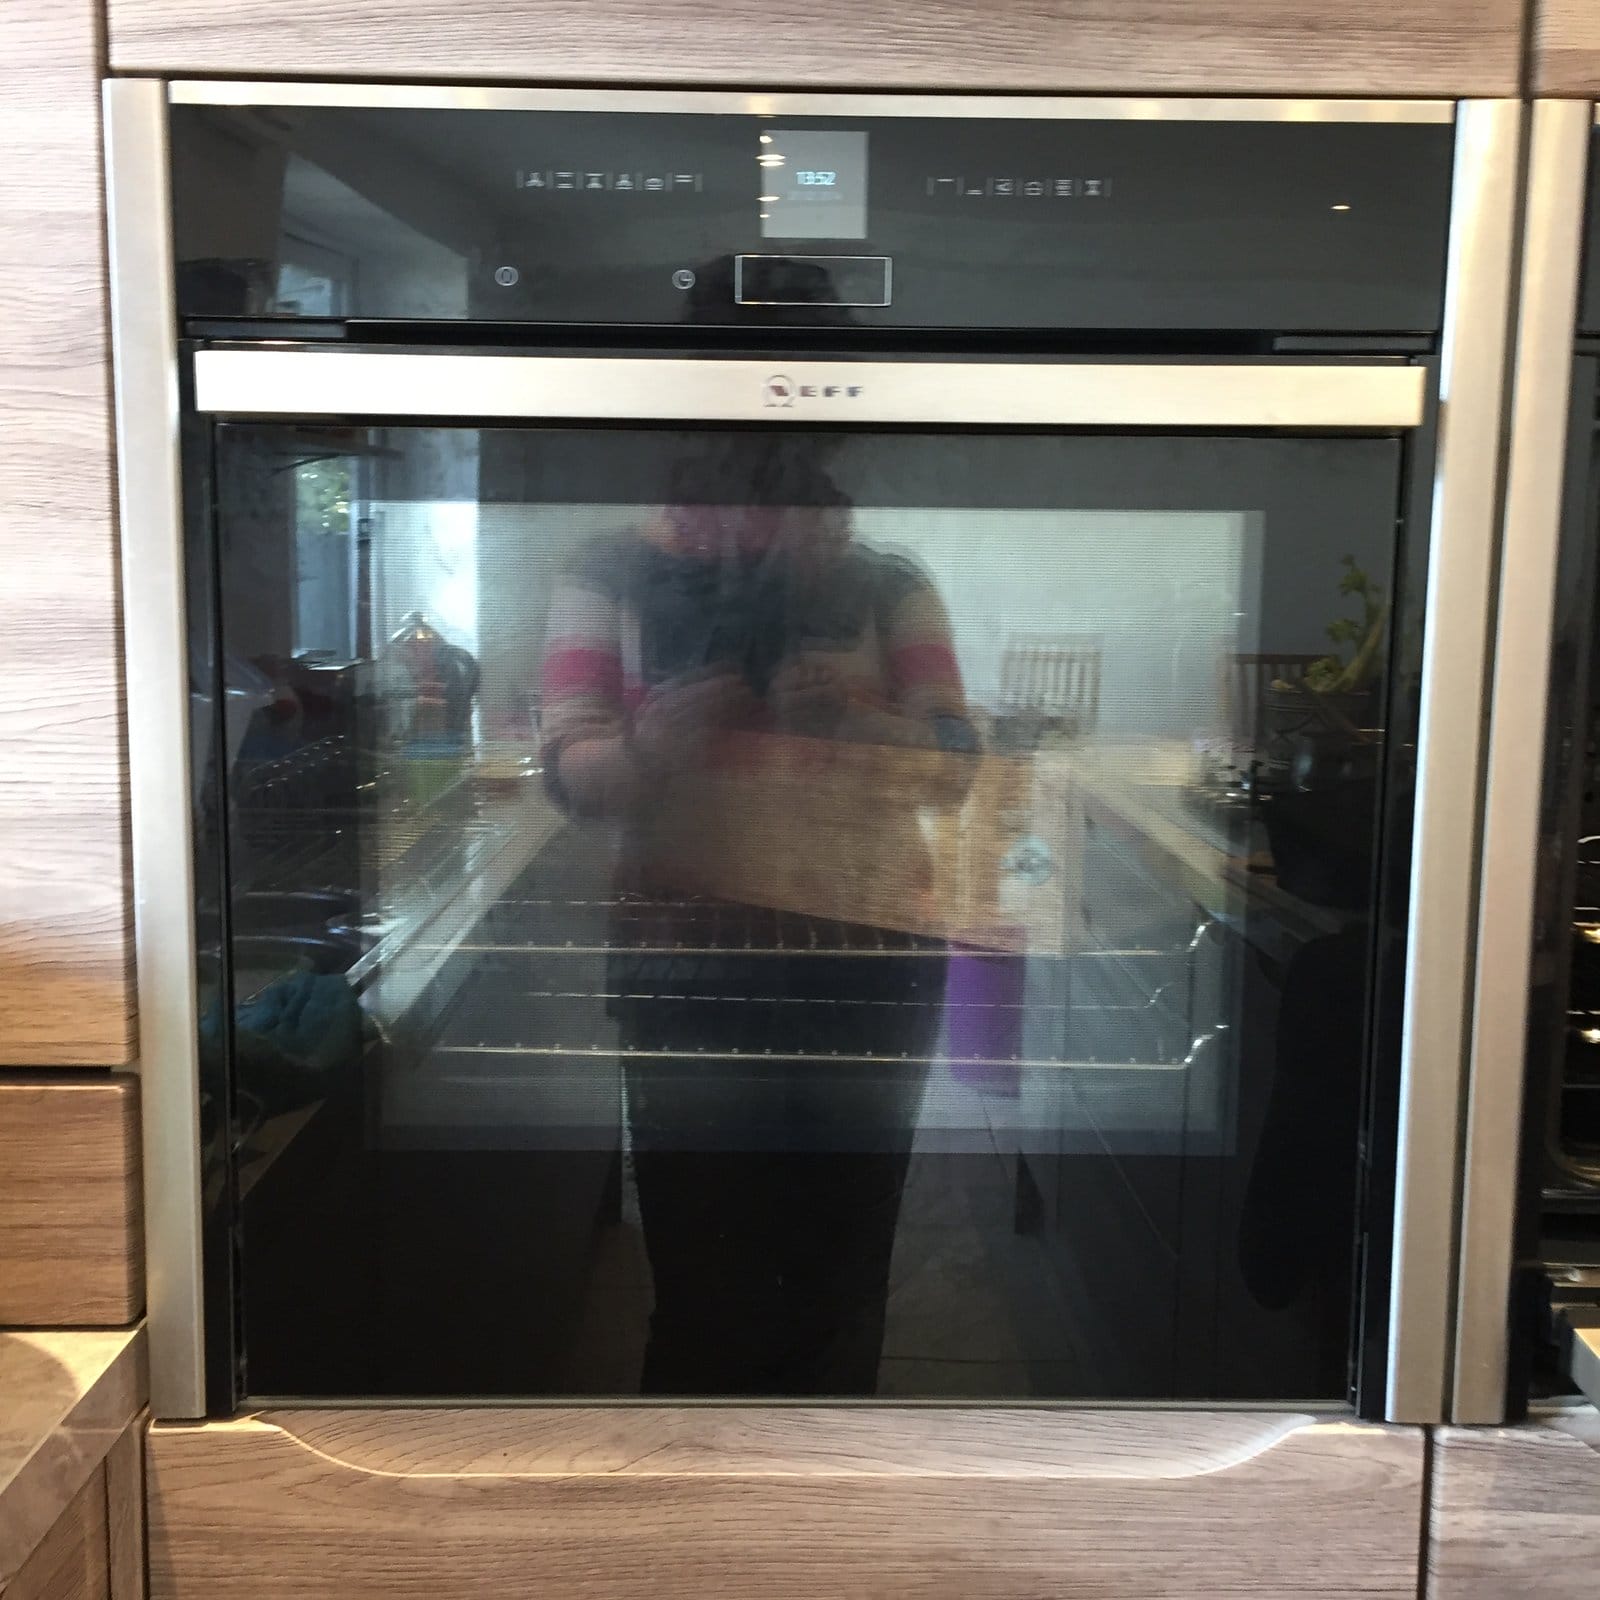
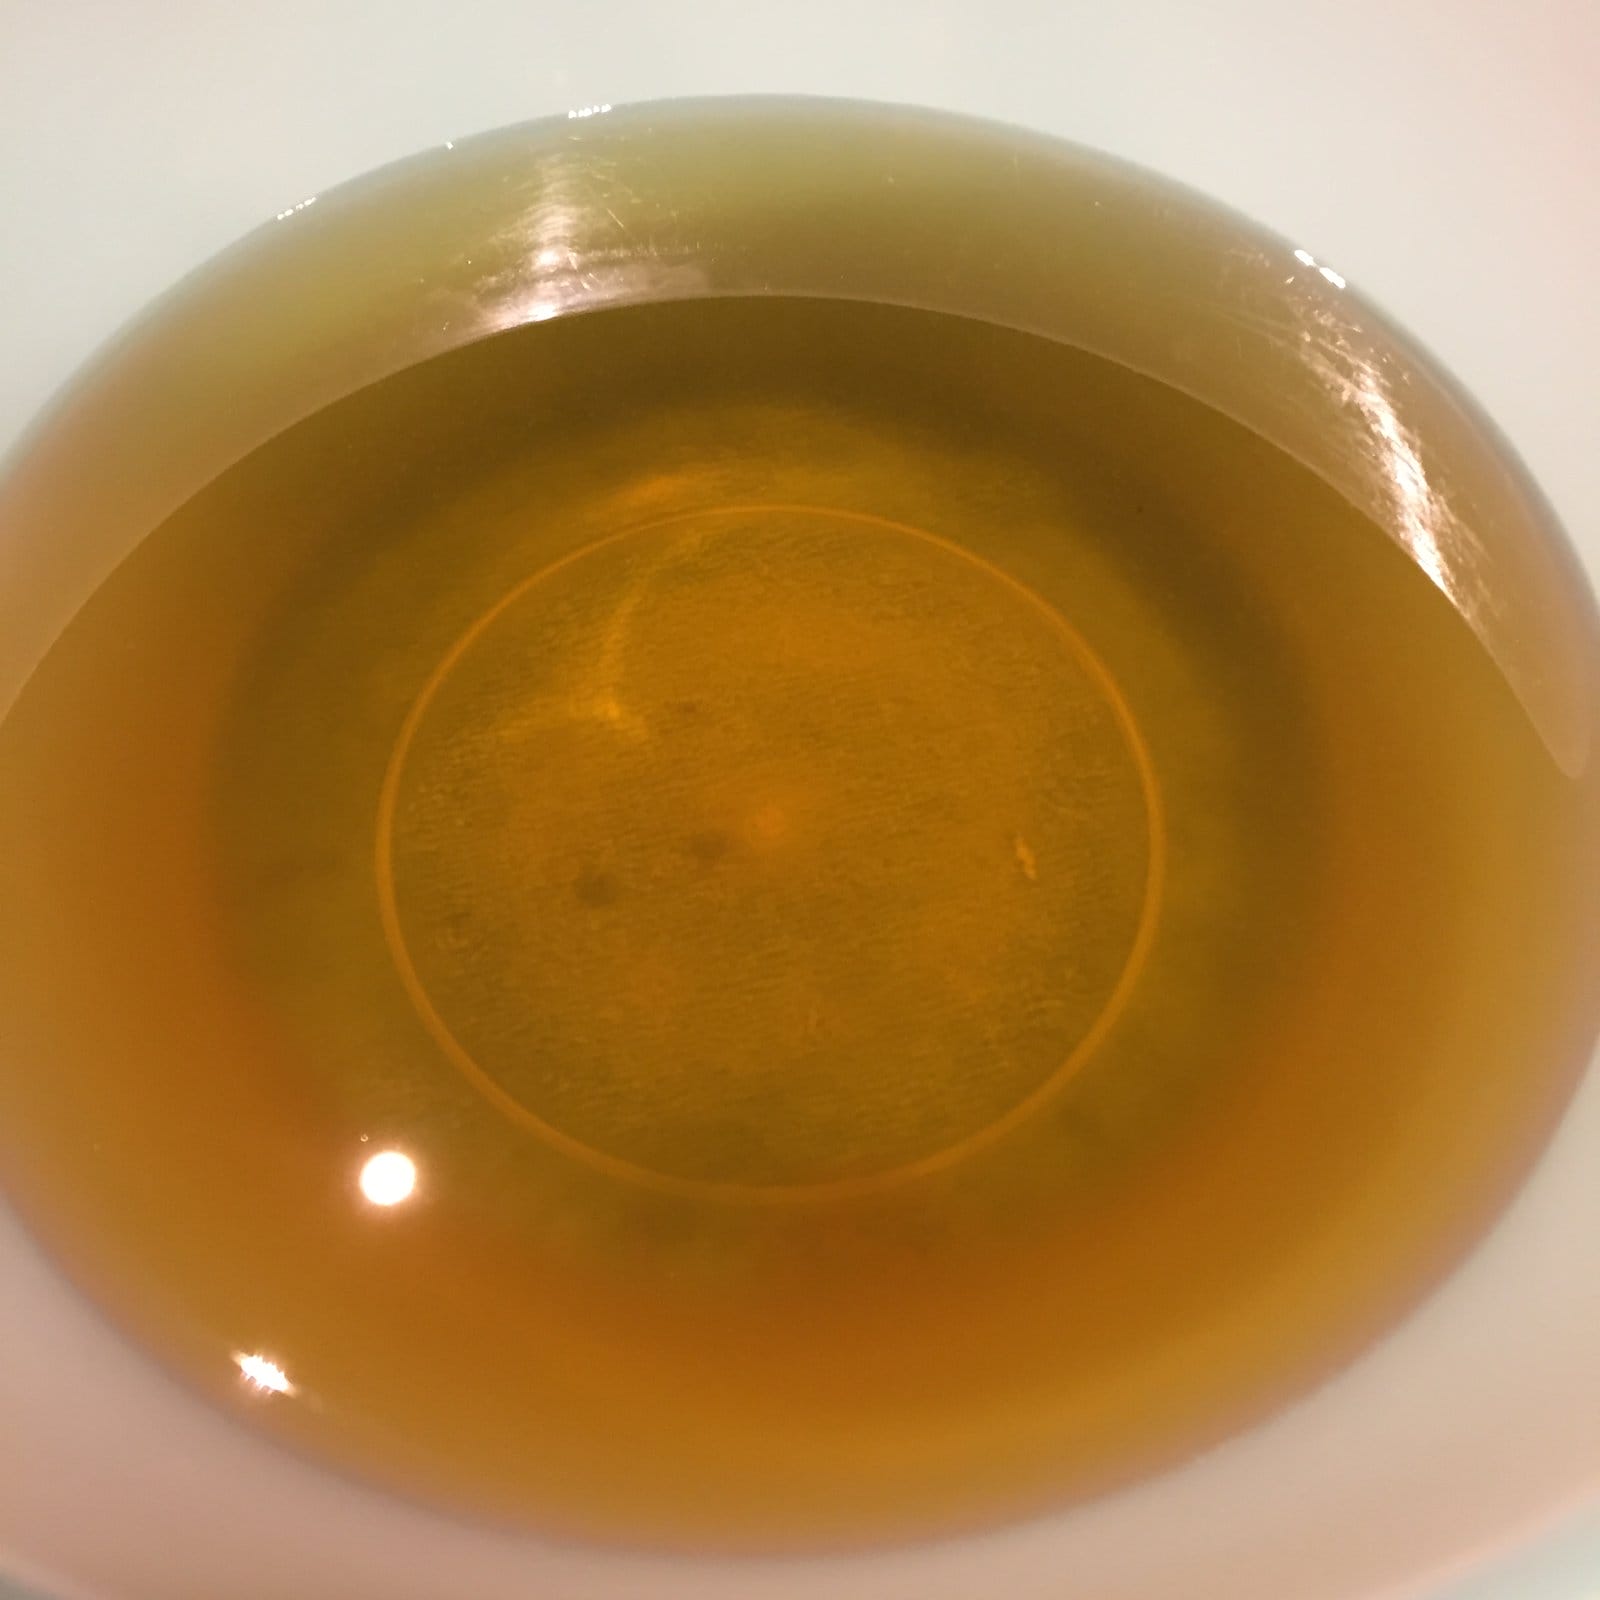
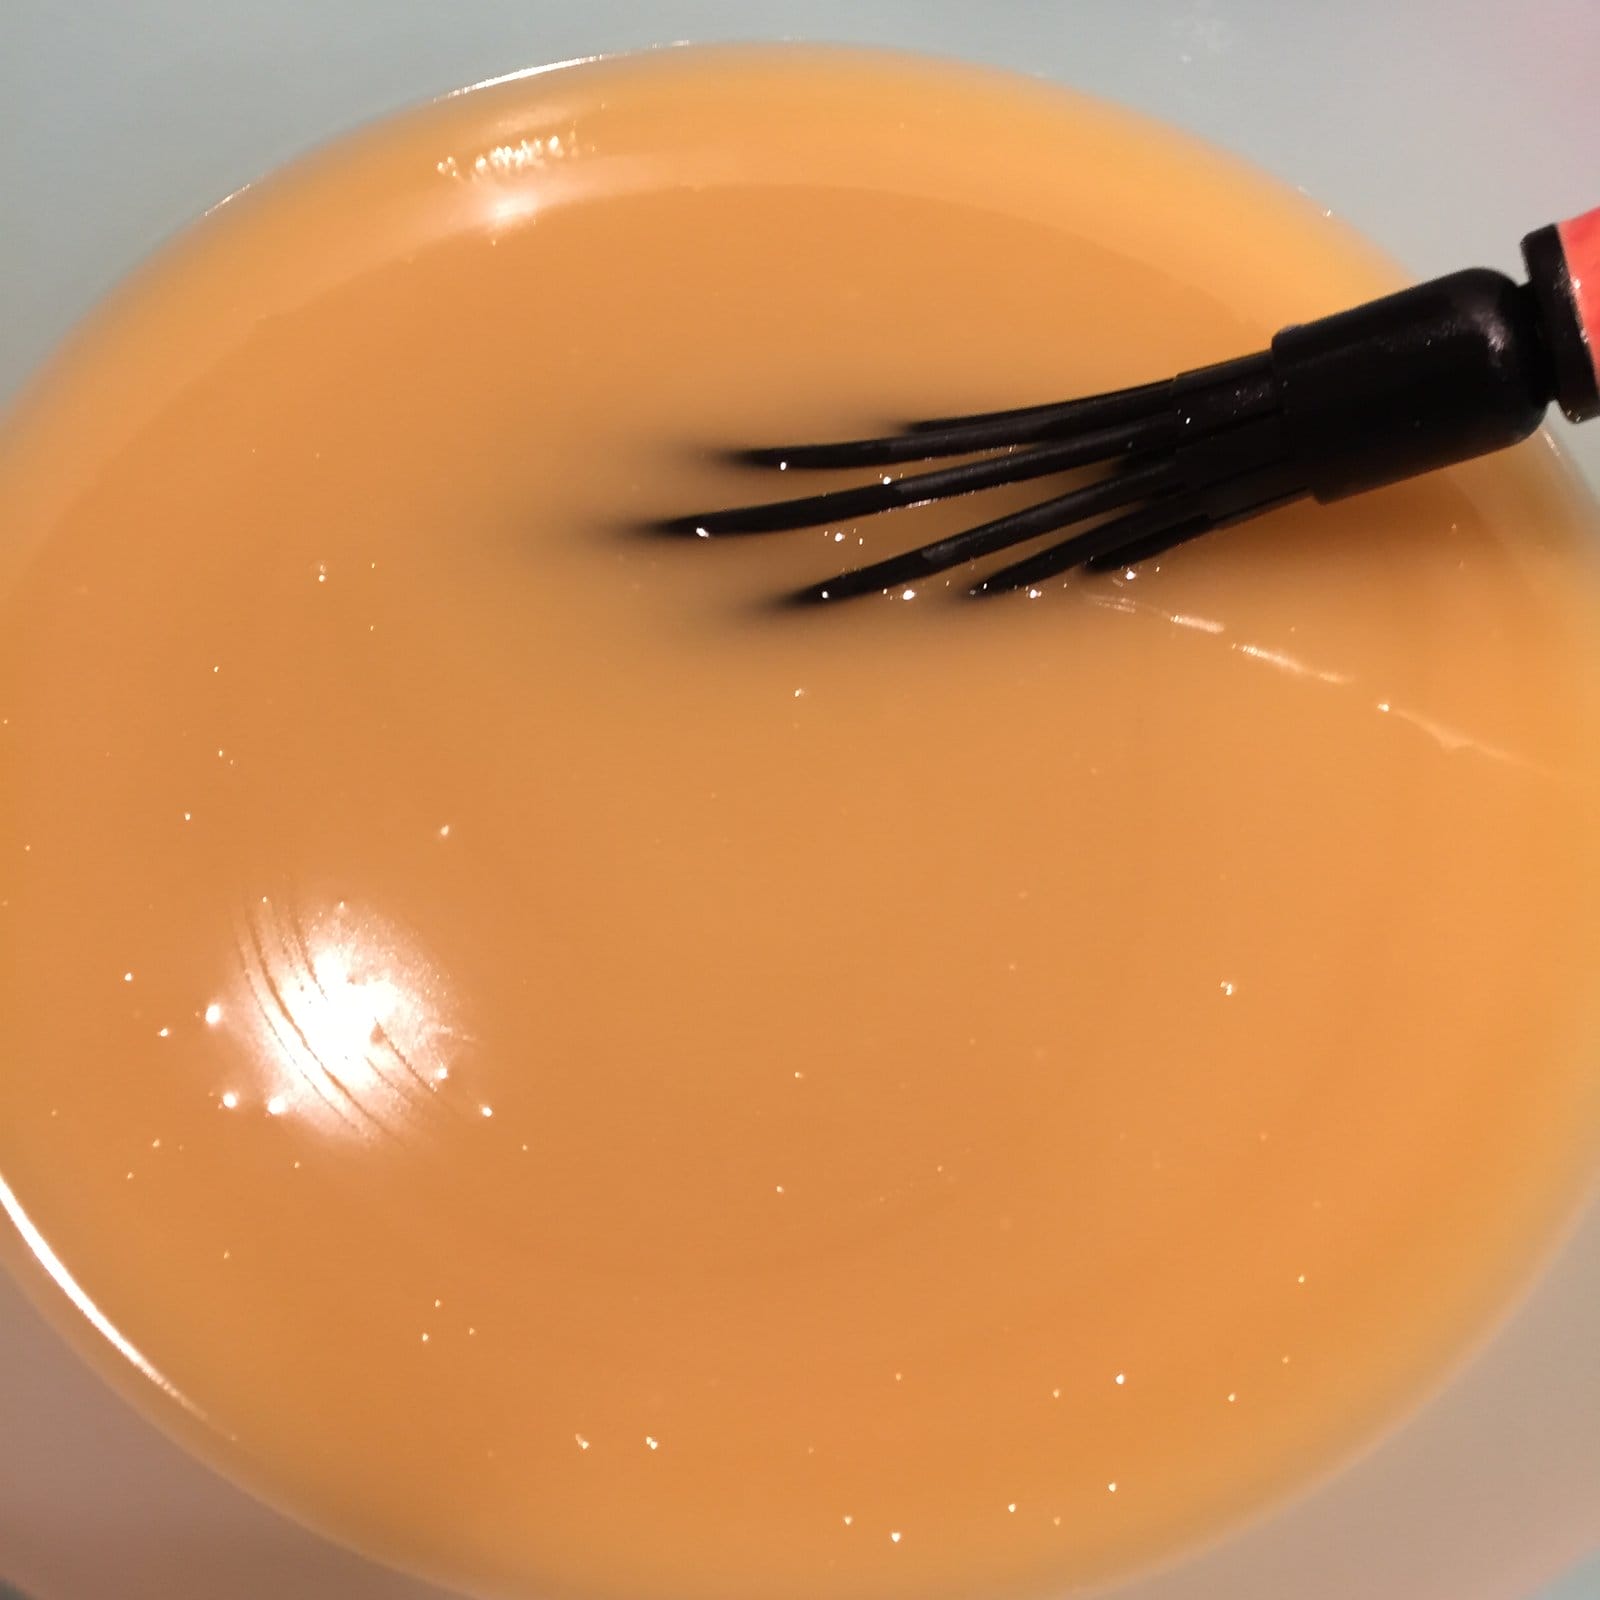
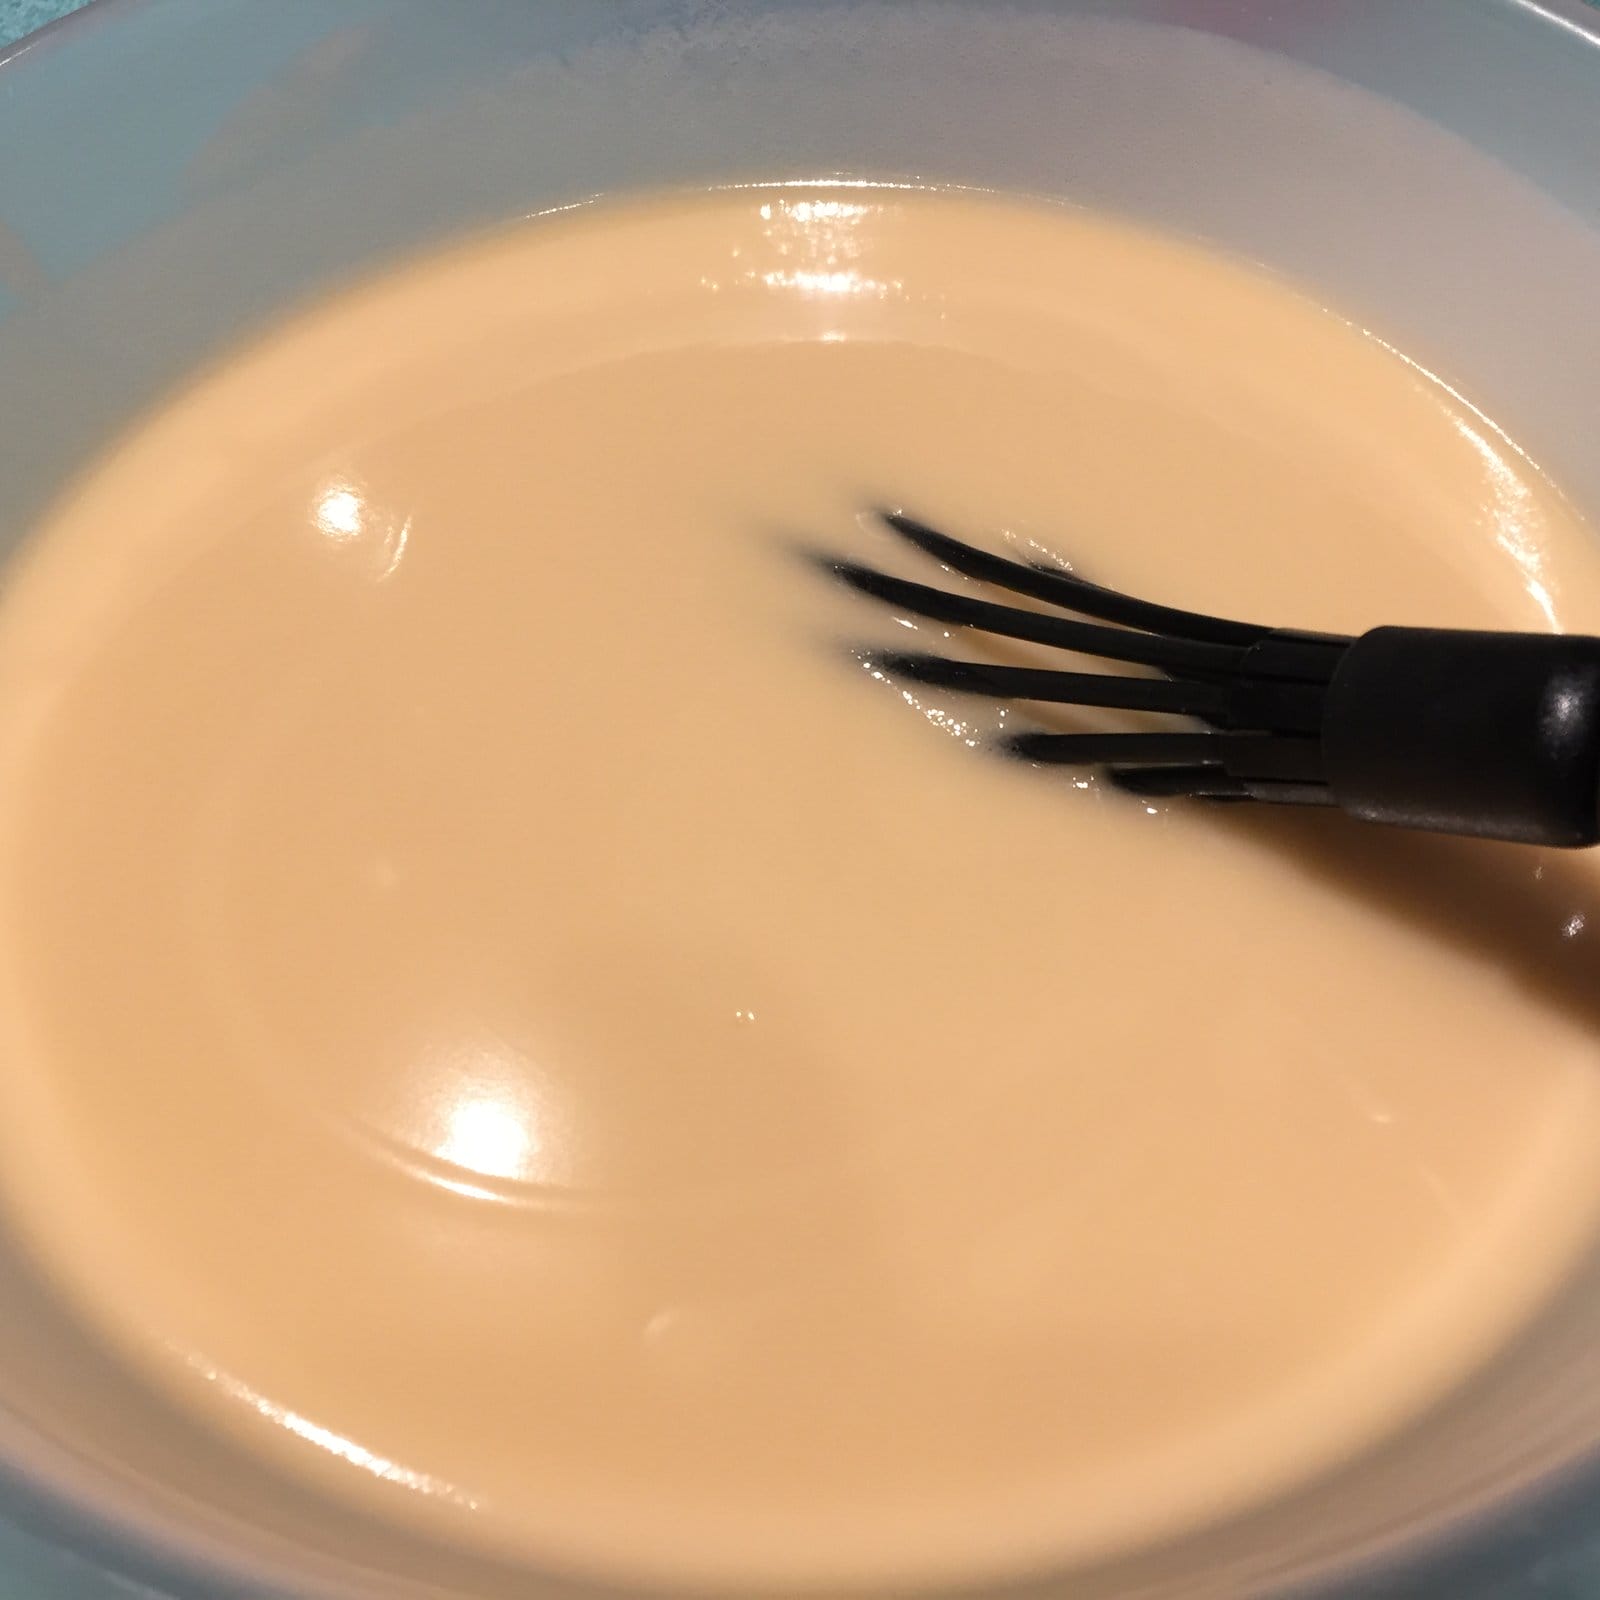
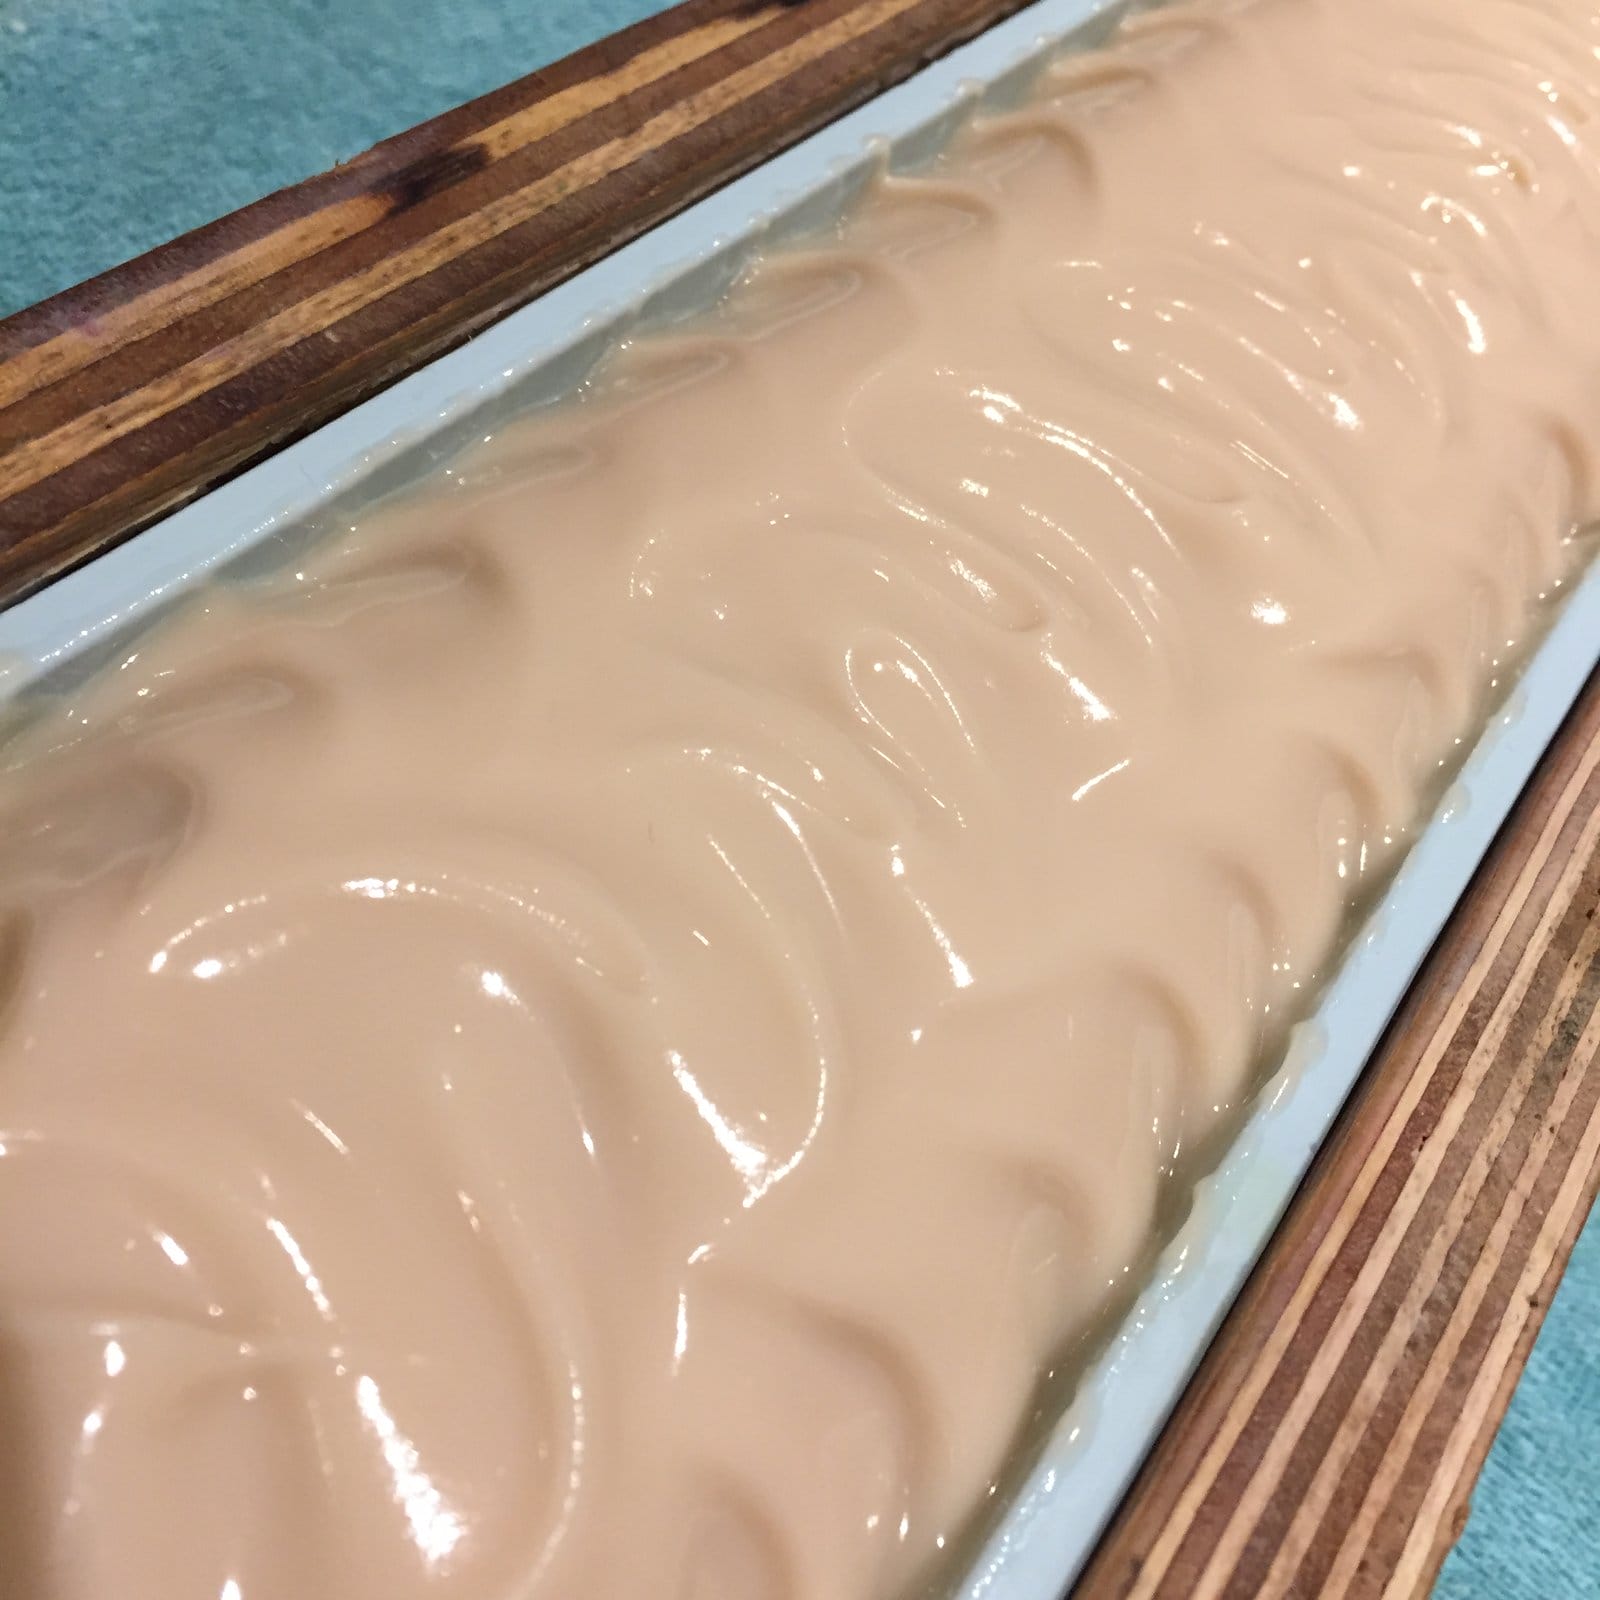
I decided to try the CPOP (Cold Process Oven Process) method.  I made the soap with the oils and lye solution just a little warmer than room temp (I usually soap at room temp) and preheated both ovens (on the dough proving setting) to just 40°C.  I had to use both ovens as I make two loaves at a time but can only fit one in at time:

CPOPping!
CPOPping!

I did actually try to take a pic with the door closed but it didn’t quite come out as planned :-D:

Look! It's me...
Look! It’s me…

So, I left the moulds in there for an hour, then turned off the heat and left them there for another hour.

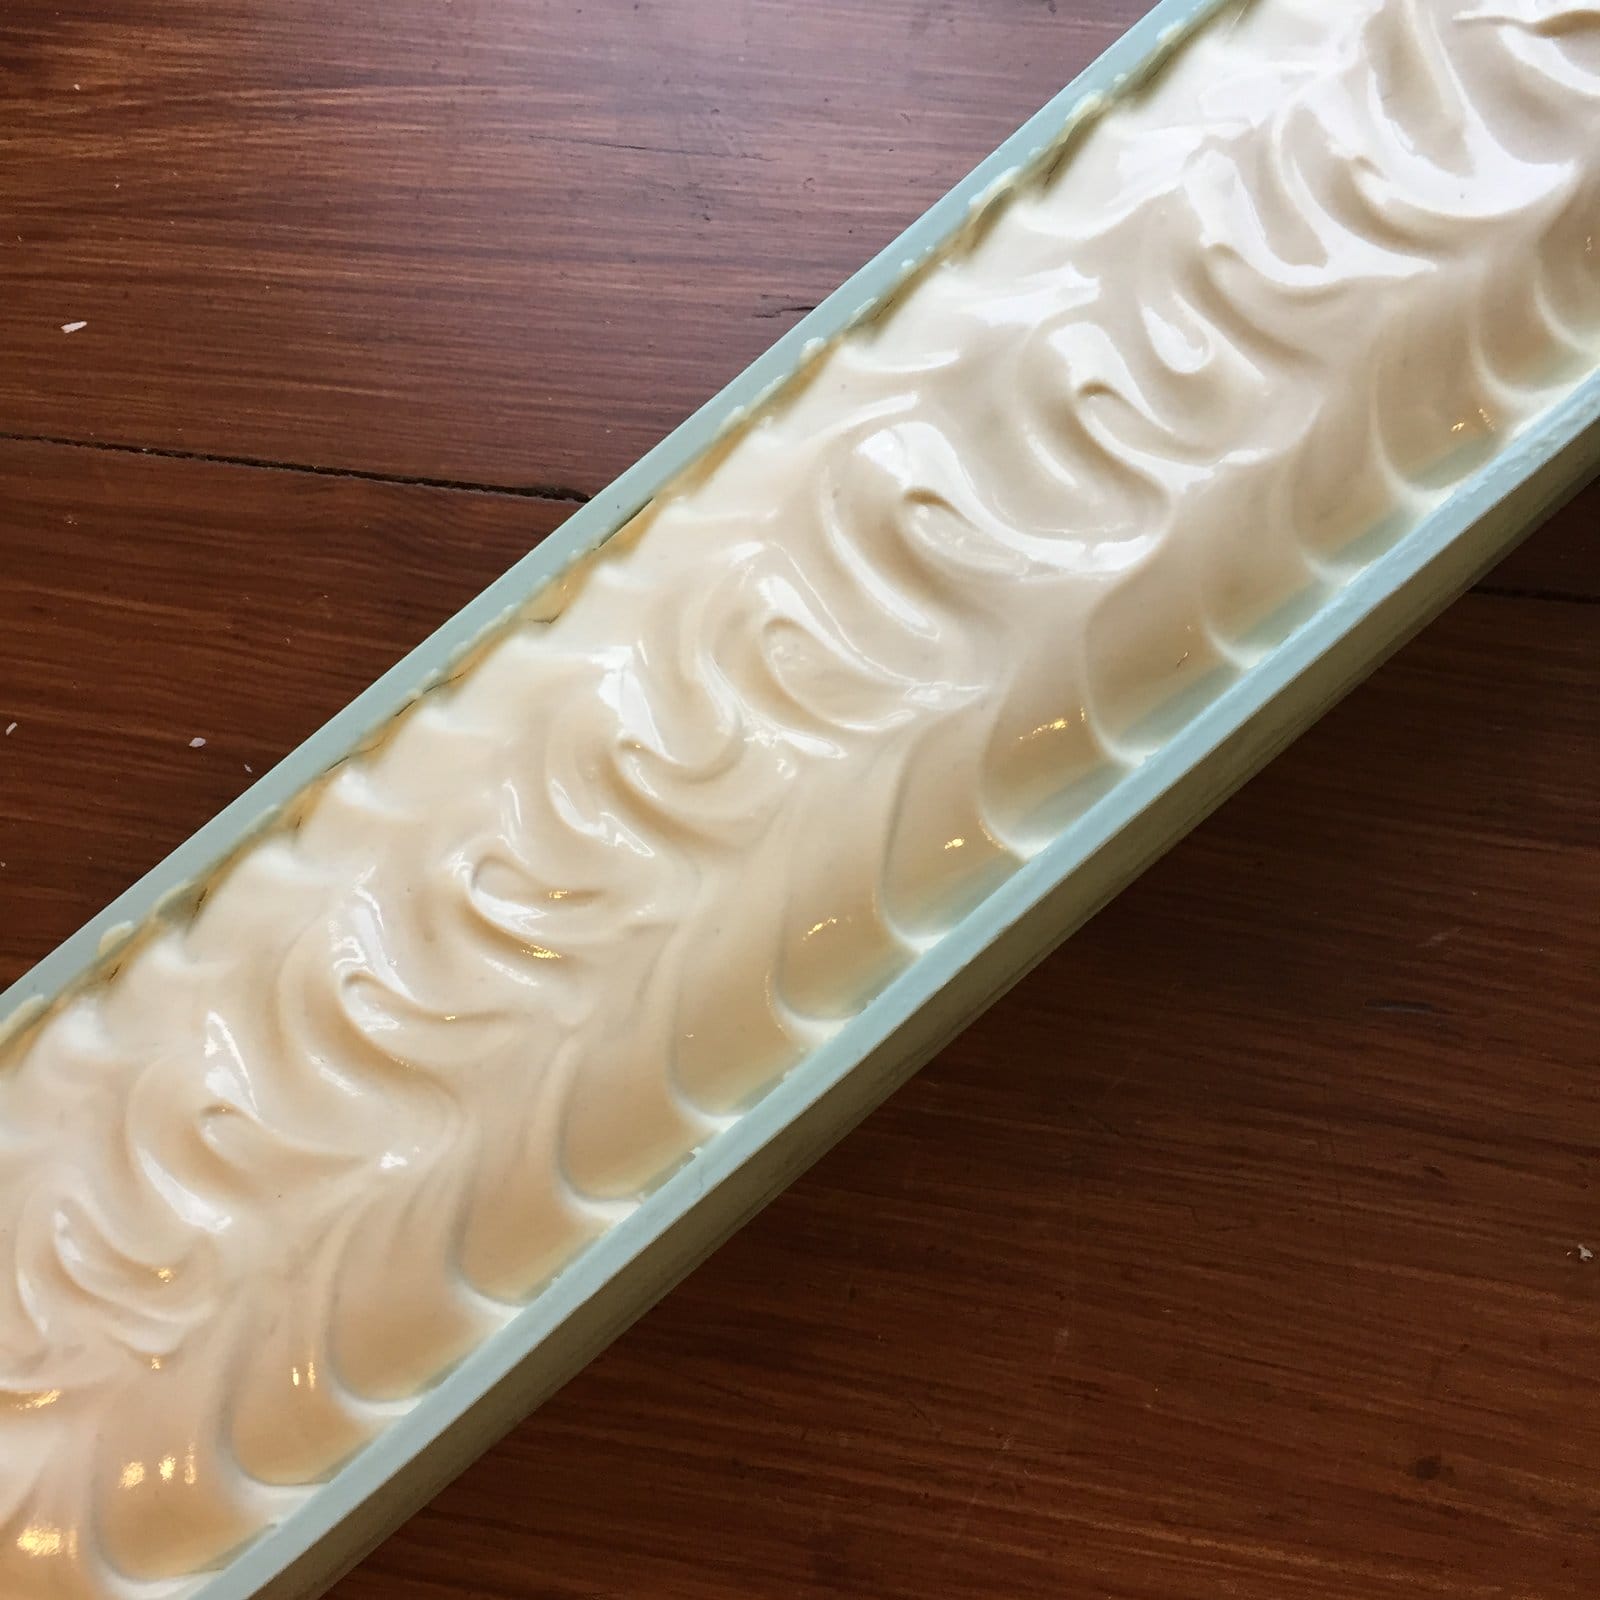
When I took them out the tops definitely looked different to my non-CPOPped batches:

Soap in the mould after CPOP

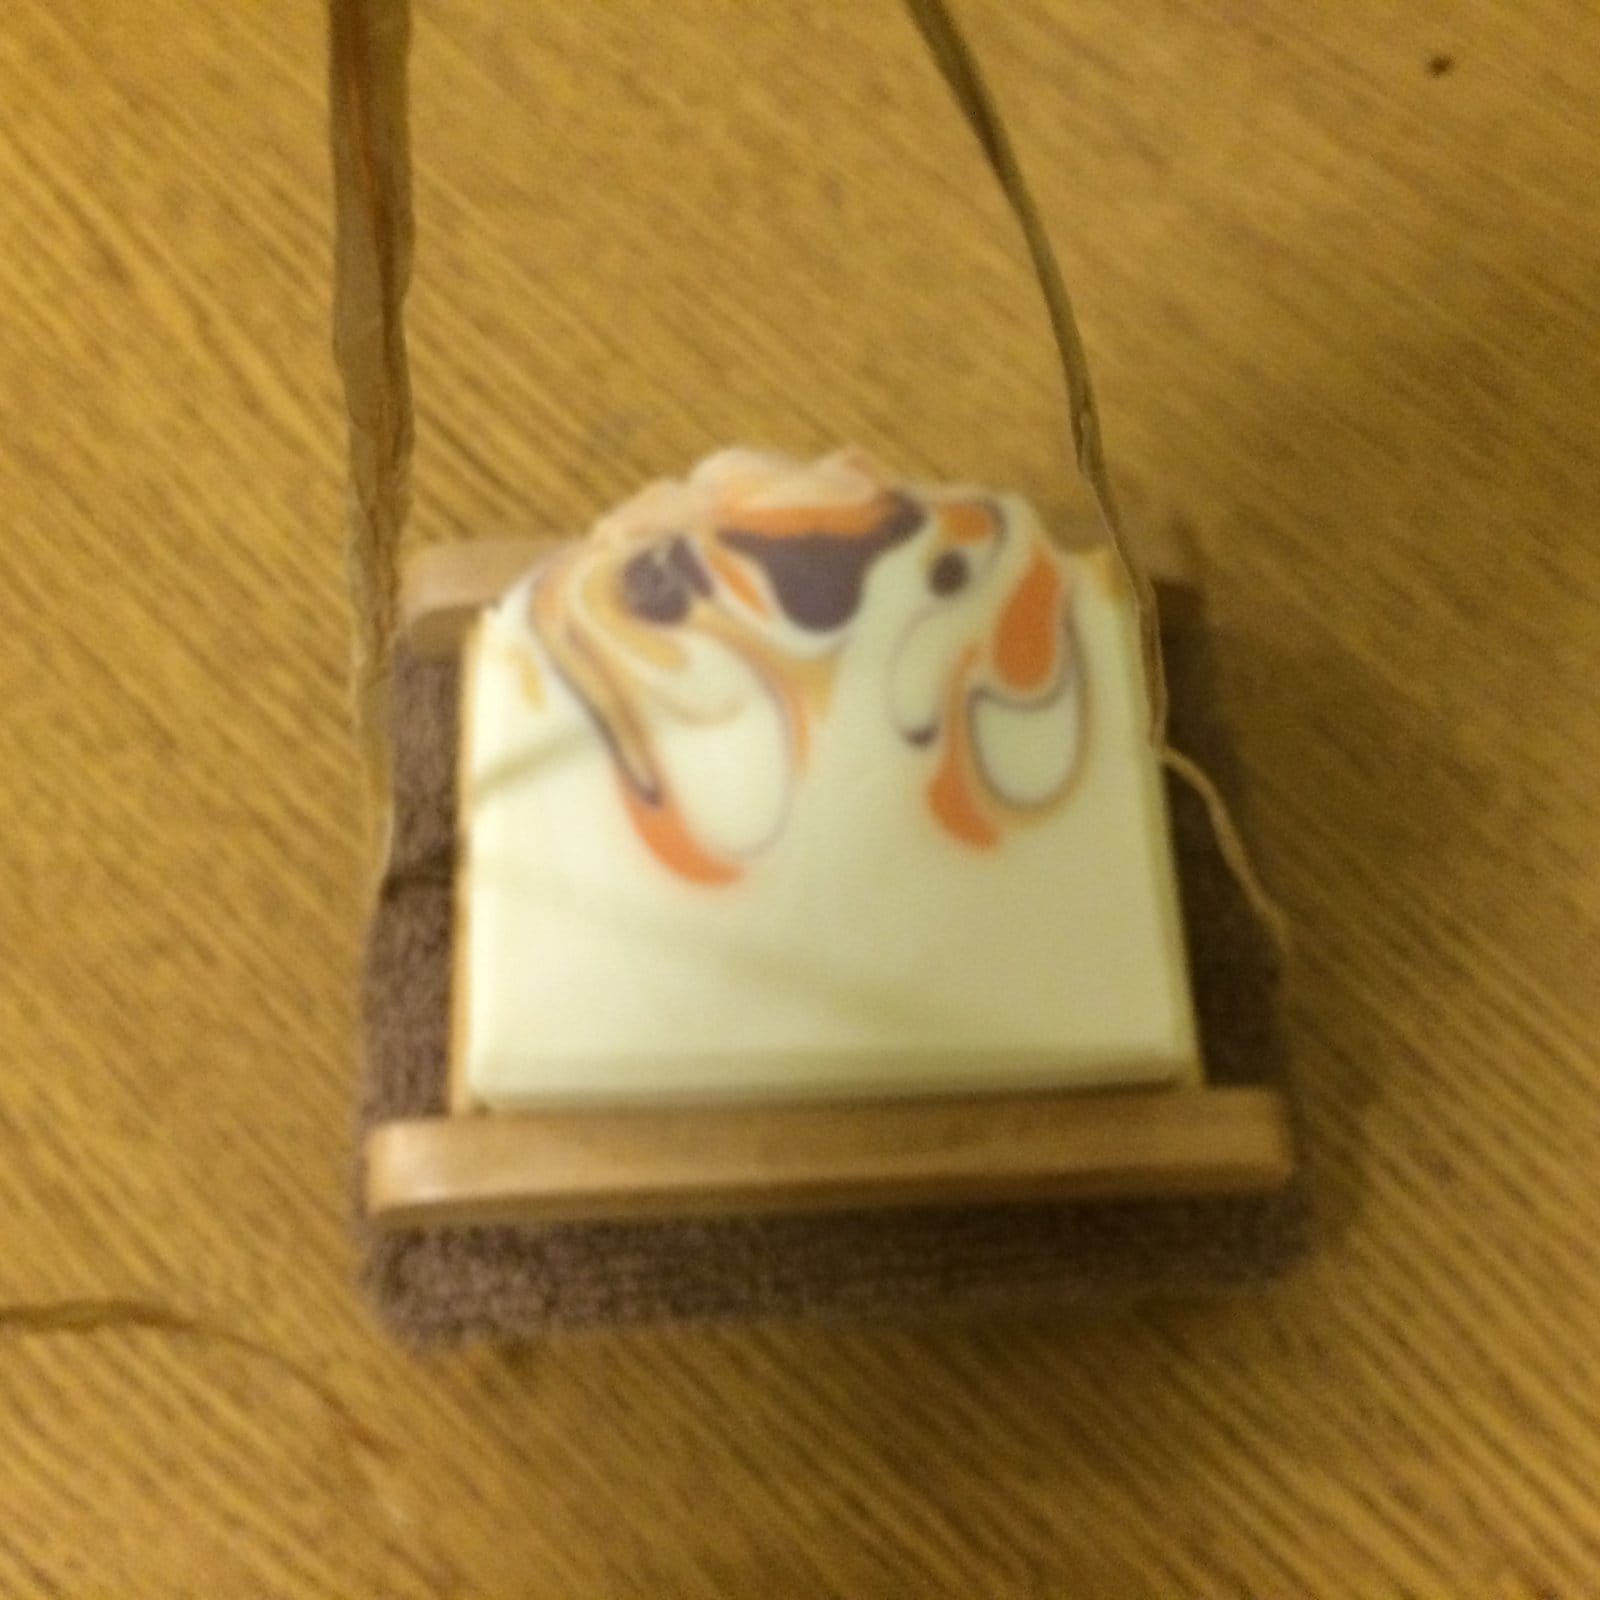
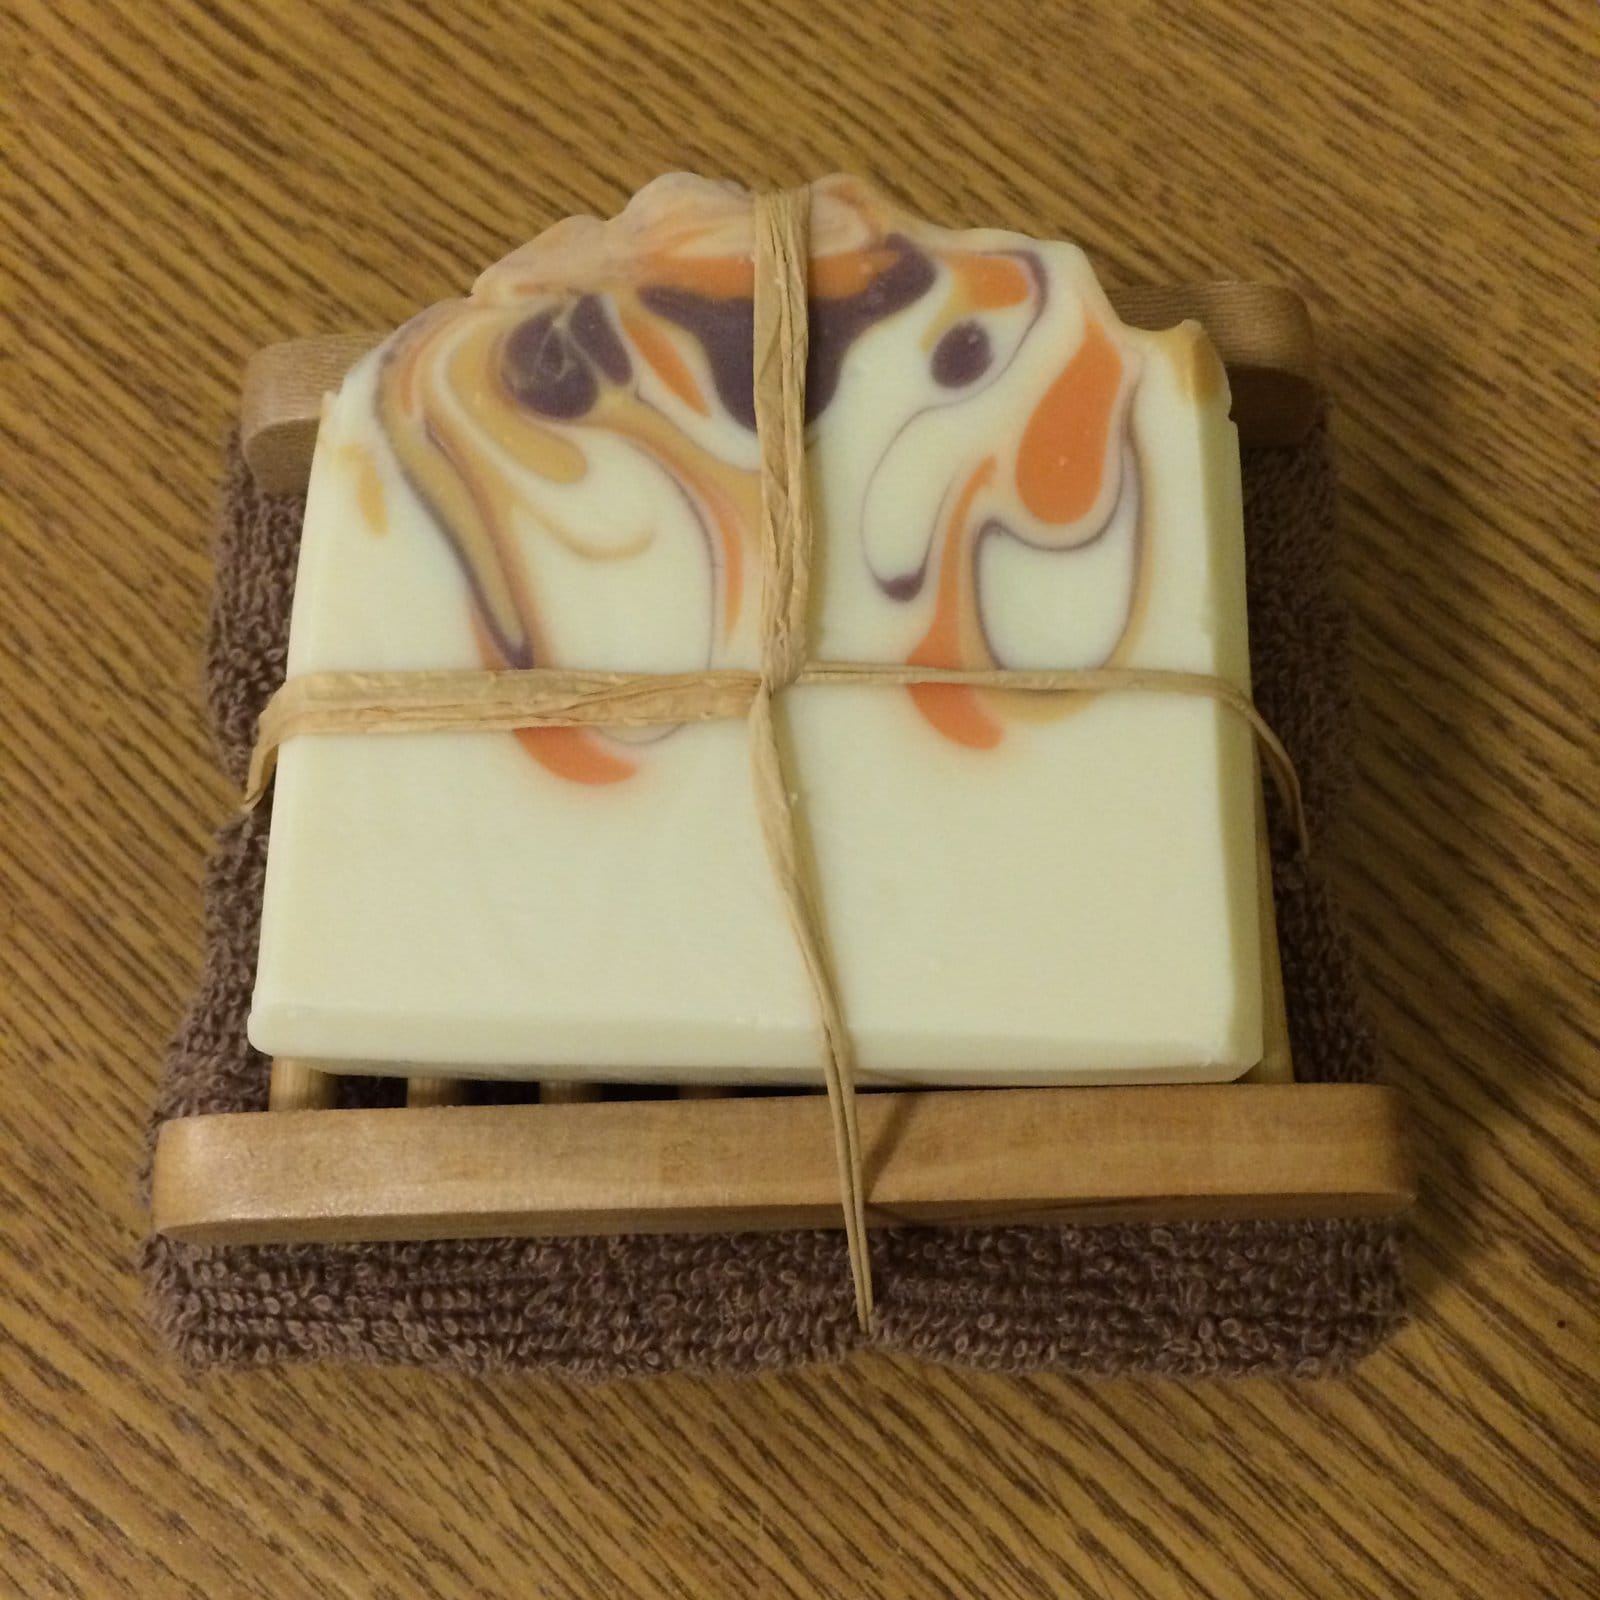
And then, a mere 24 hours later (I usually leave them in the mould for 48 hours)  I cut the first one loaf, practically holding my breath as I brought the wire down for the first slice…Success!!  (but do bear in mind that these are freshly cut and not yet tarted up…)

Clarity freshly cut 1
Clarity freshly cut 2

Cue a little happy dance…

And what to do with the other 6kg of spoiled soap?  Well, in the comments section of this post where I also shared my ‘fail’, Sly of Soaps by Sly was kind enough to share a video of Tania of Soapish showing a method that seems to ‘fix’ a partial gel. This could be a gamechanger, and I’m definitely planning on giving it a go (just don’t ask me when!!)

Thanks for reading – back tomorrow!

Vickx

Posted on 27 Comments

Rainbow Drop Swirl – A tutorial in pictures

Tutti Frutti
Tutti Frutti

There’s been a lot of interest in my rainbow drop swirl (Tutti Frutti) soap recently, so I thought I’d put together a little pictorial tutorial for anyone who’s interested in how it’s done (I really, REALLY should start making videos shouldn’t I?).

Many of you will already know how big a fan I am of the drop swirl technique. Almost all of my core range is made using either a full or partial drop swirl, and Tutti Frutti is no exception.  I made another couple of batches recently, and took some photographs along the way…

**Please make sure you’re familiar with the basics of soapmaking before you try any advanced swirls (Soap Queen is a good place to start) and always wear protective clothing / gloves / goggles.  Safety first!!**

I generally make soap at room temperature, so I’ll mix up the lye solution in advance and put it to one side to cool down (I don’t discount the water for this one). I’ll also melt the hard oils and butters and combine them with the liquid oils and butters and allow them to cool down to room temp.

Next I measure out the seven different micas straight into the pouring jugs (actually here you’ll see six different micas and one liquid colourant.  It’s notoriously difficult to get a good red in CP soap, but I use a liquid colour from Gracefruit which is rather good.  They appear to be out of stock of the red at the moment, but hopefully it’ll be back in soon.)

colourants ready for mixing into the soap batter

Next I add my fragrance oil to the room temp oils and butters.  Many people add their fragrance AFTER adding the lye and tracing the soap, but my preference is to add it before.

I then add a couple of teaspoons of the fragranced oils to each jug of mica and get them well blended.  I know it’s common practice to skip this stage and simply add the traced lye batter directly onto the powdered mica (or add the powdered mica directly to jugs of traced batter), but I don’t always use a stick blender and this way I know I can get the colour incorporated well just by giving it a good mix with a spatula.

Pre-mixed colourants, oils and a jug of lye water

I get my moulds ready – notice my high-tech method of stopping the mould sides from bowing inwards 😀

Moulds prepared...
Moulds prepared…

And then we’re ready to go…  I mix the lye water into the tub of (already fragranced!) oils and butters, and share the soap batter out equally into the seven prepared jugs.  It would appear I forgot to get a photo of that stage – sorry!   What we’re looking for is a really light trace as the soap will thicken up during the pouring process. Personally I don’t stick-blend this soap AT ALL.  I find that by the time I’ve mixed up all the colours thoroughly it’s already at a light trace, but this will very much depend on how quickly your particular soap recipe traces and which fragrance you’re using. I’ve even found that certain micas can inhibit trace, so there are many different factors involved. It’s a case of using your judgement and, to be honest, trial and error.

Next comes the pour.  First in this time was yellow:

First pour - yellow
First pour – yellow

What’s crucial for a nice drop is the height from which you pour the soap in to the mould. At the early stages my jug is quite close to the bottom of the mould as I pour a line of soap along the length of it. Here’s the next couple of pours:

Red and orange poured next

Once the bottom of the mould has been covered with soap, I start to raise the jugs a little higher as I pour, so that the soap drops into the previous layer, rather than sit on the top of it.  It’s very hard to give a precise height as it very much depends on how thick your soap batter is (the thicker it is, the higher you’ll need to drop it from)

More colours poured
More colours poured

I try to make sure I pour from the jugs in the same order on each round of pouring, and also try to make sure I’m not pouring a colour on top of the same colour in the mould.

I keep pouring until the moulds are full:

Filling up the mould
Almost full...
Almost full…
Full!
Full!

By this stage the batter is quite a bit thicker than when I started to pour, and looks none too tidy, but it doesn’t really matter once I start adding texture to the top:

Mid-texturing the top
Starting to tidy up the top

And the finished item:

Tutti Frutti ready to set up
Tutti Frutti in the mould

I generally leave soap in the mould for 48 hours before I unmould and cut:

Rainbow Drop Swirl mid-cut

And that’s it.  It’s cured for 4 weeks, bevelled and tidied up, cured for another 2 weeks then released for sale.

Some time ago I started using the Instagram hashtag #dropsaretops for some of my photos – please use the tag to share your own drop swirls and make this drop swirl junkie very happy 😀


Posted on 7 Comments

Making Castile Soap

Traditional castile soap is made of nothing more than olive oils and a sodium hydroxide solution, and its origins lie in the soap that has been made for many centuries in Aleppo (Syria), from local olive & laurel berry oils. When the recipe was brought to Europe (specifically the Castile area of Spain, with its abundance of olive trees) it would appear that laurel berry oil was hard to come by, leading to it being dropped completely, becoming the 100% olive oil soap that we know today. It’s considered to be the gentlest of soaps – kind to sensitive skin often used as a baby soap (though personally I don’t think very small babies need any soap at all!)

At the beginning of the year I decided to make it one of my goals for January, and hey presto, last week I made my first ever batch of castile.  I don’t always bother with test batches, and I didn’t think an awful lot could go wrong with this one, so dove right in with a full sized batch. The recipe was simply:

  • 1500g Olive Oil
  • 570g Water
  • 193g Sodium Hydroxide (NaOH)

I used my usual method – made up the lye solution and left it to cool down to room temperature.  For my regular bars I melt together the hard oils/butters, then add the liquid oils and let it cool down to room temperature, but there was none of that faffing about with this one – I just measured my olive oil out of the bottle and into my mixing bowl.

Olive Oil
Olive Oil

Then added the NaOH and whisked until it was emulsified:

Oil / NaOH Emulsified

Gave it a bit of a mix with the handblender until it traced:

Soap Batter at Trace

And poured it into the mould:

Castile in the mould

I knew from my reading that I probably wouldn’t be able to unmould / cut after my usual 48 day wait, so I left it a little longer, then kind of forgot about it for a couple of days (oops) and eventually unmoulded it 8 days after it was poured. I was happy to note that it was a lot whiter than it originally appeared to be:

Castile 8 days later

Perhaps I’ll only leave it three or four days next time as it was the hardest batch I’ve ever cut, and I feared for the wire on my poor Bud soap cutter.  I took it slowly, and the end result was this:

Castile freshly cut
Castile freshly cut

The usual recommendation is to allow castile soap to cure for a good six months, if not more, as it’s notoriously slow to harden. I’m not convinced though, and will be testing it often in the next few months to see how it’s developing.

By the way, I’ve never actually used castile soap myself. The things I’ve heard haven’t always been particularly positive – the lather has even been described as ‘slimy’, so I’m going to (try to) put the opinions of others out of my head and be as objective as possible.  Stay tuned and I’ll keep you updated 🙂

Posted on 4 Comments

15 Tips for giving a Soapmaking Talk

Soapmaking TalkFor the last couple of years, from March through to November, I’ve given a weekly soapmaking talk to holidaymakers staying in a local hotel. It’s an opportunity to get paid to rattle on about my favourite subject, and if I’m lucky I’ll sell a few bars as well. Win-win you might think? Well yes, these days I absolutely revel in it, but there’s no denying that the first few times I was really quite nervous. With that in mind I thought it might be helpful to others if I were to note down some of the things I now always do to ensure I give a successful soaping talk.

  1. The first thing I do on arrival at the venue is set up my display of soaps.  A big draw for me of doing a soaping talk is the opportunity to sell as well, so make your display as appealing as possible, with samples available to touch and smell.
  2. The introduction.  You don’t have to go into too much detail. I usually tell them my name, tell them what I do, the name of my business and where I’m based. I then explain that I’m going to talk them through the process of making soap, and I make it clear that questions are welcome at any point. I’ll then draw their attention to soaps I have on display, and let them know that there will be an opportunity for them to buy some at the end of the talk. Even better, ask the host / venue manager to mention to the audience beforehand that there will be an opportunity to buy.
  3. Let the audience know that they can ask questions at any time.  This is a personal preference – I understand that some people would rather not be interrupted – but I really like it when people are engaged enough to want to know more. If it’s something I’m planning on covering a little further on, I’ll say so.
  4. Take samples of all the different oils and butters you use in your recipes to pass around the room. People love to touch and smell things, and it often gets leads to more questions.
  5. Take an empty bowl.  This is my main prop when talking through the soapmaking process. I explain that while I can’t do a full demonstration, I’ll talk them through the process and ask them to use their imagination.
  6. Take samples of mica (or whichever colourants you use). I pass these around the room, explaining what it is and how it’s used.
  7. Take some NaOH in a small SEALED box and explain to them what it is, and precisely why it’s the only item that evening that you WON’T be passing around.
  8. Take samples of essential oils and/or fragrance oils. Pass them around the room. Explain the differences between them – how they’re made, the pros and cons of each.  Make sure that, whichever fragrances you choose to pass around, you have soap available in those fragrances to buy.  It really does make a difference to what will sell.
  9. Take a mould and liner to show them.  I use wooden loaf moulds and silicone liners and I talk about how I started out lining with freezer paper, and the difficulty I had getting smooth surfaces and sharp corners and hence why I’m a huge fan of silicone liners.
  10. If possible, take an unmoulded soap so that you can unmould it in front of them. I’ve now got into the habit of making at least one batch on a Tuesday night specifically to be able to unmould it at my soaping talk on the Thursday night.  Unmoulding a batch of soap never fails to elicit an ‘Ooooooohhh’ from the audience.
  11. This really should be point 10a.  If at all possible, take along your soap cutter and cut some of that soap that you’ve just unmoulded.  This has major WOW factor and in my experience the audience really enjoys seeing this part of the process.
  12. While I wear gloves to cut the main batch of soap, when I’ve cut a few bars to show the audience, I’ll take the gloves off and hold the end piece, showing them that by this point (48 hours post pouring) the sodium hydroxide has combined fully with the fats and is no longer caustic.
  13. I then talk about the curing process – how and why the soap is cured. Often some audience members are keen to feel end piece, and I’m happy to let them do so. I suggest they compare the softness of that piece with the hardness of one of my fully cured bars.
  14. I then talk about wrapping, labelling, and the legislation related to the selling of soap in the UK/EU.
  15. Finally I ask whether they have any questions. Often they’ll ask how/why I started making soap, or more general questions about commercial soaps. If none are forthcoming, I’ll often ask whether they know anything about the history of soapmaking (a subject that often comes up at this point) and then talk very briefly about the story (myth?) of the discovery of soap via the sacrificial fires on Mt. Sapo and what we know as fact about soap in ancient history.  It’s also an opportunity to talk about the differences between handmade and commercially produced soap.

There are also a few general things I’d recommend to anyone giving a talk, whatever the subject.  These might, quite rightly, be considered common sense, so I’m not including them in the ’15’ tips, but I thought it was worth adding them in, as it’s so easy to overlook stuff when you’re feeling nervous:

  1. Arrive early.  Always arrive early.  At least when you’re starting out.  I know it gives you longer to get worked up and for those butterflies to do their anxiety inducing business, but there’s nothing worse than arriving late to get you flustered.  Arrive early, sit down, mentally run through your presentation, have some water and do some deep breathing.  These days I can turn up with 5 minutes to spare and be absolutely fine, but I don’t recommend it 🙂
  2. Wear something comfortable.  You need to be relaxed, so don’t be tempted to get all glammed up if you’re generally the casual type.  Be neat and tidy of course, but stay true to YOU.
  3. Make sure you have a glass or bottle of water within arm’s reach. It’s surprising how dry your mouth gets when you do a lot of talking. It’s also really useful, if for example you suddenly lose your train of thought, to be able to pause and take a sip of water. Those few seconds can be all you need to get yourself back on track.
  4. Try to bring a little humour into your talk. I often talk about the man who came to me wanting advice about making soap from the lard leftover from his fried breakfasts.  That always gets a laugh and a few groans 😀

Good luck if you’re giving a presentation anytime soon, and let me know if you found any of this useful!

Posted on 6 Comments

Wrapping Gift Sets – A Tutorial

Much of today has been spent putting together gift sets for Saturday’s craft fair:

Gift Sets
Gift Sets
For my Blogtober 2016 Day 26 post (just 5 more to go – hurrah!!) I thought I’d take photographs of the process and share it with you.

  1. Take a (fully cured & bevelled) bar of soap, a co-ordinating facecloth and a wooden soap stand:

Gift Set Step 1
Step 1
2. Fold the facecloth twice to create three layers:

Step 2
Step 2
3.  Fold one third of the length over, and open up the end to create a little pocket:

Step 3
Step 3
4. Fold the other half of the facecloth over into the pocket:

Step 4
Step 4
5. Place the wooden soap stand onto the facecloth:

Step 5
Step 5
6. Place the soap onto the soap stand:

Step 6
Step 6
7.  Take a longish piece of string, ribbon or raffia – I use raffia – and place it under the the facecloth (apologies for the quality of the photo here):

Step 7
Step 7
8. Cross the raffia over like so:

Step 8
Step 8
9. Turn the set over and tie the raffia securely:

Step 9
Step 9
10.  I then slip an information card under the raffia

Step 10
Step 10
11. The secured set, ready for cellophane:

Step 11
Step 11
12.  Place the set, face down, on a large square of cellophane, bring up opposing sides and roll over and secure, as if wrapping a gift:

Step 12
Step 12
Step 13:  Fold up the other two sides – again just like wrapping a gift:

Step 13
Step 13
14.  Cellophane wrapped gift set:

Step 14
Step 14
15.  Take a length of co-ordinating ribbon and labels – I have two labels – one for the soap name and one for the ingredients:

Step 15
Step 15
16. Using sticky tape, stick the ribbon in FACE DOWN on the top right corner of the set, and thread on the labels:

Step 16
Step 16
17. Tie a knot in the ribbon – this makes it much easier to create a half decent bow:

Step 17
Step 17
18.  The finished set – Ta-da!

Step 18
Step 18
Posted on 18 Comments

The ‘Tall & Skinny Shimmy’ Challenge Soap

November’s challenge over on Amy Warden’s Great Cakes Soapworks was to (attempt to) recreate what Amy named the ‘Tall & Skinny Shimmy’. This technique is also called the wall pour or segment filling, and has been perfected by Tatiana Serko, an amazing soaper who created the tutorial video for the challenge. I’ve seen this design before and always wondered how it was done, SO there was no doubt in my mind as to whether I’d be giving it a go this month.  Here’s the design she created for the tutorial:

Tatiana's Tall & Skinny Shimmy
Tatiana’s Tall & Skinny Shimmy

I recently bought a shiny new tall & skinny mould, and this challenge marked it’s first outing. This was the first problem. Turned out the mould holds more soap than my regular mold. I kind of thought it would, but checked on the website where I bought it to make sure.  Unfortunately, in my haste, I looked at the wrong listing, and so had the wrong volume in my head. Luckily I’d had a sneaking suspicion that that figure might be incorrect (just by looking at the mould – which is LONG), so I prepped two batches of my masterbatched oils, just in case.

I decided (once again) to use a fragrance I’d not used before. Not as crazy as it sounds – I used a blend of Patchouli & Sweet Orange essential oils, both of which I’ve used separately many times without any problems.

I added the fragrance blend to the oils, then added the lye and mixed gently with a whisk until the soap was fully emulsified, but no more. In her tutorial, Tatiana said that she doesn’t use a stick blender, and simply lightly hand mixes her soap. With some trepidation, I decided to do the same, and split the soap into seven, colouring each portion a different shade, and mixing thoroughly by hand.

Prepped colourant
Prepped colourants

I then set up my mould as per Tatiana’s instruction.  I placed two pencils parallel to each other on my work table, on either side of my mould.  I put one side of the mould onto one of the pencils, so that there was a tilt to the mould, and then poured the first colour down and along the side of mould that was NOT on the pencil.  I then moved the mould so that the other edge was sitting on the other pencil (and the mould was therefore tilted lengthways the other way) and poured down and along the opposite side. I did this with all seven colours, alternating the side each time. The soap was very thin, and had barely reached trace – I think it perhaps could have been just the tiniest bit thicker – note to self for next time…

Anyway, of course, it turned out I didn’t have enough soap made up to fill the mould, so I quickly separated out another three portions of the second batch, added colour, and continued to pour. The pouring was fast and fraught, and I didn’t get the opportunity to take any photographs – sorry!

Once the pour was complete, and the mould was full, I swirled to the top and put it to one side to harden up.

Tall & Skinny Shimmy in the Mould

As it was poured at such a light trace, it took a while to harden up sufficiently, but three days later I felt confident enough to take it out of the mould:

Tall & Skinny Shimmy in the mould
Ready for cutting

I was REALLY apprehensive about cutting this one, I didn’t have the time (or the ingredients) to make another one, so I was hoping it wasn’t a complete disaster. As it was, it’s not too bad. I did get a little bit of a shimmy, but there’s no doubt that the pouring left a lot to be desired!!

Tall & Skinny Shimmy (kinda)

I think had I had the correct volume of soap from the beginning, and just had the seven colours to pour, I may have had more luck – it’s clear that my scrabbling for more soap towards the end caused issues with the design at the top.

Another issue I had was that the silicone liner was so tall and long, it didn’t stay flush to the sides of the mould – the sides bent into the middle, and so while pouring down one side, I had to use my other hand to hold the other side of the silicone mold away from the middle, which was a bit awkward.

I’m really happy to have been able to give this one a go, and will probably try it again at some point in the future – thanks Amy!

Thanks for reading – I’ll be back soon with a post on my holiday soaps.

Posted on 34 Comments

Spinning Swirl Challenge Soap

Despite signing up for them at every opportunity, it’s been an awfully long time since I’ve managed to get round to make a soap for Amy Warden’s monthly Soap Challenge Club over at Great Cakes Soapworks.  This month’s challenge really piqued my interest though, and I was determined to give it a go.  The challenge was to create a soap using the Spinning Swirl technique (which I hadn’t come across before) and, after months of making nothing but restocks, I was keen to try something a bit different. This technique involves pouring very fluid soap batter into a slab mould and then spinning the mould itself. Amy provided a great video tutorial, and this one of the soaps that she made to illustrate the technique:

Amy's Spinning Swirl Soap
Amy’s Spinning Swirl Soap

One of the stipulations of the challenge was that the soap had to made in a slab mould, which I don’t own. So my first challenge was to improvise a slab mold. A shoe box did the trick:

Improvised Shoe Box Mould

I prepared my colourants. The fragrance oil is described as a creamy, powdery, honey fragrance, and I wanted warm colours to reflect that.  I used Radiant Gold mica, Sicilian Orange mica and Red iron oxide and mixed them with a little of the oils (to which I’d already added the fragrance).

Micas mixed with a little oil from the main batch
Colourants mixed with a little oil from the main batch

I added the lye to my usual oils and butters, and then poured the batter equally into the three jugs, stirred well then stick blended very VERY briefly (as I needed it to stay fluid for as long as possible):

Soap ready to pour
Soap ready to pour

I poured the soap into the mould, alternating colours in a faux-funnel type pour:

Soap mid-pour
Soap mid-pour

Once the soap was all poured, I gritted my teeth, gripped the mould with both hands, and started to rotate the mould as quickly and as firmly as I dared while praying that it wouldn’t all slosh out onto my table. After making probably about 20 full rotations, I swirled the top with a skewer and put it aside to firm up. A couple of days later I unmolded and found this left behind in the diy mould:

Leaked soap!
Leaked soap!

THAT is why I love my silicone moulds so much 😀 Anyway – the unmolded soap didn’t look too promising:

Unmoulded Spinning Swirl

Not only do I not have a slab mould, I also don’t have a cutter that can cope with a big ole slab of soap, so I had to make the first cuts with a Very Big Knife. Needless to say, I wasn’t particularly accurate:

First cuts - spinning swirl
First cuts – Spinning Swirl

And THAT is why I love my single wire Bud cutter 😀 Anyway, I was able to use my beloved cutter for the rest of the cuts:

Final cuts - Spinning Swirl
Final cuts – Spinning Swirl

And, after a little love and attention, I’m really happy with the result:

Spinning Swirl Soap
Spinning Swirl Soap

Many thanks Amy for organising the challenge! It was a real pleasure to try something new and I’m looking forward to seeing what the other entrants come up with.

Posted on 34 Comments

Taiwan Swirl

I’ve been on a bit of a self imposed soaping break recently, in preparation for ‘The Big Move’, and it feels like ages since I last made soap.  When Amy of Great Cakes Soapworks posted this month’s soaping challenge – the beautiful Taiwan Swirl – I decided  to sign up just to watch the tutorial and see how it’s done.   Anyhow, watching the video got me itching to make soap again, so, at the eleventh hour, I unpacked all the soaping gear (to raised eyebrows from my other half :-D) and gave it a shot.

The Taiwan Swirl calls for a really really thin soap batter, which I knew would be my first challenge. My usual recipe traces fairly quickly and wouldn’t be any good for this design. Amy suggested 80% Olive oil to 20% Coconut oil, so I ran that through SoapCalc and decided I’d like the final soap to be a bit more bubbly. I plumped for 70% Olive oil, 20% Coconut oil and 10% Castor oil. Some of you will have spotted the obvious mistake already – guess who totally forgot that Castor oil can speed up trace?

I mixed up a blend of Lemon, Clary Sage and Ginger essential oils to fragrance the soap, and chose what I hoped would be complementary green and orange micas for the colours. I dispersed the micas in about 15ml of Olive oil:

photo 1(2)

I had already made up the lye solution and melted/mixed the oils earlier in the day, so I had both at room temperature. I added the lye to the oils and briefly mixed with the stick blender to the point of a very VERY light trace.  Amy, in her video, suggested stopping as soon as the batter was emulsified and just before it traced, but I missed that window and definitely hit trace  🙂  I poured a very small amount (just over 100ml from a 750g batch) of batter into each jug of mica and poured the remaining batter into the mould. I knew I was running out of time as the batter in the mould was thickening so I quickly poured the coloured mixes into the base (from high, to get the colour down through the batter to the base – one down one side, lengthways, and the other down the other side). Both were poured at the same time, which proved challenging!

Then I swirled, using a skewer. The swirling is a bit difficult to explain without a diagram but here goes: Put the skewer into the mould, right down to the base, in one corner of the mould then make tight ‘s’ shapes from one short end of the mould, side to side down the length of the mould to the other short end. Then, keeping the skewer in the mould, make long ‘s’ shapes along the length of the mould – at 90 degrees to the first ‘s’ shapes. I hope that makes sense but if not there are some great YouTube tutorials on my Pinterest board here.

Anyone spot the next obvious mistake? Yup, I forgot to add the essential oil blend. Ah well, too late to do anything about it :-s

photo 2(1)At this stage I was a little bit disappointed with what was in the mould – the swirls weren’t as fine as I’d hoped, and the green colour wasn’t very defined, but by the next morning it was looking better, and by the time I cut it I was pretty happy with the result….

Taiwan Swirl by The Soap Mine

It’s still pretty soft – I’ve never made a soap with such a high percentage of liquid oils before – and I think it’s going to need a good long cure time to get nice and hard. I really should have left it for at least 48 hours before cutting, rather than my normal 24 hours, but I was in a hurry to get this post finished, and a picture uploaded onto to Amy’s challenge web page before the deadline, so that’s what I’m off to do now 😀

Thanks Amy for another great challenge!

Posted on 13 Comments

Soap flowers and cupcakes

I made some cupcake soaps this week. It’s been a looong time since I’ve made any, and I was fretting about how to decorate them.

My very first soap cupcakes were decorated with non-soap, regular cake decorations. They looked pretty, but not really practical 😀

Cupcakes 001 (2)

I moved on to piping decorations with leftover soap from other projects. Much more appropriate for bathing with, but I still wasn’t happy with the result:

030

So I had a root around Pinterest and found a tutorial for making soap roses here on the French SoapSession blog. I have a bit of French (but to be honest the pictures speak for themselves) so I gave it a go. I didn’t think to take any photos (oops!) as I made them but here’s what I came up with:

Picture 046As it turned out I felt my cupcakes looked good enough ‘naked’ this time, and so chose not to add any extra decoration:

Picture 048But I did use a couple of flowers on some ‘leftover’ soaps – so called because the bases were made from leftover cupcake batter (I’d run out the round cupcake cases and so dropped the leftover batter into a couple of heart shape moulds) and the tops were made out of leftover cupcake frosting (just glooped and swirled on top) I thought a couple of pink flowers would look cute on top. What do you think?

Picture 055