As the Blogtober juggernaut trundles on, I thought it would be interesting (and easy!) to make the most of the fact that it’s Thursday and do a quick #throwbackthursday post. I’ve kept photos of every single batch I’ve ever made so I dug out the earliest incarnations of some of the varieties that are still in the current range to compare them to today’s version…
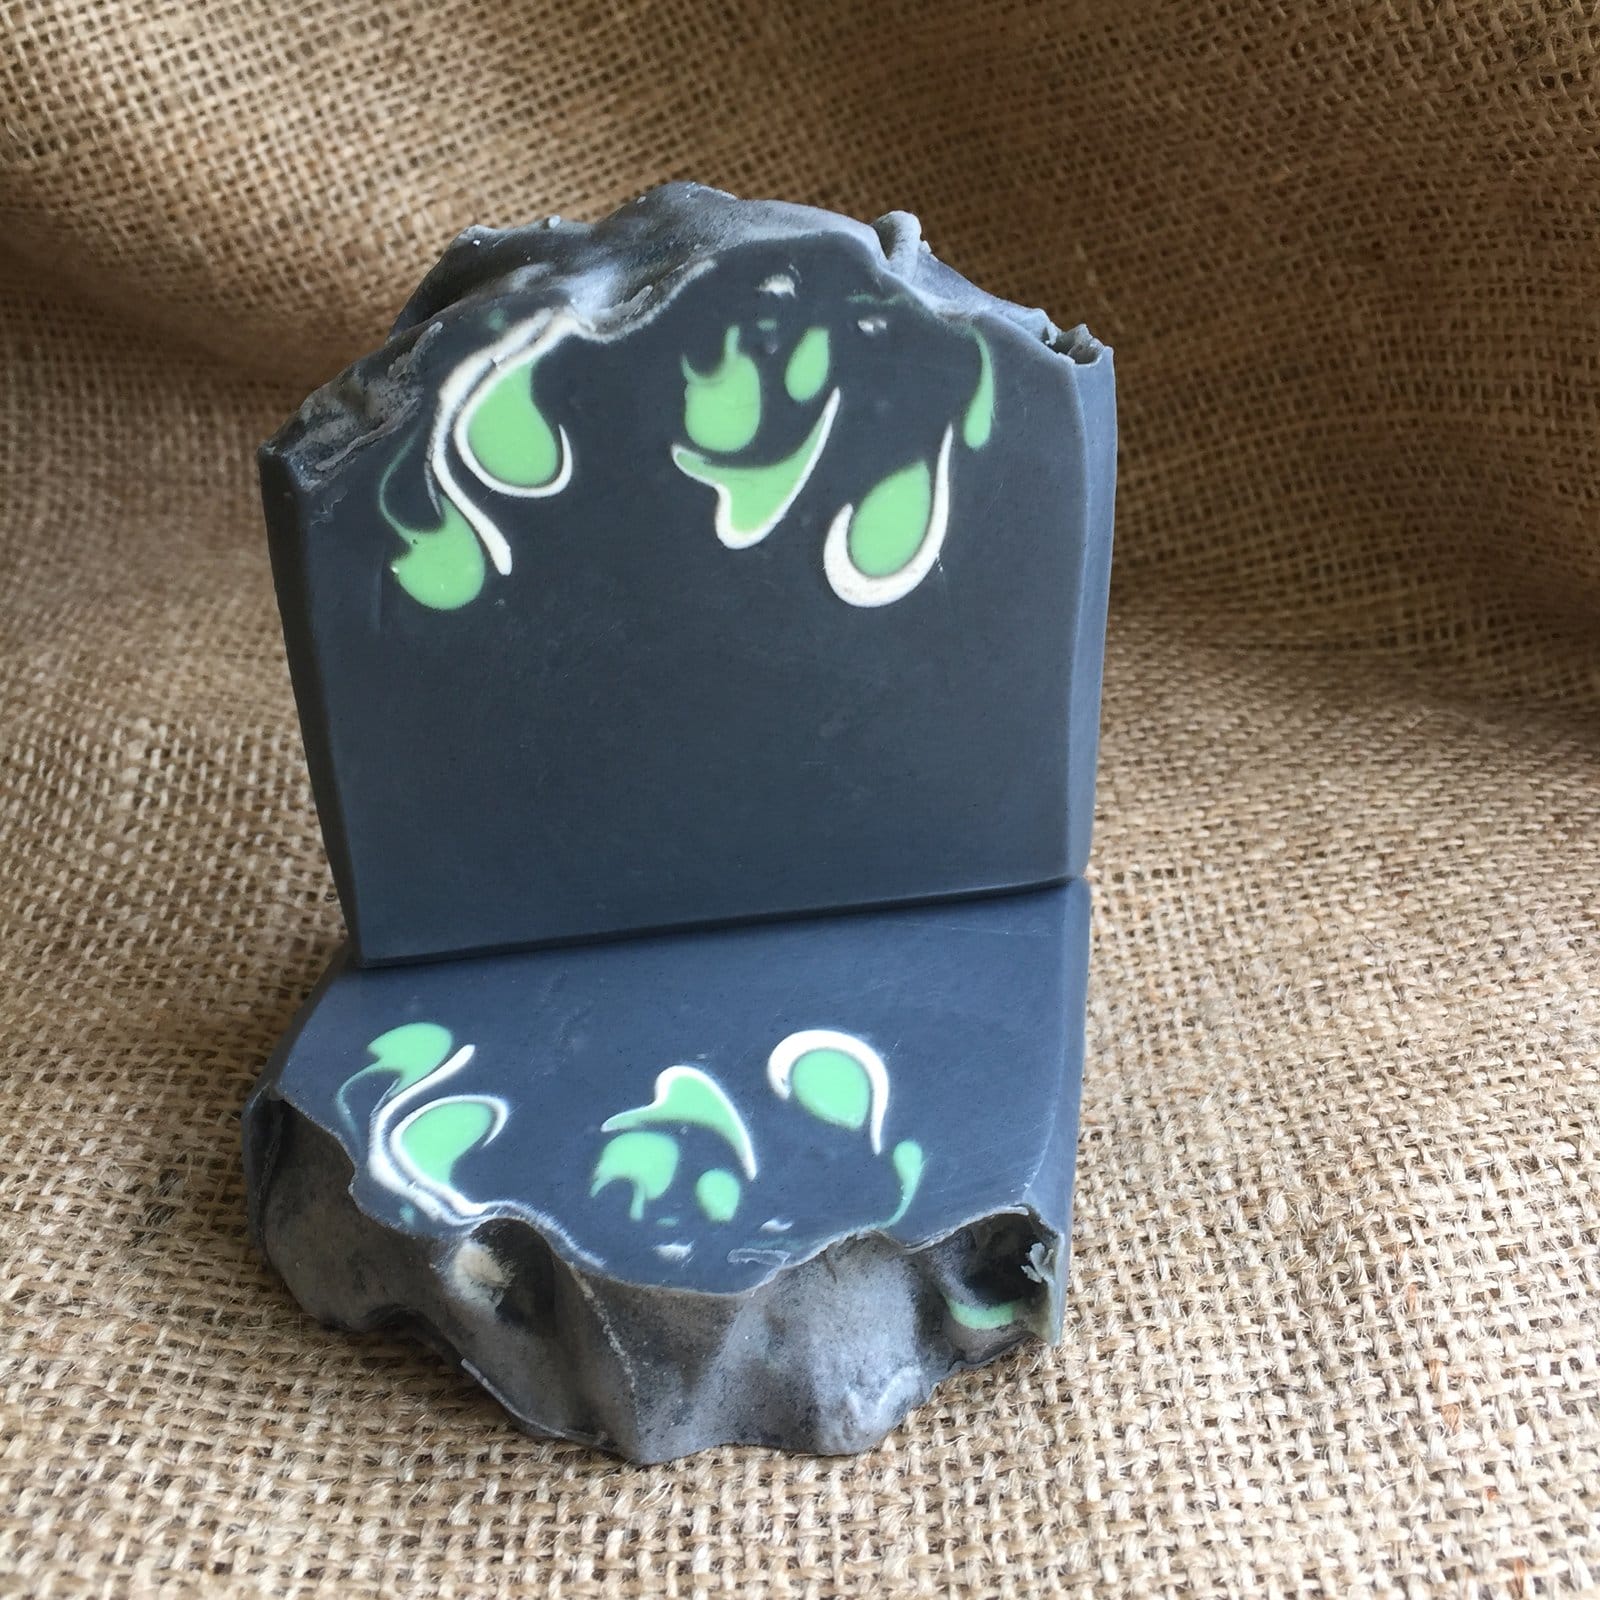
Original Bewitched
Current Bewitched
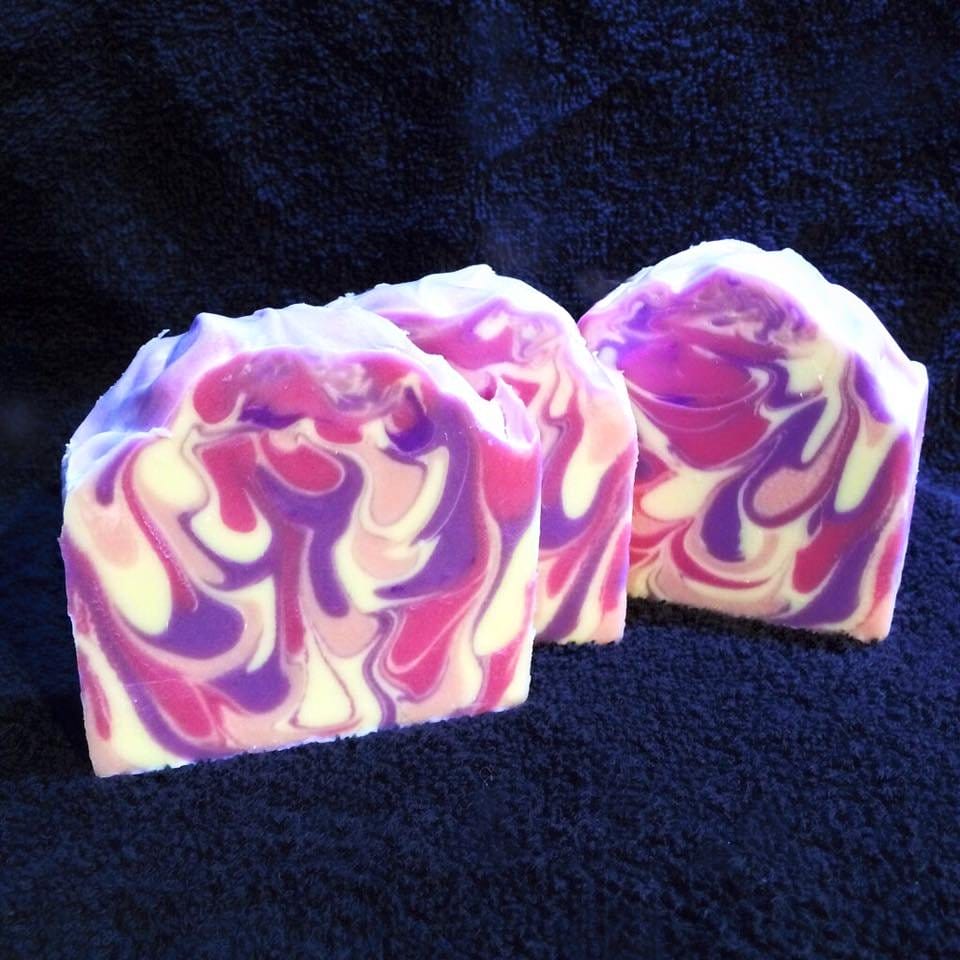
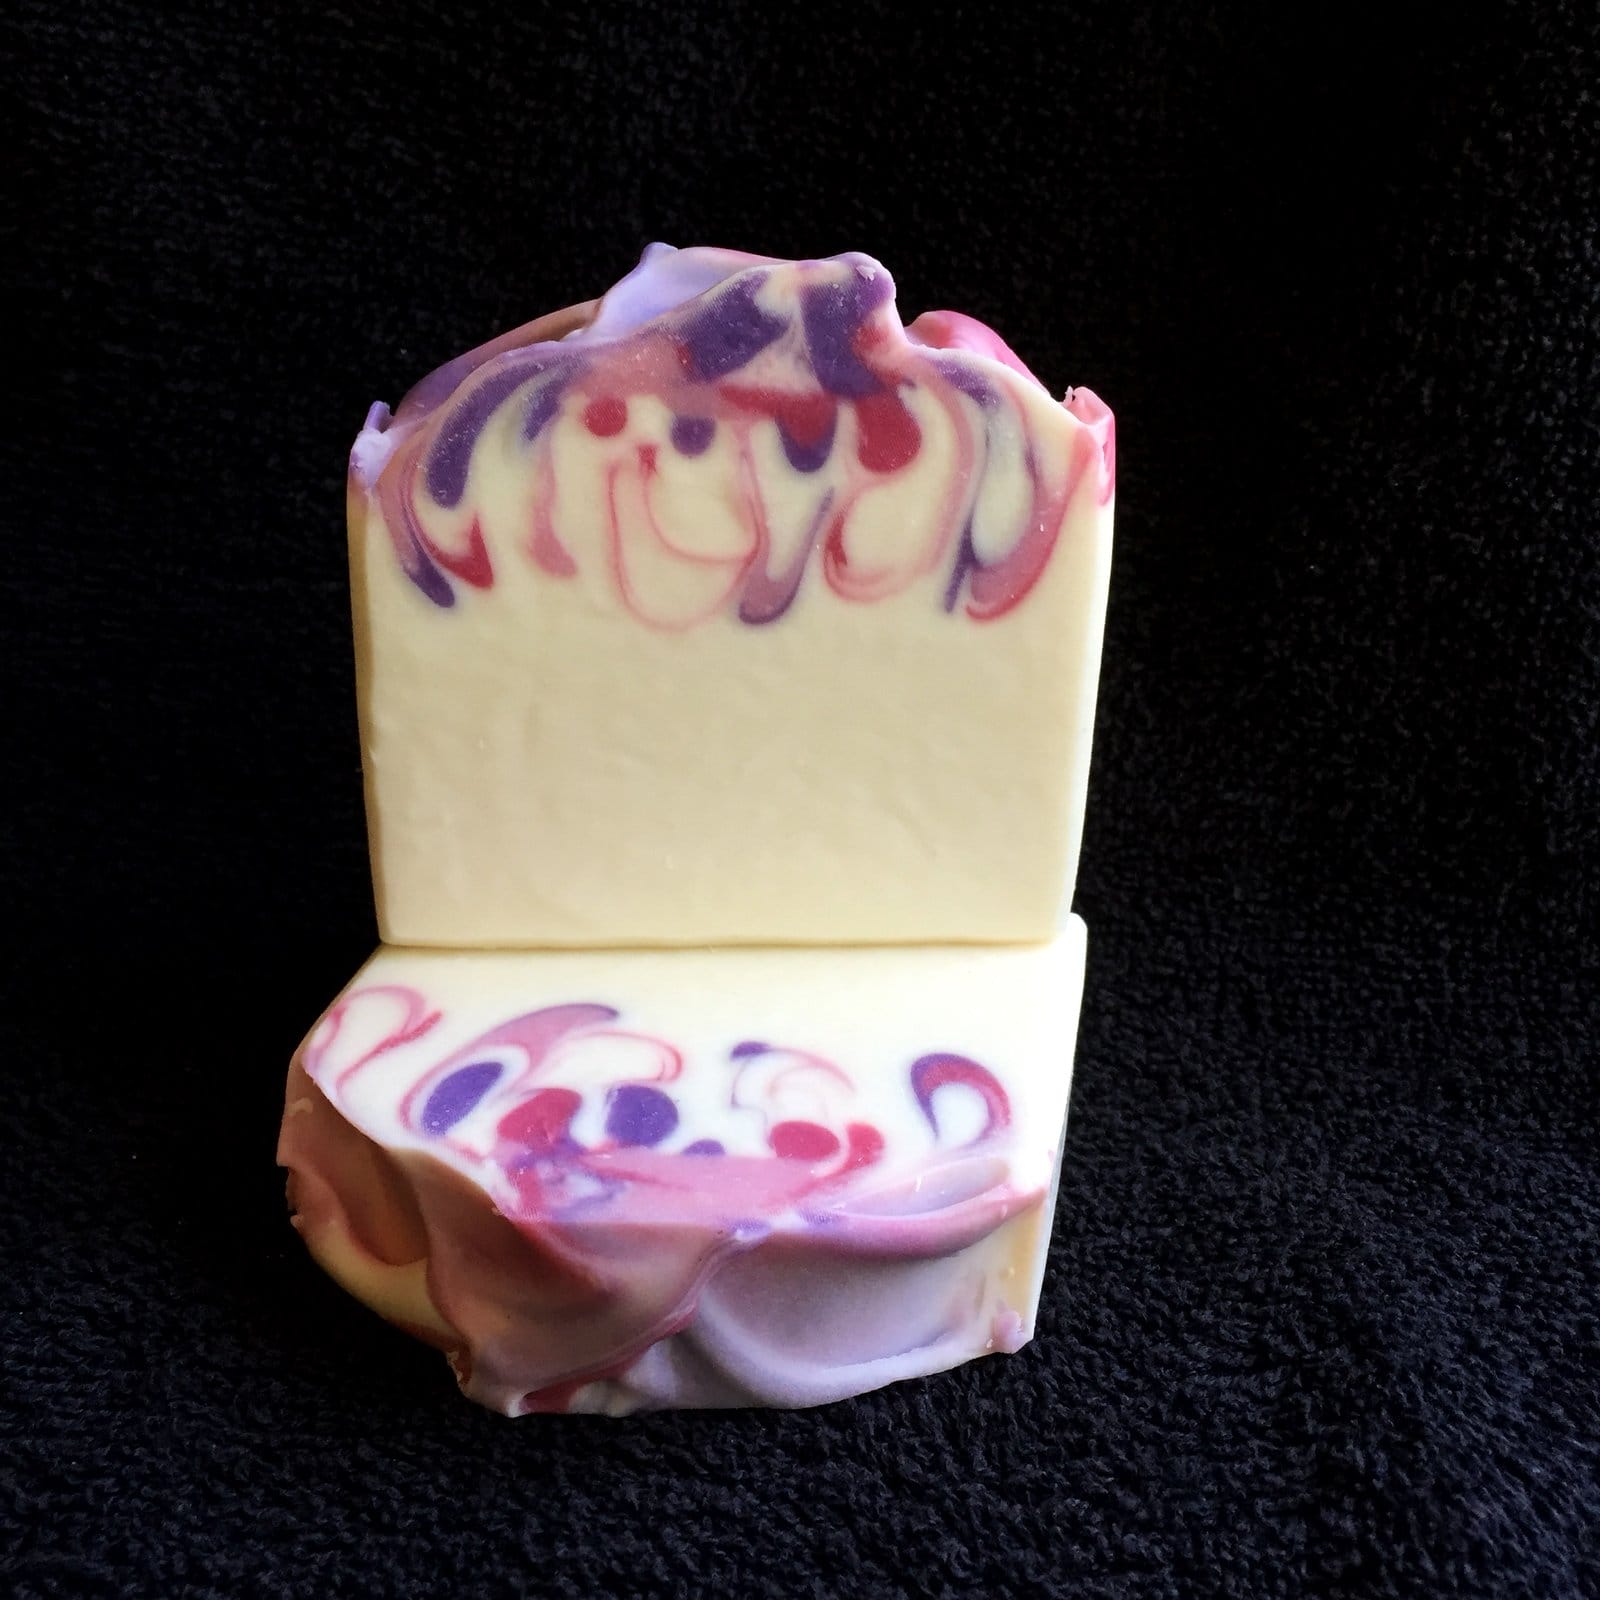
Original Blodau (Flowers)
Current Blodau (Flowers)
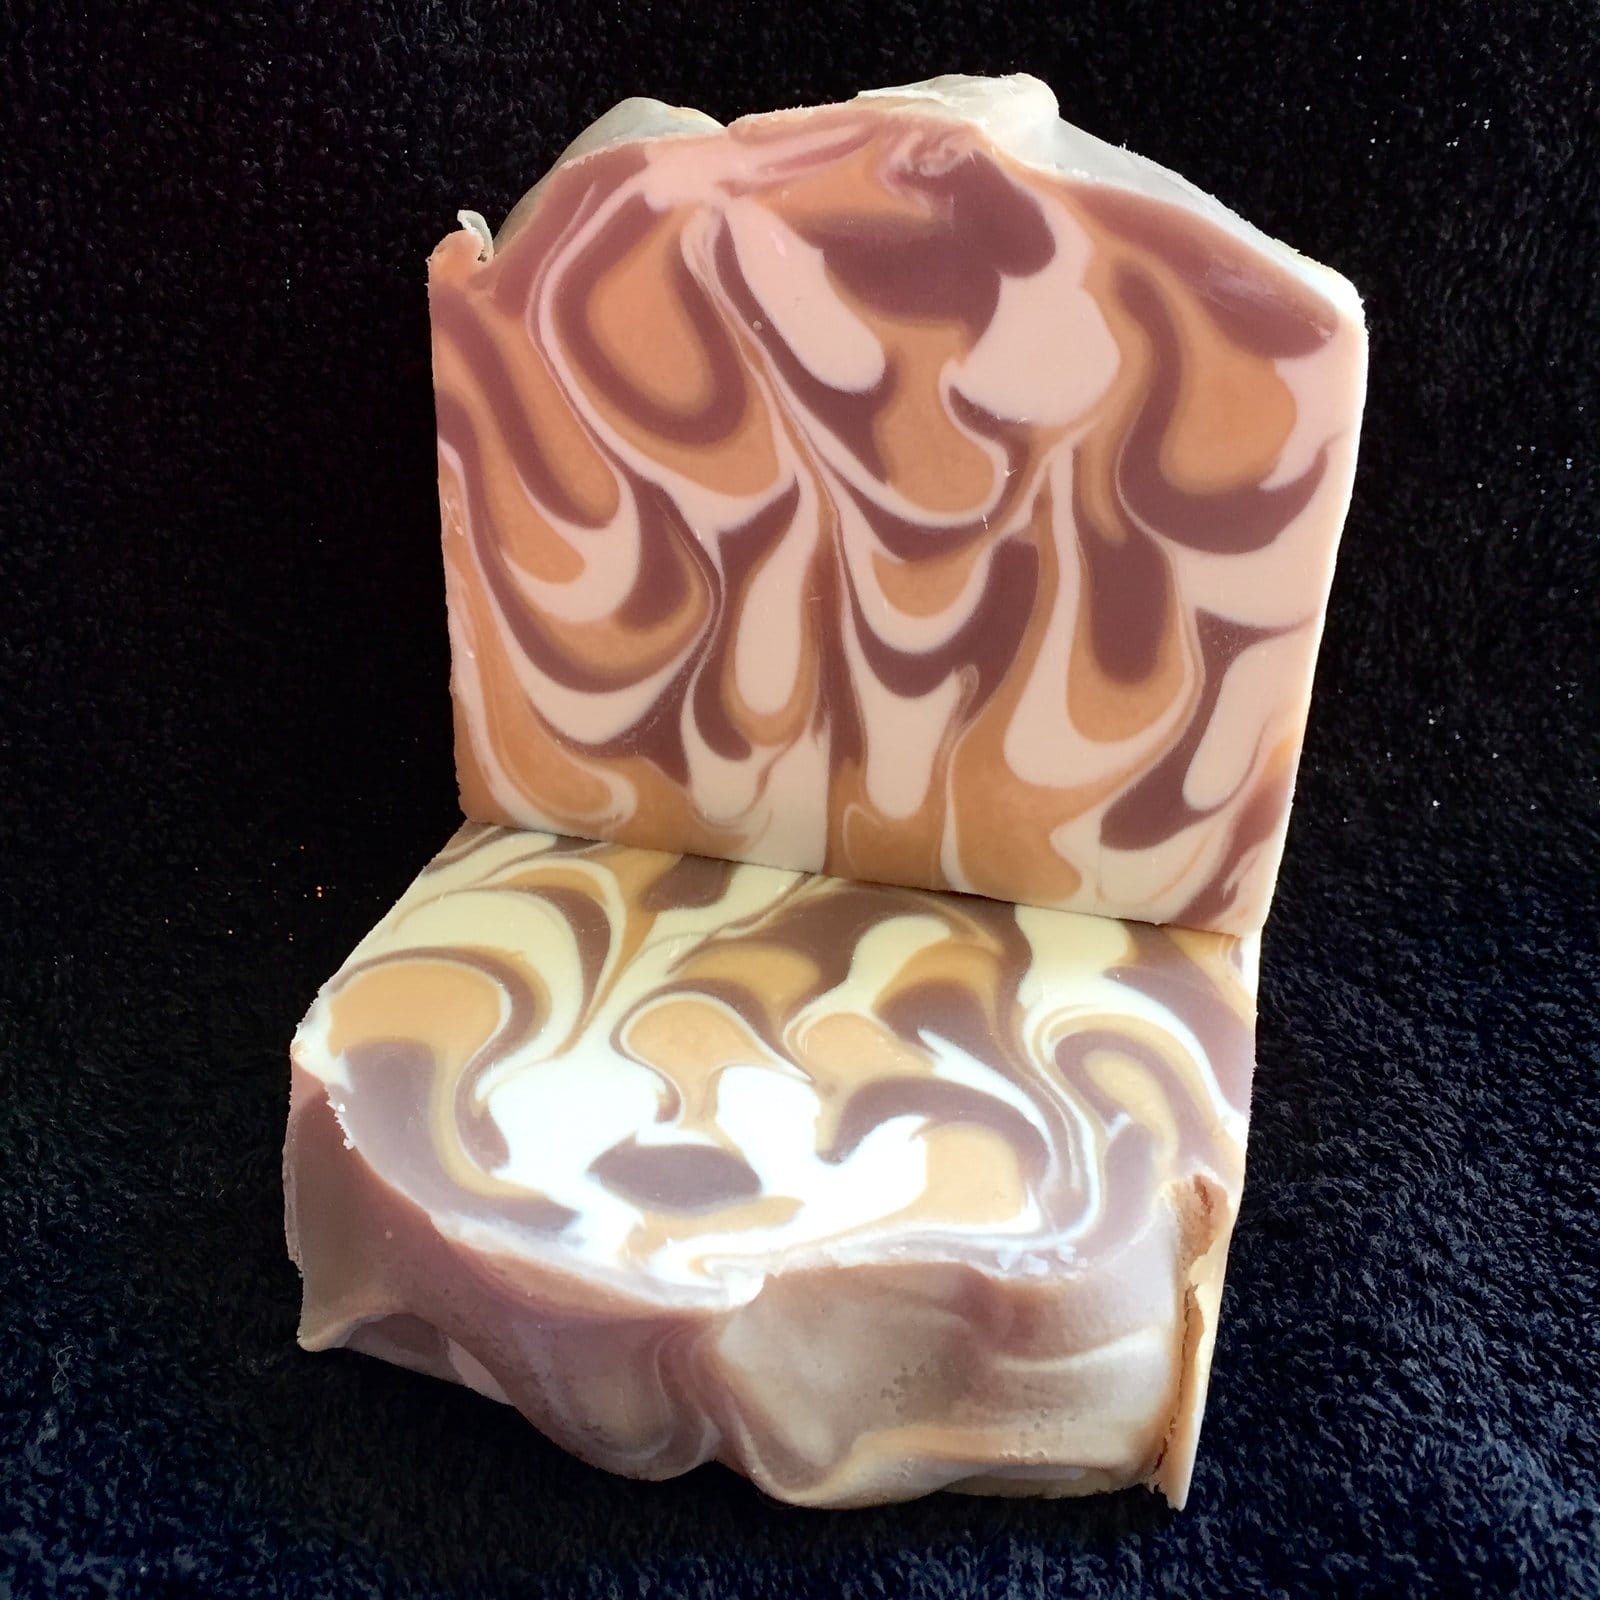
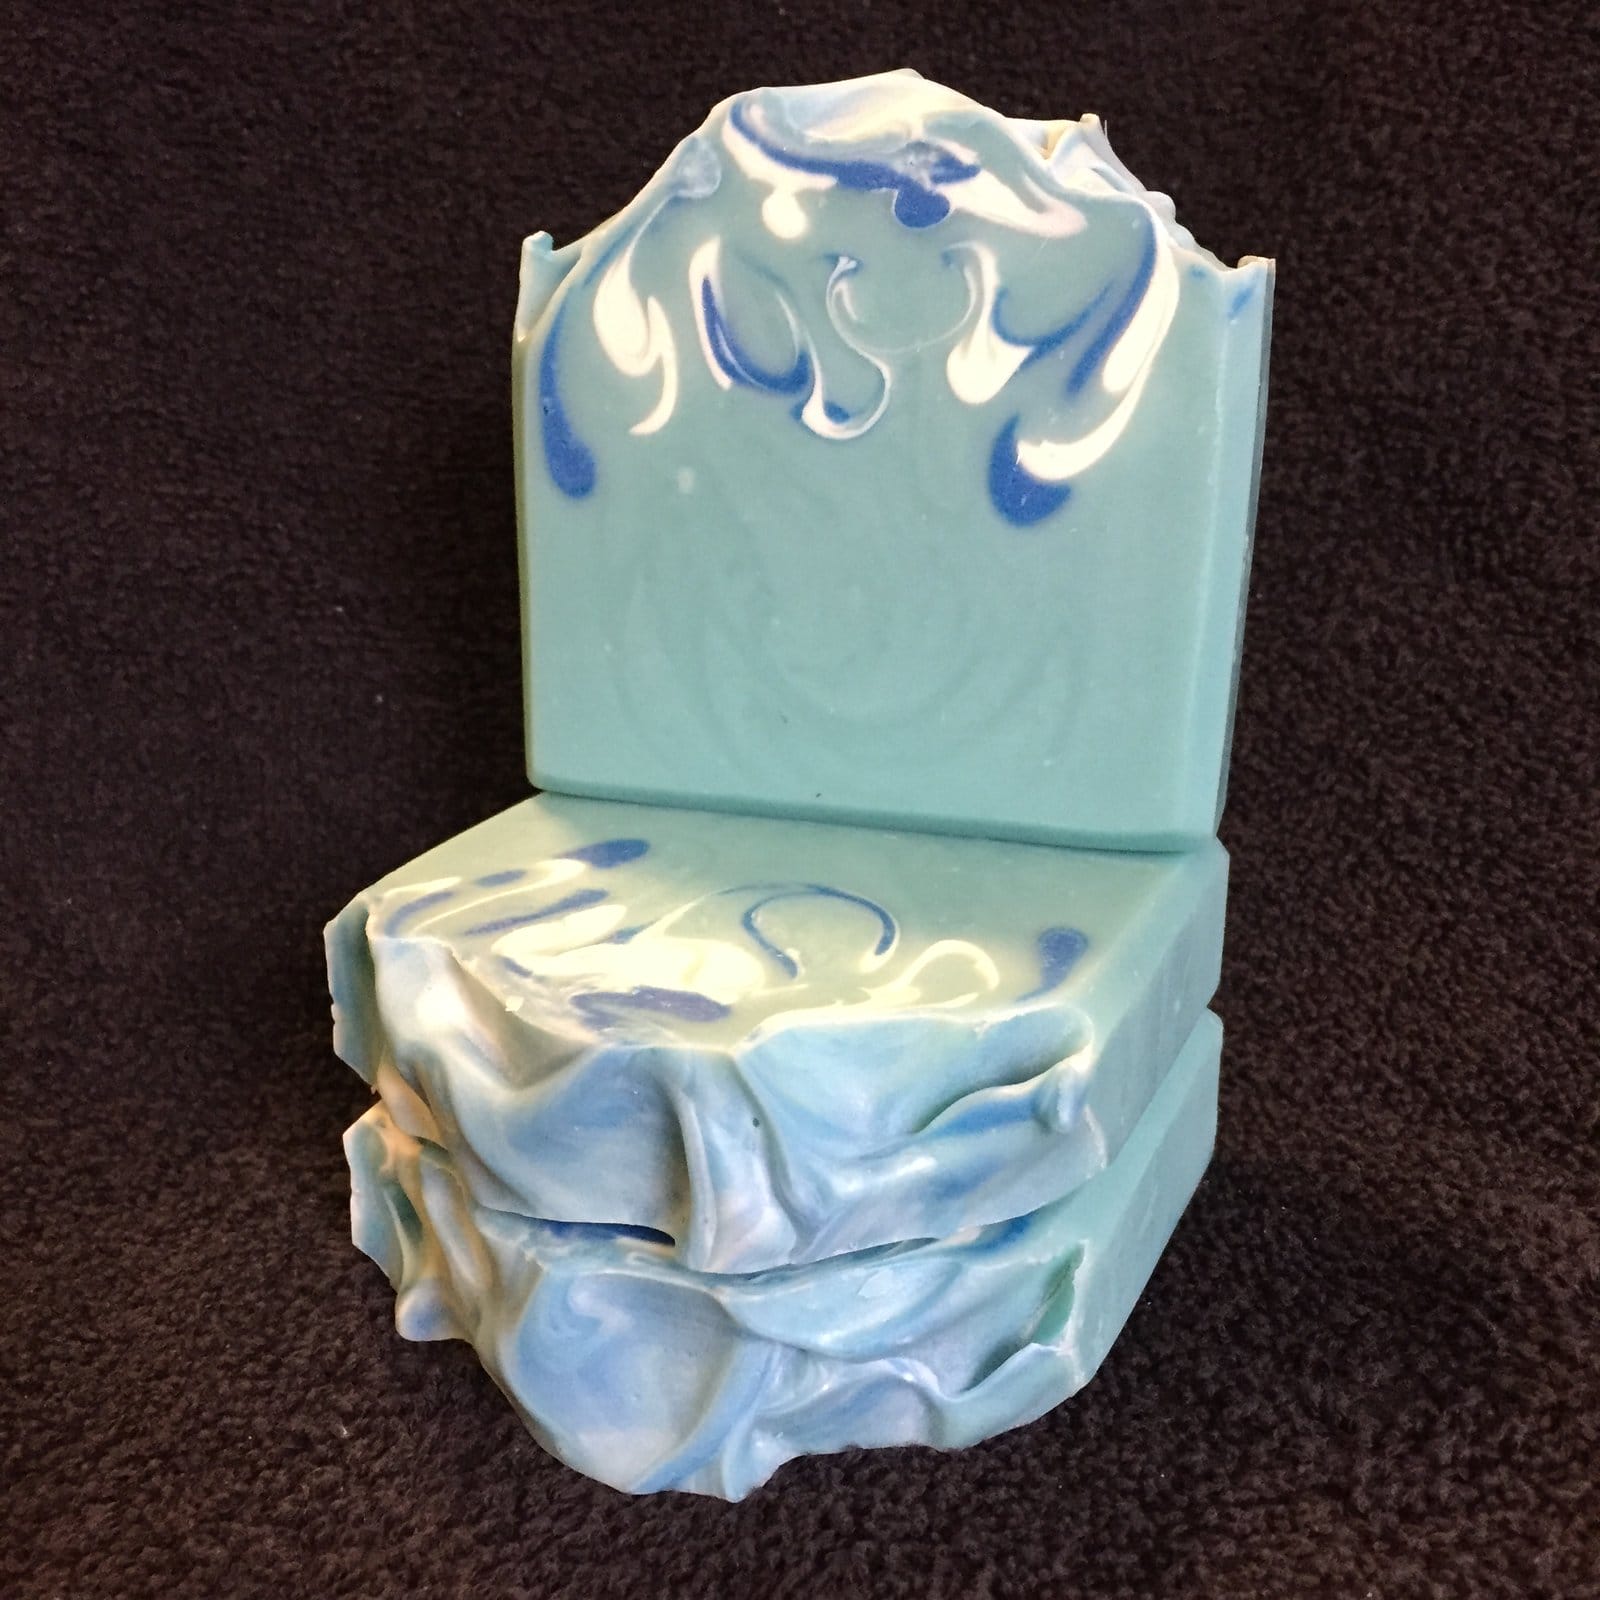
Original Clarity
Second Clarity
Current Clarity
First Delicious
Current Delicious
Original Luscious Lavender
Current Luscious Lavender
Original OMH
Current OMH
Original Serenity
Current Serenity
Phew! It’s becoming clear that I can’t keep this ‘blogging every day’ business up for much longer – I’ve gone from writing posts a few days before (organised huh?) to posting them less than an hour before deadline…
November’s challenge over on Amy Warden’s Great Cakes Soapworks was to (attempt to) recreate what Amy named the ‘Tall & Skinny Shimmy’. This technique is also called the wall pour or segment filling, and has been perfected by Tatiana Serko, an amazing soaper who created the tutorial video for the challenge. I’ve seen this design before and always wondered how it was done, SO there was no doubt in my mind as to whether I’d be giving it a go this month. Here’s the design she created for the tutorial:
Tatiana’s Tall & Skinny Shimmy
I recently bought a shiny new tall & skinny mould, and this challenge marked it’s first outing. This was the first problem. Turned out the mould holds more soap than my regular mold. I kind of thought it would, but checked on the website where I bought it to make sure. Unfortunately, in my haste, I looked at the wrong listing, and so had the wrong volume in my head. Luckily I’d had a sneaking suspicion that that figure might be incorrect (just by looking at the mould – which is LONG), so I prepped two batches of my masterbatched oils, just in case.
I decided (once again) to use a fragrance I’d not used before. Not as crazy as it sounds – I used a blend of Patchouli & Sweet Orange essential oils, both of which I’ve used separately many times without any problems.
I added the fragrance blend to the oils, then added the lye and mixed gently with a whisk until the soap was fully emulsified, but no more. In her tutorial, Tatiana said that she doesn’t use a stick blender, and simply lightly hand mixes her soap. With some trepidation, I decided to do the same, and split the soap into seven, colouring each portion a different shade, and mixing thoroughly by hand.
Prepped colourants
I then set up my mould as per Tatiana’s instruction. I placed two pencils parallel to each other on my work table, on either side of my mould. I put one side of the mould onto one of the pencils, so that there was a tilt to the mould, and then poured the first colour down and along the side of mould that was NOT on the pencil. I then moved the mould so that the other edge was sitting on the other pencil (and the mould was therefore tilted lengthways the other way) and poured down and along the opposite side. I did this with all seven colours, alternating the side each time. The soap was very thin, and had barely reached trace – I think it perhaps could have been just the tiniest bit thicker – note to self for next time…
Anyway, of course, it turned out I didn’t have enough soap made up to fill the mould, so I quickly separated out another three portions of the second batch, added colour, and continued to pour. The pouring was fast and fraught, and I didn’t get the opportunity to take any photographs – sorry!
Once the pour was complete, and the mould was full, I swirled to the top and put it to one side to harden up.
Tall & Skinny Shimmy in the Mould
As it was poured at such a light trace, it took a while to harden up sufficiently, but three days later I felt confident enough to take it out of the mould:
Ready for cutting
I was REALLY apprehensive about cutting this one, I didn’t have the time (or the ingredients) to make another one, so I was hoping it wasn’t a complete disaster. As it was, it’s not too bad. I did get a little bit of a shimmy, but there’s no doubt that the pouring left a lot to be desired!!
Tall & Skinny Shimmy (kinda)
I think had I had the correct volume of soap from the beginning, and just had the seven colours to pour, I may have had more luck – it’s clear that my scrabbling for more soap towards the end caused issues with the design at the top.
Another issue I had was that the silicone liner was so tall and long, it didn’t stay flush to the sides of the mould – the sides bent into the middle, and so while pouring down one side, I had to use my other hand to hold the other side of the silicone mold away from the middle, which was a bit awkward.
I’m really happy to have been able to give this one a go, and will probably try it again at some point in the future – thanks Amy!
Thanks for reading – I’ll be back soon with a post on my holiday soaps.
This month’s challenge for Amy Warden’s monthly Soap Challenge Club over at Great Cakes Soapworks is to create a soap using the ‘Clyde Slide’ technique. The Clyde Slide is named after Clyde of Vibrant Soaps, who uses this technique to create beautiful (and exquisitely coloured) soaps – do check out his videos on YouTube if you get the opportunity.
As I’ve just started production of this year’s Christmas soaps, I decided to design my challenge soap around a fragrance oil called ‘Yule Log’. It’s a chocolately, almondy, cakey fragrance, with notes of cinnamon, ginger, vanilla and musk and is delicious out of the bottle. How does it smell in soap? I’d love to tell you but, um, well, I forgot to add it. Oh well, sensitive noses deserve pretty soap too don’t they?
I used a light brown mica as the base colour, to represent the sponge, and dark brown mica, titanium dioxide (white) and red liquid colourant for the cream, chocolate and holly berries elements. I did consider using a little green too for the holly leaves, but in the end I’m glad I didn’t.
I prepped the soap batter and added the colours, making sure I kept the batter at a light trace:
Coloured soap
Then I poured the white, red and dark brown soap batters into the bowl containing the lighter brown soap. I completely forgot to take a photo of this stage, but I used exactly this pattern (this was my second attempt):
Clyde Slide in the Pot
Usually, when I use the ‘In the Pot’ technique, I would now give the pot a quick stir, just once or twice, but I always stir before pouring. For a Clyde Slide, you DO NOT stir. I can’t tell you how much I wanted to stir!!
Here it is mid-pour:
Clyde Slide mid-pour
Then I swirled the top:
Clyde Slide top swirl
And two days later, Ta Da!! My unscented Yule Log Clyde Slide:
Clyde Slide, The Cut
And here’s a close up to show the trademark ‘Clyde Slide’ feathering – it’s not a blurred photo, honest :-D:
Clyde Slide Close Up
Many thanks to Amy for her major feat of organisation (apparently there are over 180 entrants this month!), I’m really looking forward to seeing all the other entries. Good luck if you’ve entered!
I’ve been on a bit of a self imposed soaping break recently, in preparation for ‘The Big Move’, and it feels like ages since I last made soap. When Amy of Great Cakes Soapworks posted this month’s soaping challenge – the beautiful Taiwan Swirl – I decided to sign up just to watch the tutorial and see how it’s done. Anyhow, watching the video got me itching to make soap again, so, at the eleventh hour, I unpacked all the soaping gear (to raised eyebrows from my other half :-D) and gave it a shot.
The Taiwan Swirl calls for a really really thin soap batter, which I knew would be my first challenge. My usual recipe traces fairly quickly and wouldn’t be any good for this design. Amy suggested 80% Olive oil to 20% Coconut oil, so I ran that through SoapCalc and decided I’d like the final soap to be a bit more bubbly. I plumped for 70% Olive oil, 20% Coconut oil and 10% Castor oil. Some of you will have spotted the obvious mistake already – guess who totally forgot that Castor oil can speed up trace?
I mixed up a blend of Lemon, Clary Sage and Ginger essential oils to fragrance the soap, and chose what I hoped would be complementary green and orange micas for the colours. I dispersed the micas in about 15ml of Olive oil:
I had already made up the lye solution and melted/mixed the oils earlier in the day, so I had both at room temperature. I added the lye to the oils and briefly mixed with the stick blender to the point of a very VERY light trace. Amy, in her video, suggested stopping as soon as the batter was emulsified and just before it traced, but I missed that window and definitely hit trace 🙂 I poured a very small amount (just over 100ml from a 750g batch) of batter into each jug of mica and poured the remaining batter into the mould. I knew I was running out of time as the batter in the mould was thickening so I quickly poured the coloured mixes into the base (from high, to get the colour down through the batter to the base – one down one side, lengthways, and the other down the other side). Both were poured at the same time, which proved challenging!
Then I swirled, using a skewer. The swirling is a bit difficult to explain without a diagram but here goes: Put the skewer into the mould, right down to the base, in one corner of the mould then make tight ‘s’ shapes from one short end of the mould, side to side down the length of the mould to the other short end. Then, keeping the skewer in the mould, make long ‘s’ shapes along the length of the mould – at 90 degrees to the first ‘s’ shapes. I hope that makes sense but if not there are some great YouTube tutorials on my Pinterest board here.
Anyone spot the next obvious mistake? Yup, I forgot to add the essential oil blend. Ah well, too late to do anything about it :-s
At this stage I was a little bit disappointed with what was in the mould – the swirls weren’t as fine as I’d hoped, and the green colour wasn’t very defined, but by the next morning it was looking better, and by the time I cut it I was pretty happy with the result….
It’s still pretty soft – I’ve never made a soap with such a high percentage of liquid oils before – and I think it’s going to need a good long cure time to get nice and hard. I really should have left it for at least 48 hours before cutting, rather than my normal 24 hours, but I was in a hurry to get this post finished, and a picture uploaded onto to Amy’s challenge web page before the deadline, so that’s what I’m off to do now 😀
This month’s soap challenge over at Amy Warden’s Great Cakes Soapworks is the Dandelion Zebra Swirl, created by Vinvela Ebony and named after her blog Dandelion Seifee. It’s not something I’ve done before, so was keen to give it a go. It should look like this:
To create this design you need something like a flexible cutting board (which is what I used) cut to fit exactly inside the length of the soap mold. Once half the base colour is poured, you insert the thin cutting board into the middle of the mold and pour alternate thin layers of the coloured batter down the cutting board. You then carefully remove the cutting board and pour the rest of the base colour (being careful not to disturb the coloured layers)
The reason for that rather convoluted description of the process is that I was concentrating so much that I completely forgot to take any ‘during’ photos <facepalm>
I have ‘before’ pictures:
I have ‘after’ pictures:
But no ‘during’ photos. Sorry :-s
Anyway, here it is: my first attempt at a Dandelion Zebra Swirl. The green (chrome green oxide) and red (pigment) colours thickened up a little more than I would have liked, but the yellow (lemon drop mica) stayed nice and thin. It’s fragranced with Apple Pie & Custard FO.
All in all I’m really happy with the way it turned out. Thanks as always to Amy for organising the challenge, and I’m looking forward to seeing all the other entries!
This website uses cookies to improve your experience. We'll assume you're ok with this, but you can opt-out if you wish. Cookie settingsACCEPT
Privacy & Cookies Policy
Privacy Overview
This website uses cookies to improve your experience while you navigate through the website. Out of these cookies, the cookies that are categorized as necessary are stored on your browser as they are essential for the working of basic functionalities of the website. We also use third-party cookies that help us analyze and understand how you use this website. These cookies will be stored in your browser only with your consent. You also have the option to opt-out of these cookies. But opting out of some of these cookies may have an effect on your browsing experience.
Necessary cookies are absolutely essential for the website to function properly. This category only includes cookies that ensures basic functionalities and security features of the website. These cookies do not store any personal information.
Any cookies that may not be particularly necessary for the website to function and is used specifically to collect user personal data via analytics, ads, other embedded contents are termed as non-necessary cookies. It is mandatory to procure user consent prior to running these cookies on your website.