On Monday I decided to try my hand at making Hot Process (HP) soap for the first time. It’s been on my list of things to do for aaaaages, and I even bought a fancy pants slow cooker / crock pot before Christmas in readiness, but the time was never right. Recently however I was contacted by Plastic Free Snowdonia, a group who, as the name suggests, are trying to reduce the amount of plastic being used in this area. They were interested in solid shampoo bars, which I’ve not made for a while, and I decided that this was the perfect opportunity to try out the HP method. My starting point was this tutorial by Sarah of Sas-Oki Soap and while clearly I am in no position to write a HP tutorial, being an absolute beginner, I did take a load of photos and so I thought I’d share the experience with you.
In the past I’ve used Liz Ardlady’s shampoo bar recipe, but used water instead of the apple cider vinegar (ACV), and left out the sodium lactate. I should confess that I’ve never used the original recipe as written, but I’ve always been really happy with the final bars without the ACV, so I decided to use the same recipe for my foray into Hot Process.
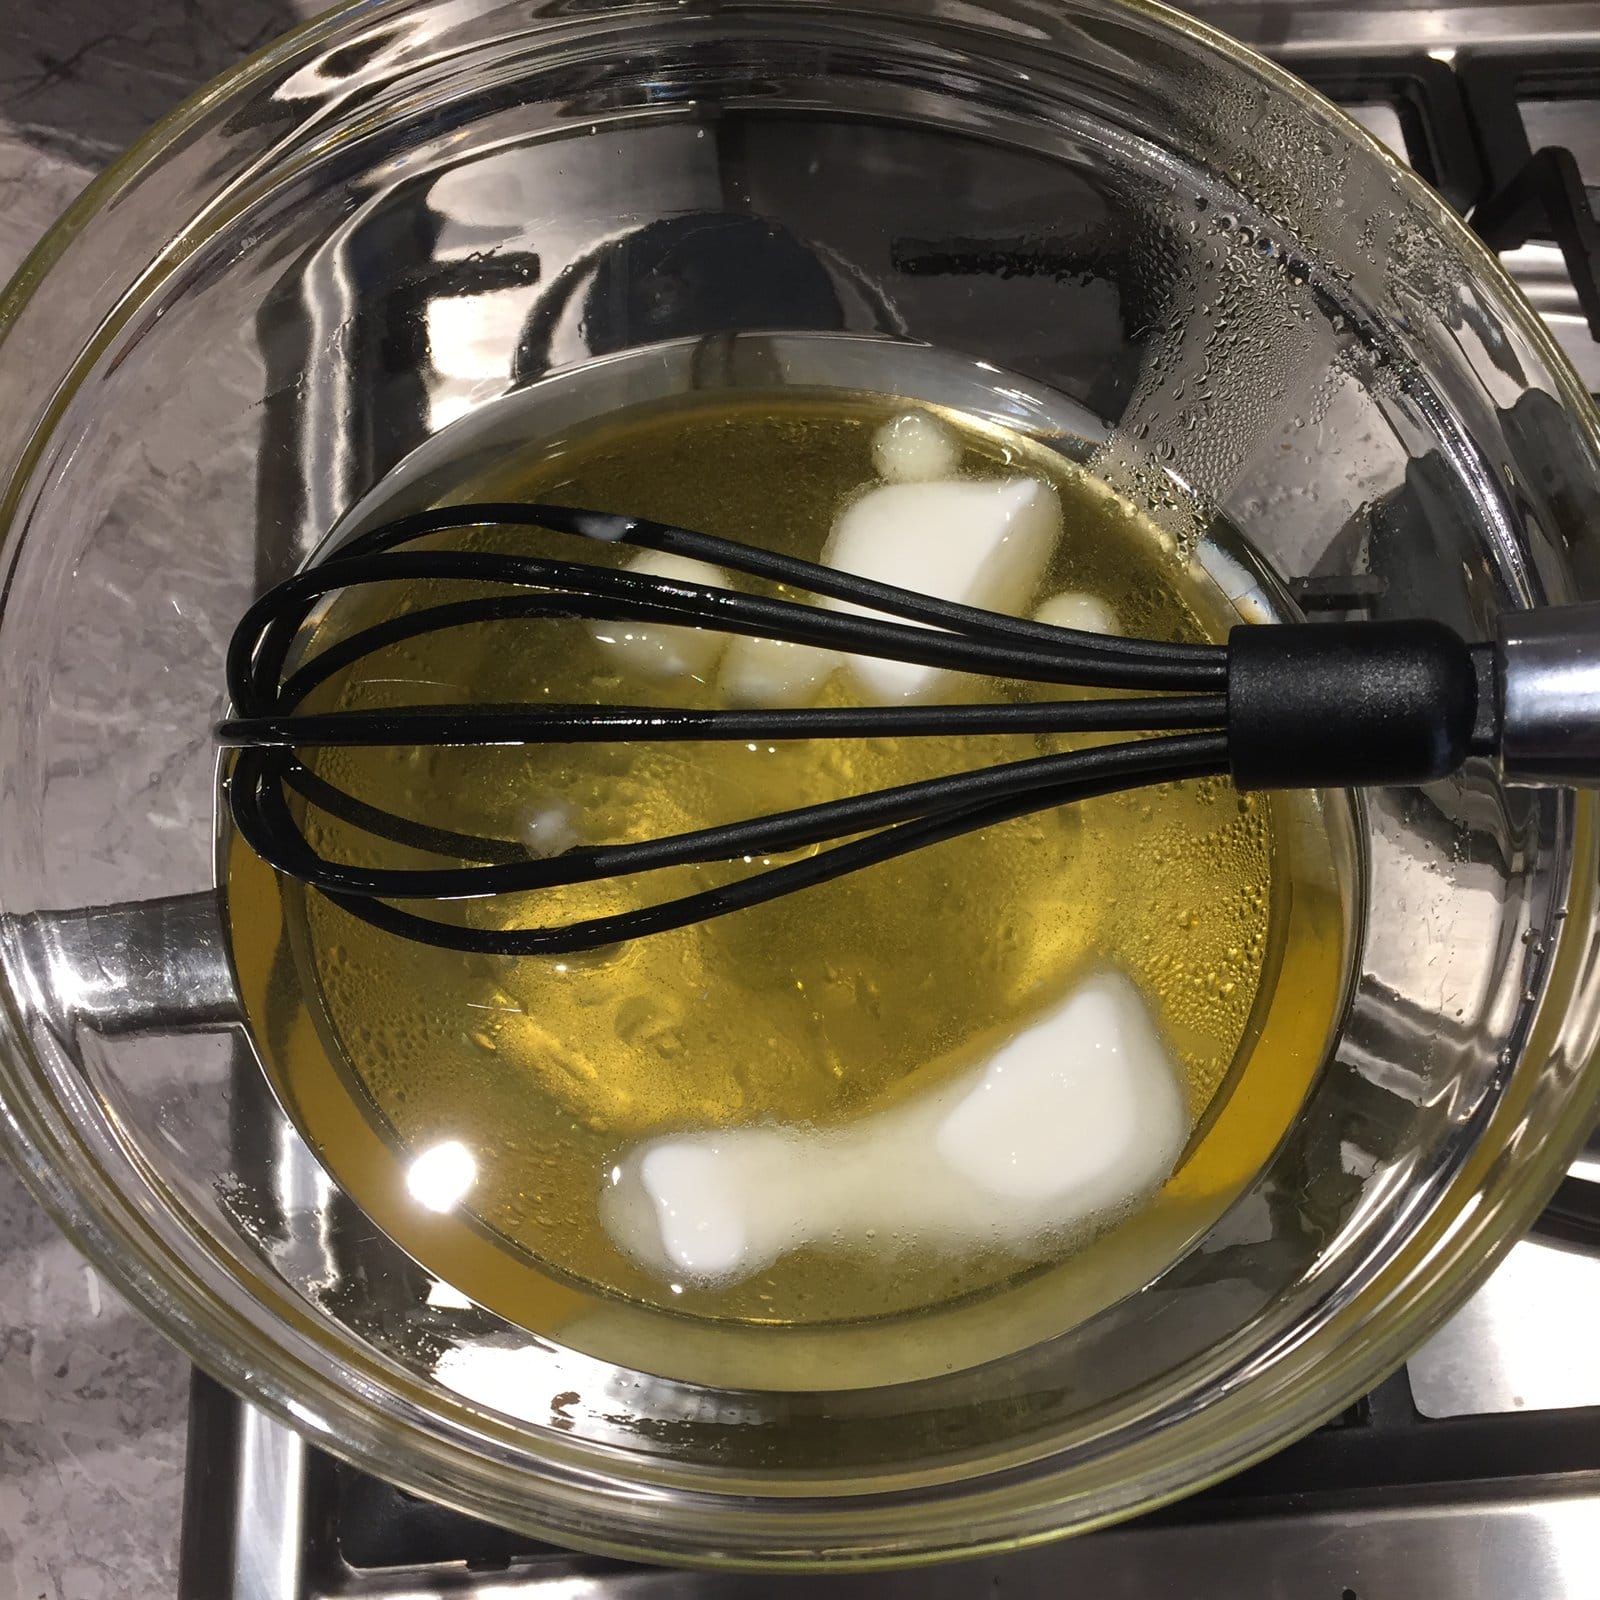
I put all the fats into the slow cooker and while they were melting down I made up the lye solution.

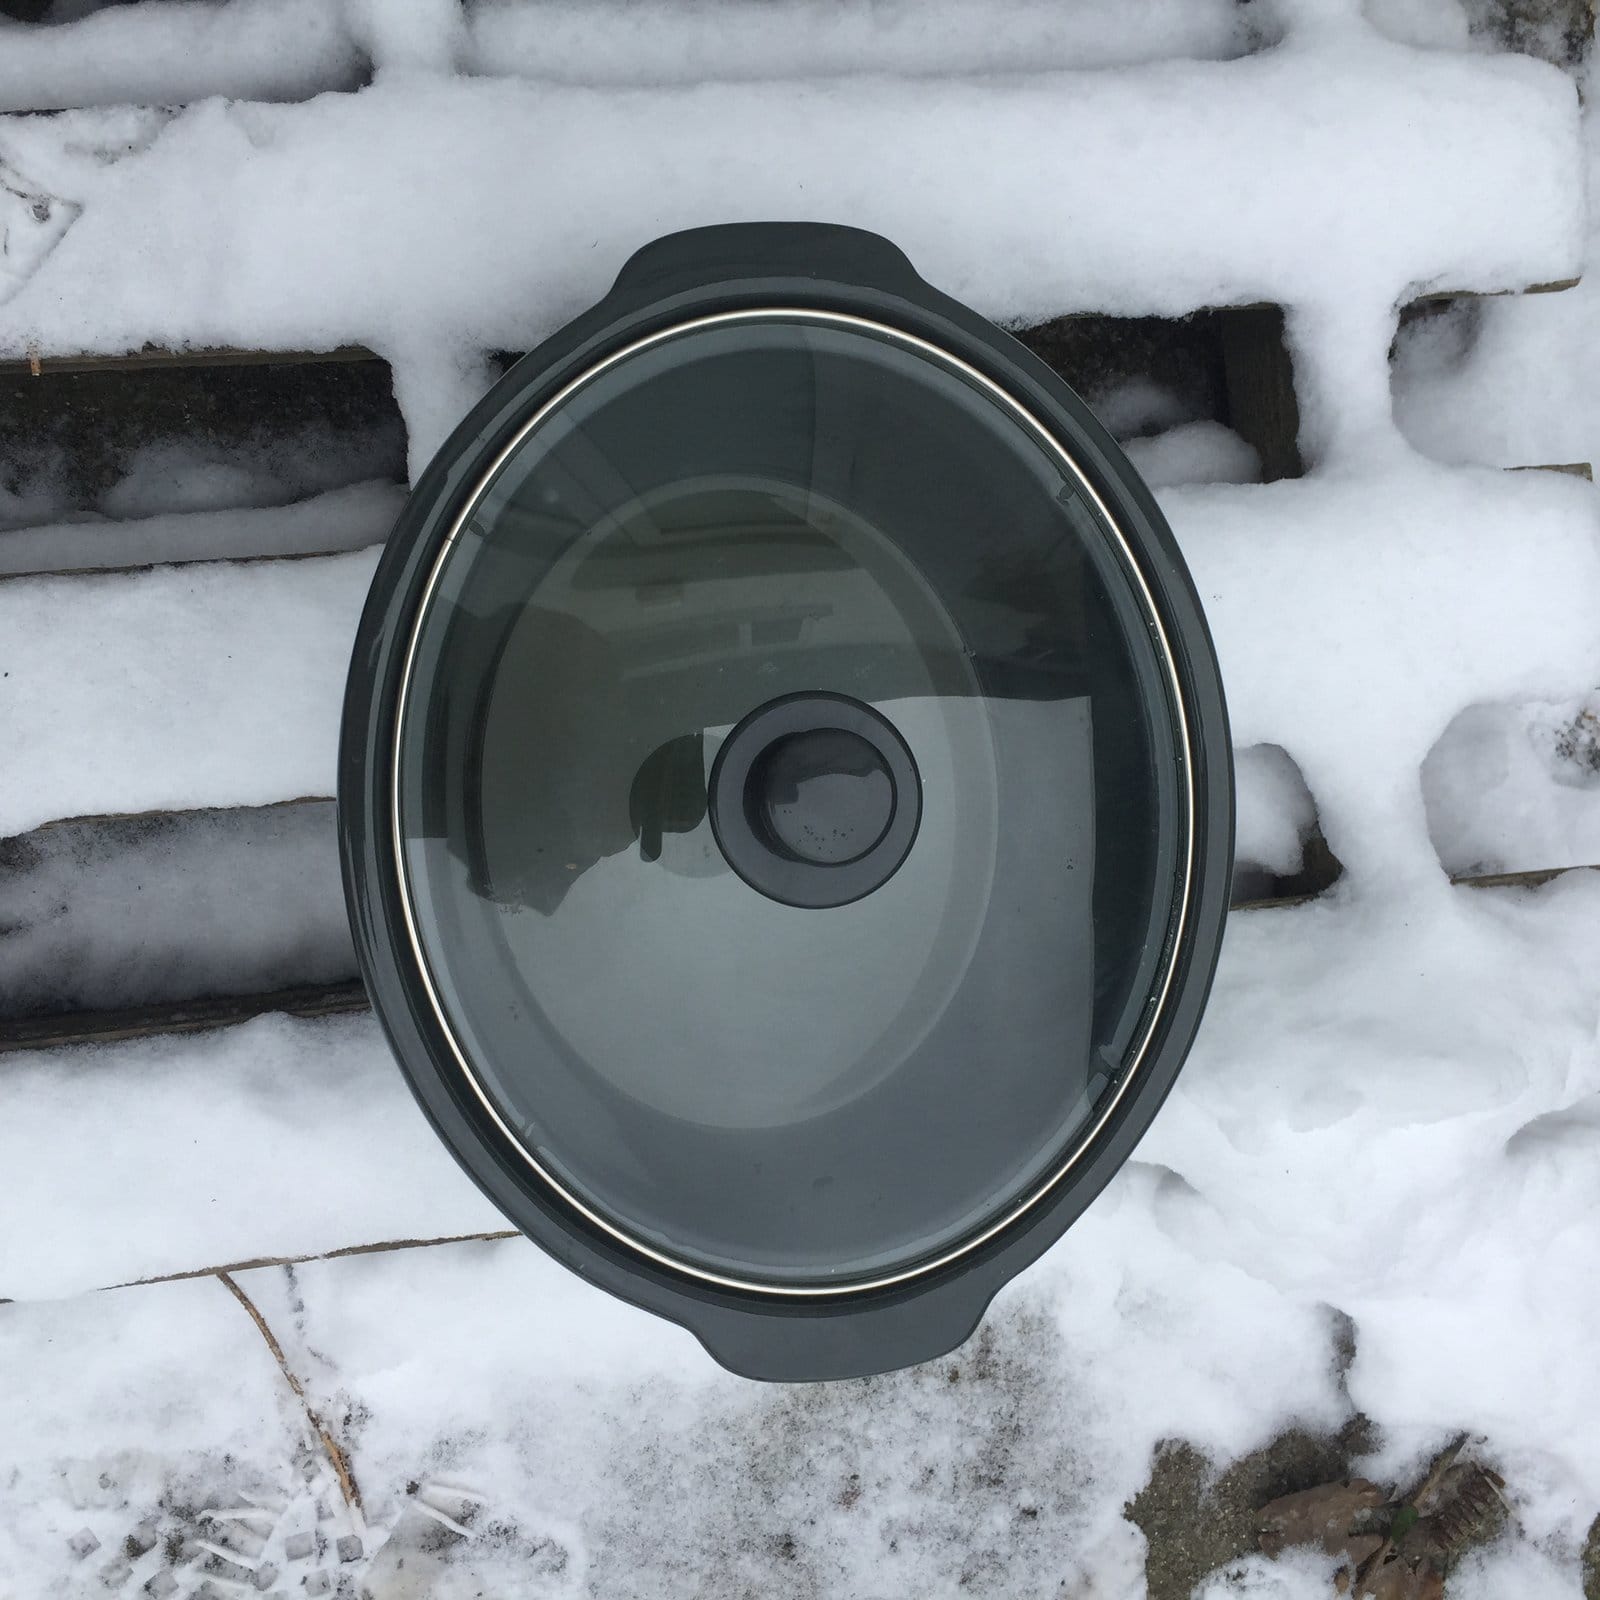
Off I went to do something else, and of course by the time the lye solution had cooled down, the fats were waaaaay to warm, so I popped them out into the snow to cool down 😀
Once everything was cool enough I added the lye to the oils and gave it all a quick stick blend to emulsify:

I turned the crockpot onto ‘medium’, covered the top with some cling film before putting the lid on to keep the moisture in (a tip I got from the Modern Soapmaking HP tutorial) and let it do its thing. Another tip from the Modern Soapmaking tutorial was NO STIRRING. So all I did was take a photograph every ten minutes or so.
This one was after 10 minutes cooking – the soap is beginning to saponify round the edges. Apologies for the quality of these photos, there was condensation forming on the cling film over the pot:

After 20 mins cooking:

The soap continued to cook, and change colour as time went on. This was what it looked like after 40 mins, and it didn’t really change appearance for the next 10 minutes or so. I decided it might be ready. All tutorials I’ve read have recommended using an infra-red thermometer to check readiness, but I don’t have one, so was winging it…

So a the 50 minute mark I removed the lid and the cling film, gave it a good whisk, then did the zap test. For the uninitiated, the zap test is the process whereby you remove a small amount of soap from the pot and touch the tip of your tongue to it. Yep, you LICK potentially caustic soap. Sounds crazy I know, but it’s a time honoured method of checking whether soap has fully saponified. If it simply tastes, erm, soapy, it’s good to go. If it zaps (and trust me, you’ll know what I mean if it happens to you) it’s not yet ready. Oh, and please don’t put the licked soap back into the pot!! 😀

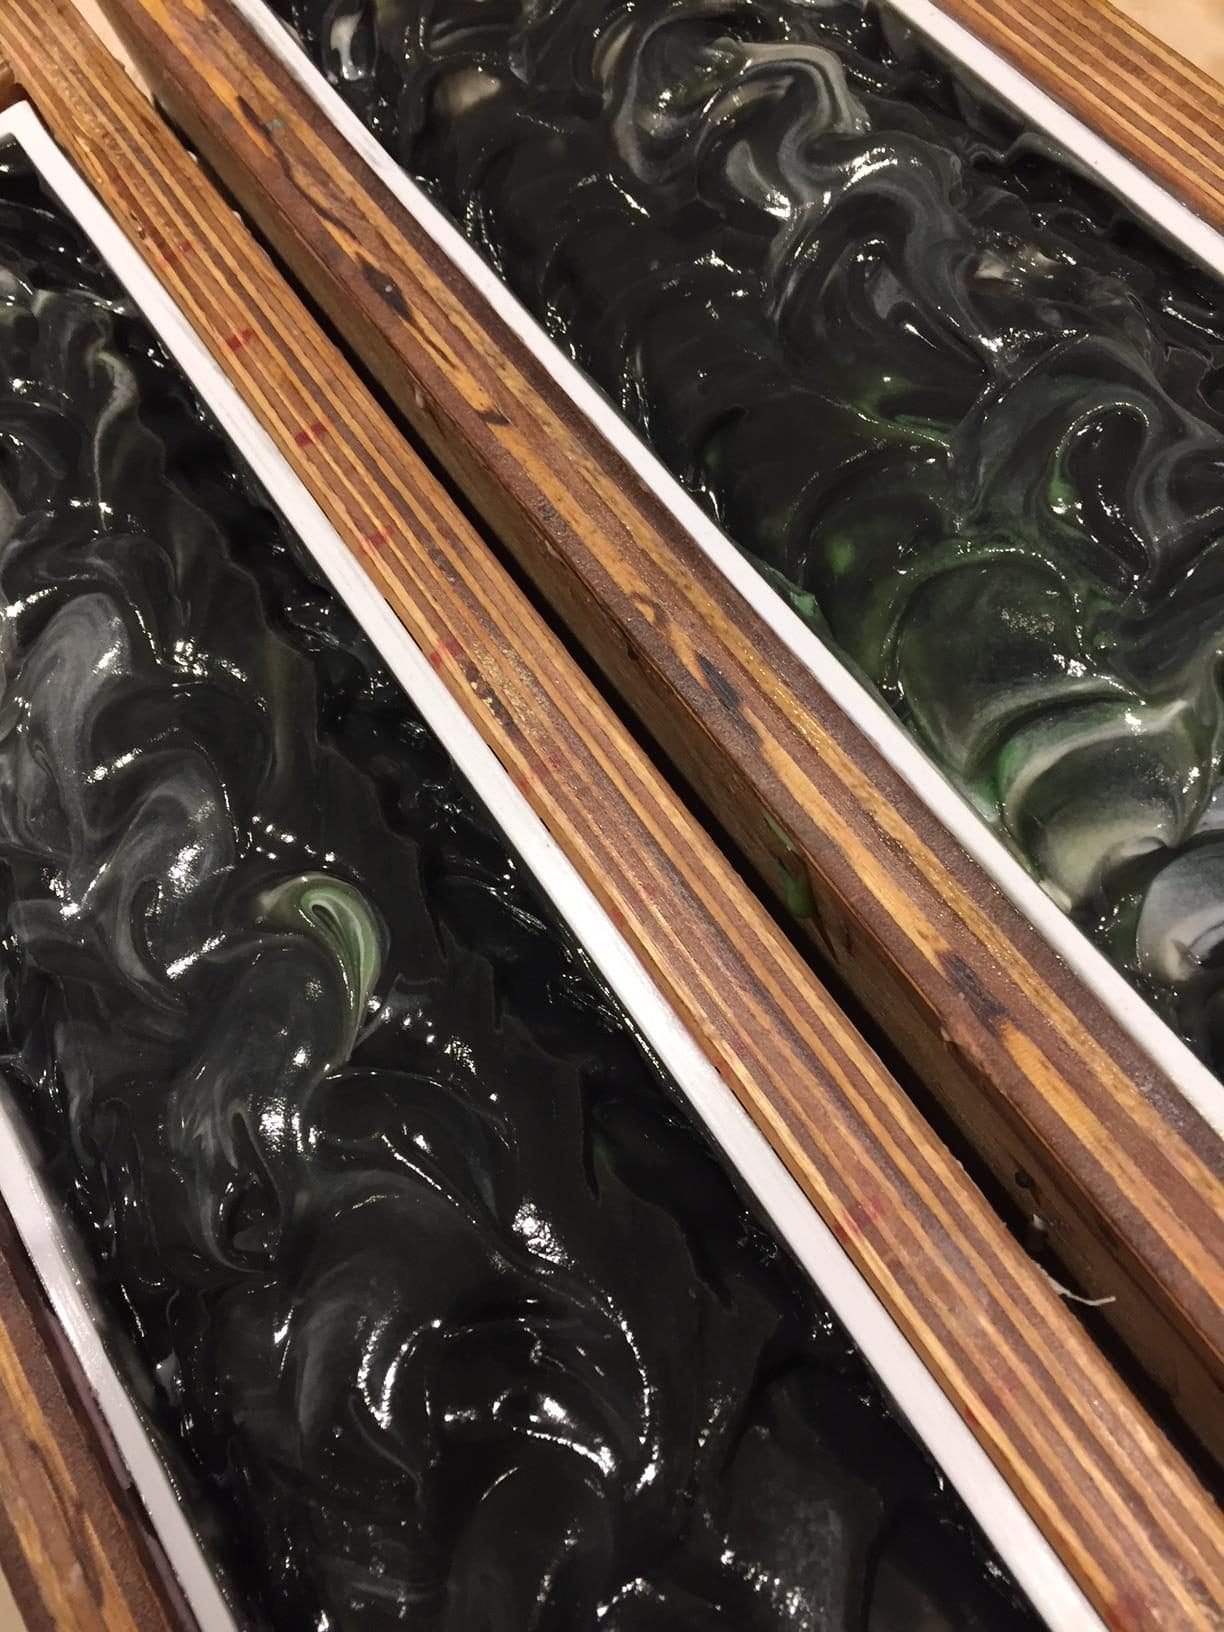
I then added some grapefruit essential oil, and whisked that in thoroughly before the soap was spooned (actually, plopped and stuffed) it into the mould… It was very thick, and solidifying very quickly. I’ve read that adding yoghurt, (or coconut cream/milk for a vegan version) can be added at this point to help fluidity – I’ll be trying that next time.

I scraped the last bits out of the pot and rolled them into little balls – with my bare hands!!! I know, I know, I wouldn’t normally do it but these balls at least are for my own personal use only. And the novelty of being able to squidge soap that’s straight out of the pot with my bare hands was irresistible 😀

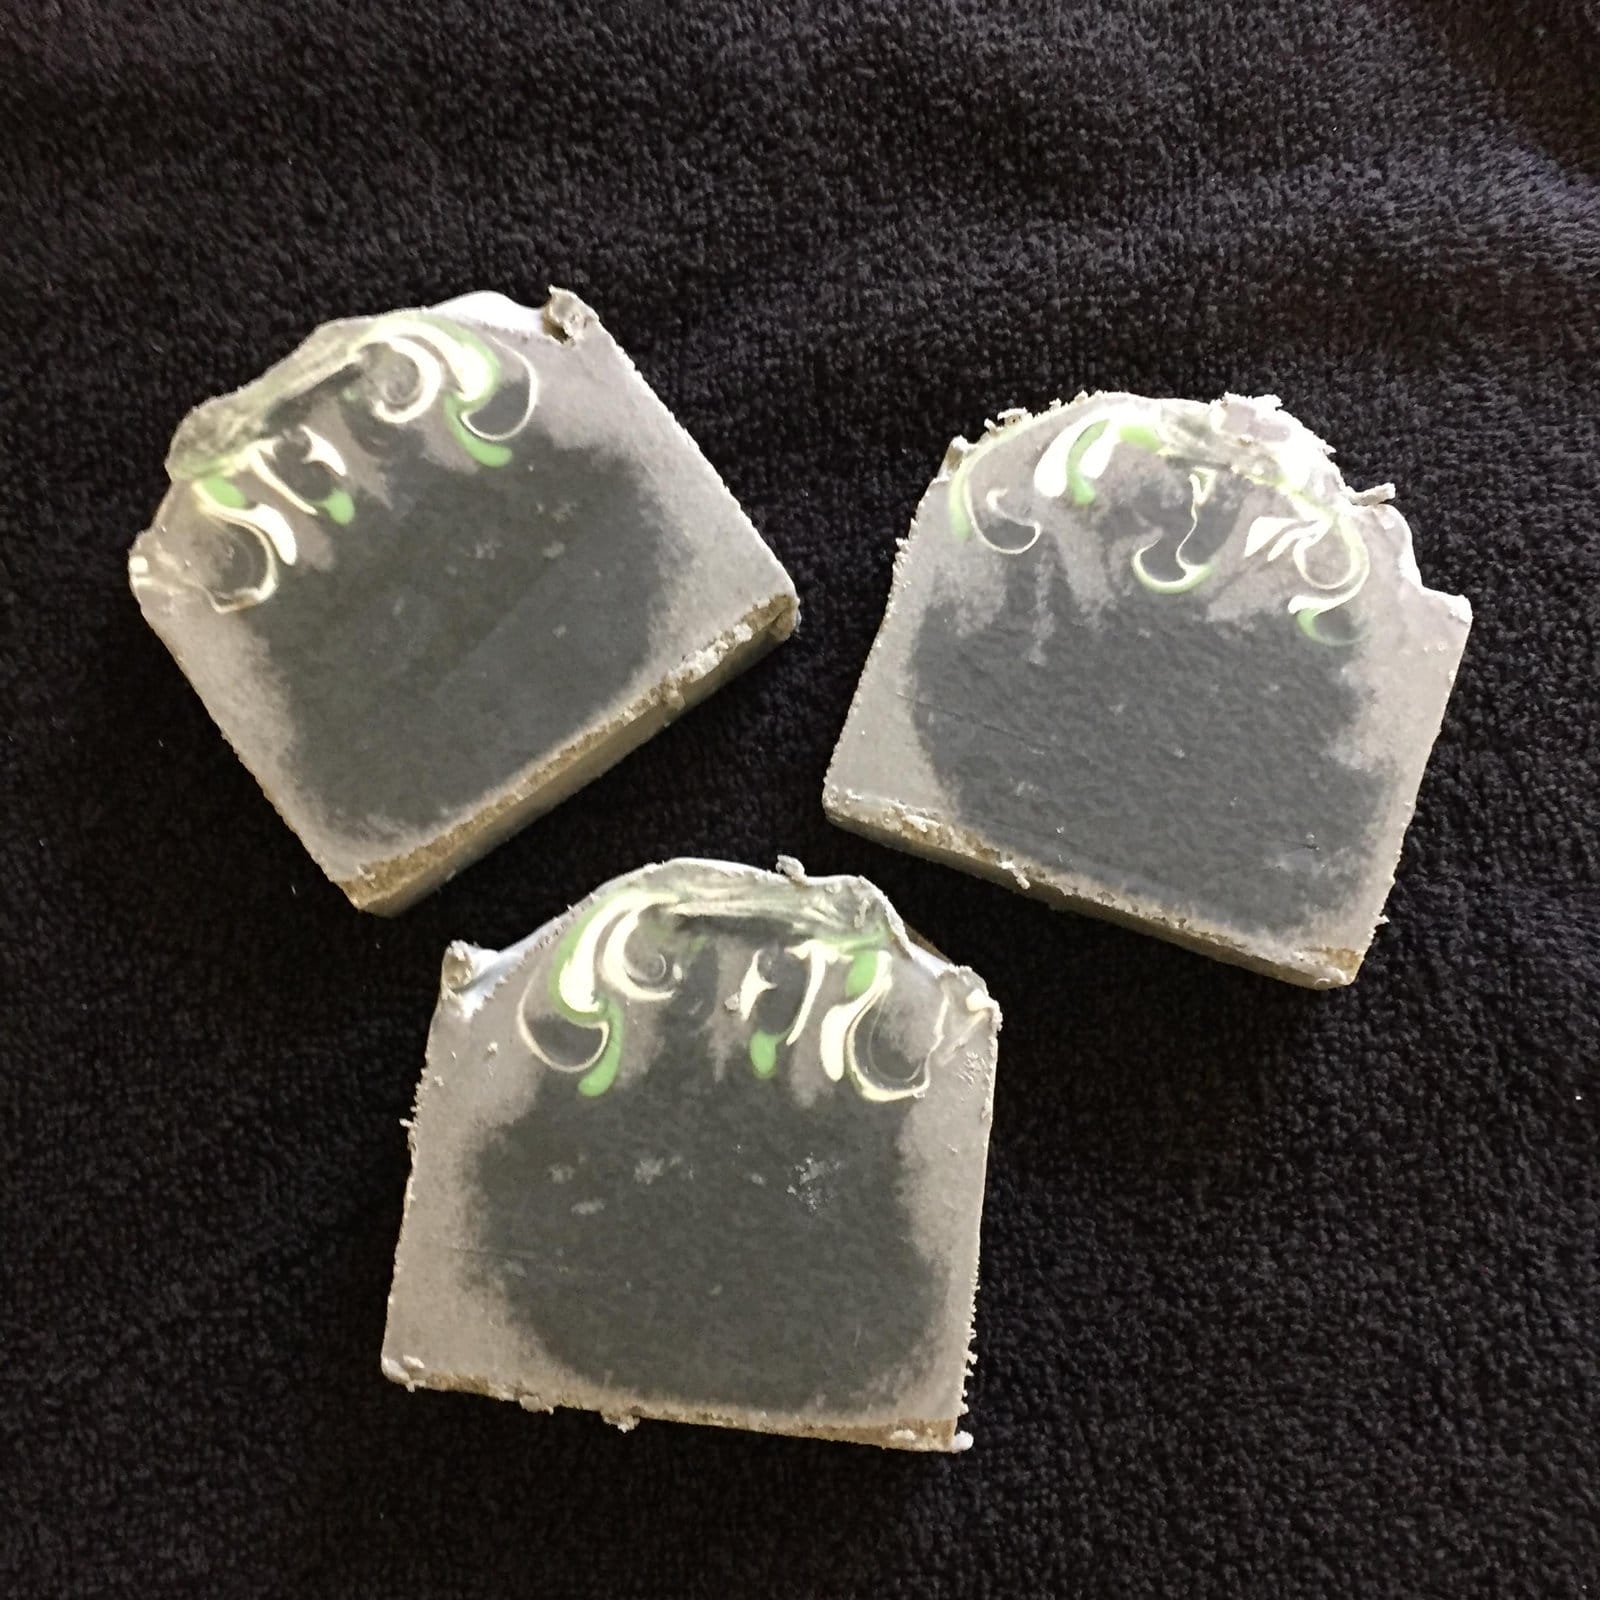
Two days later the soap has become even more opaque:
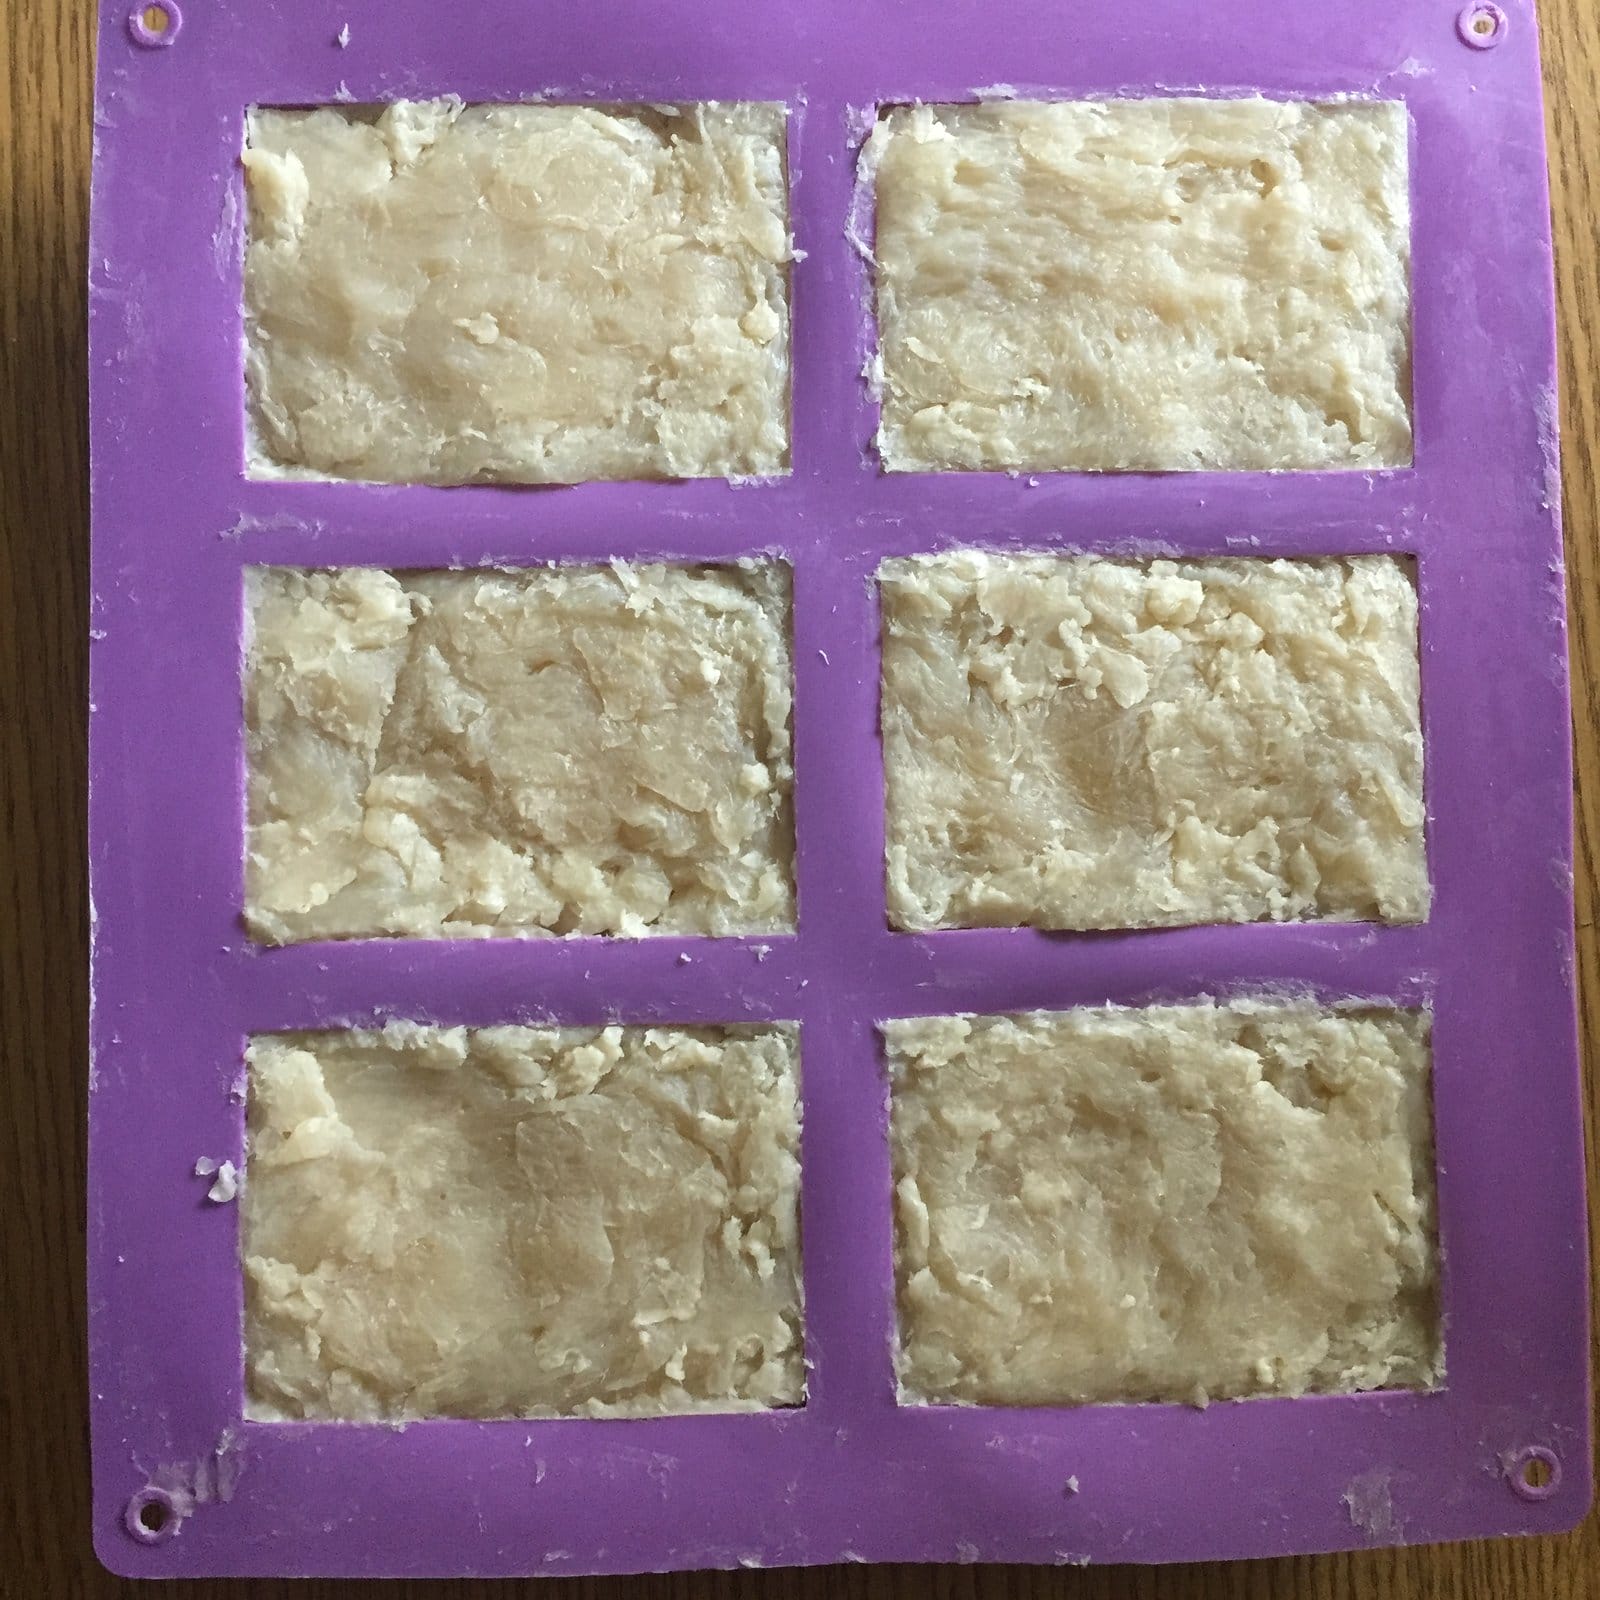
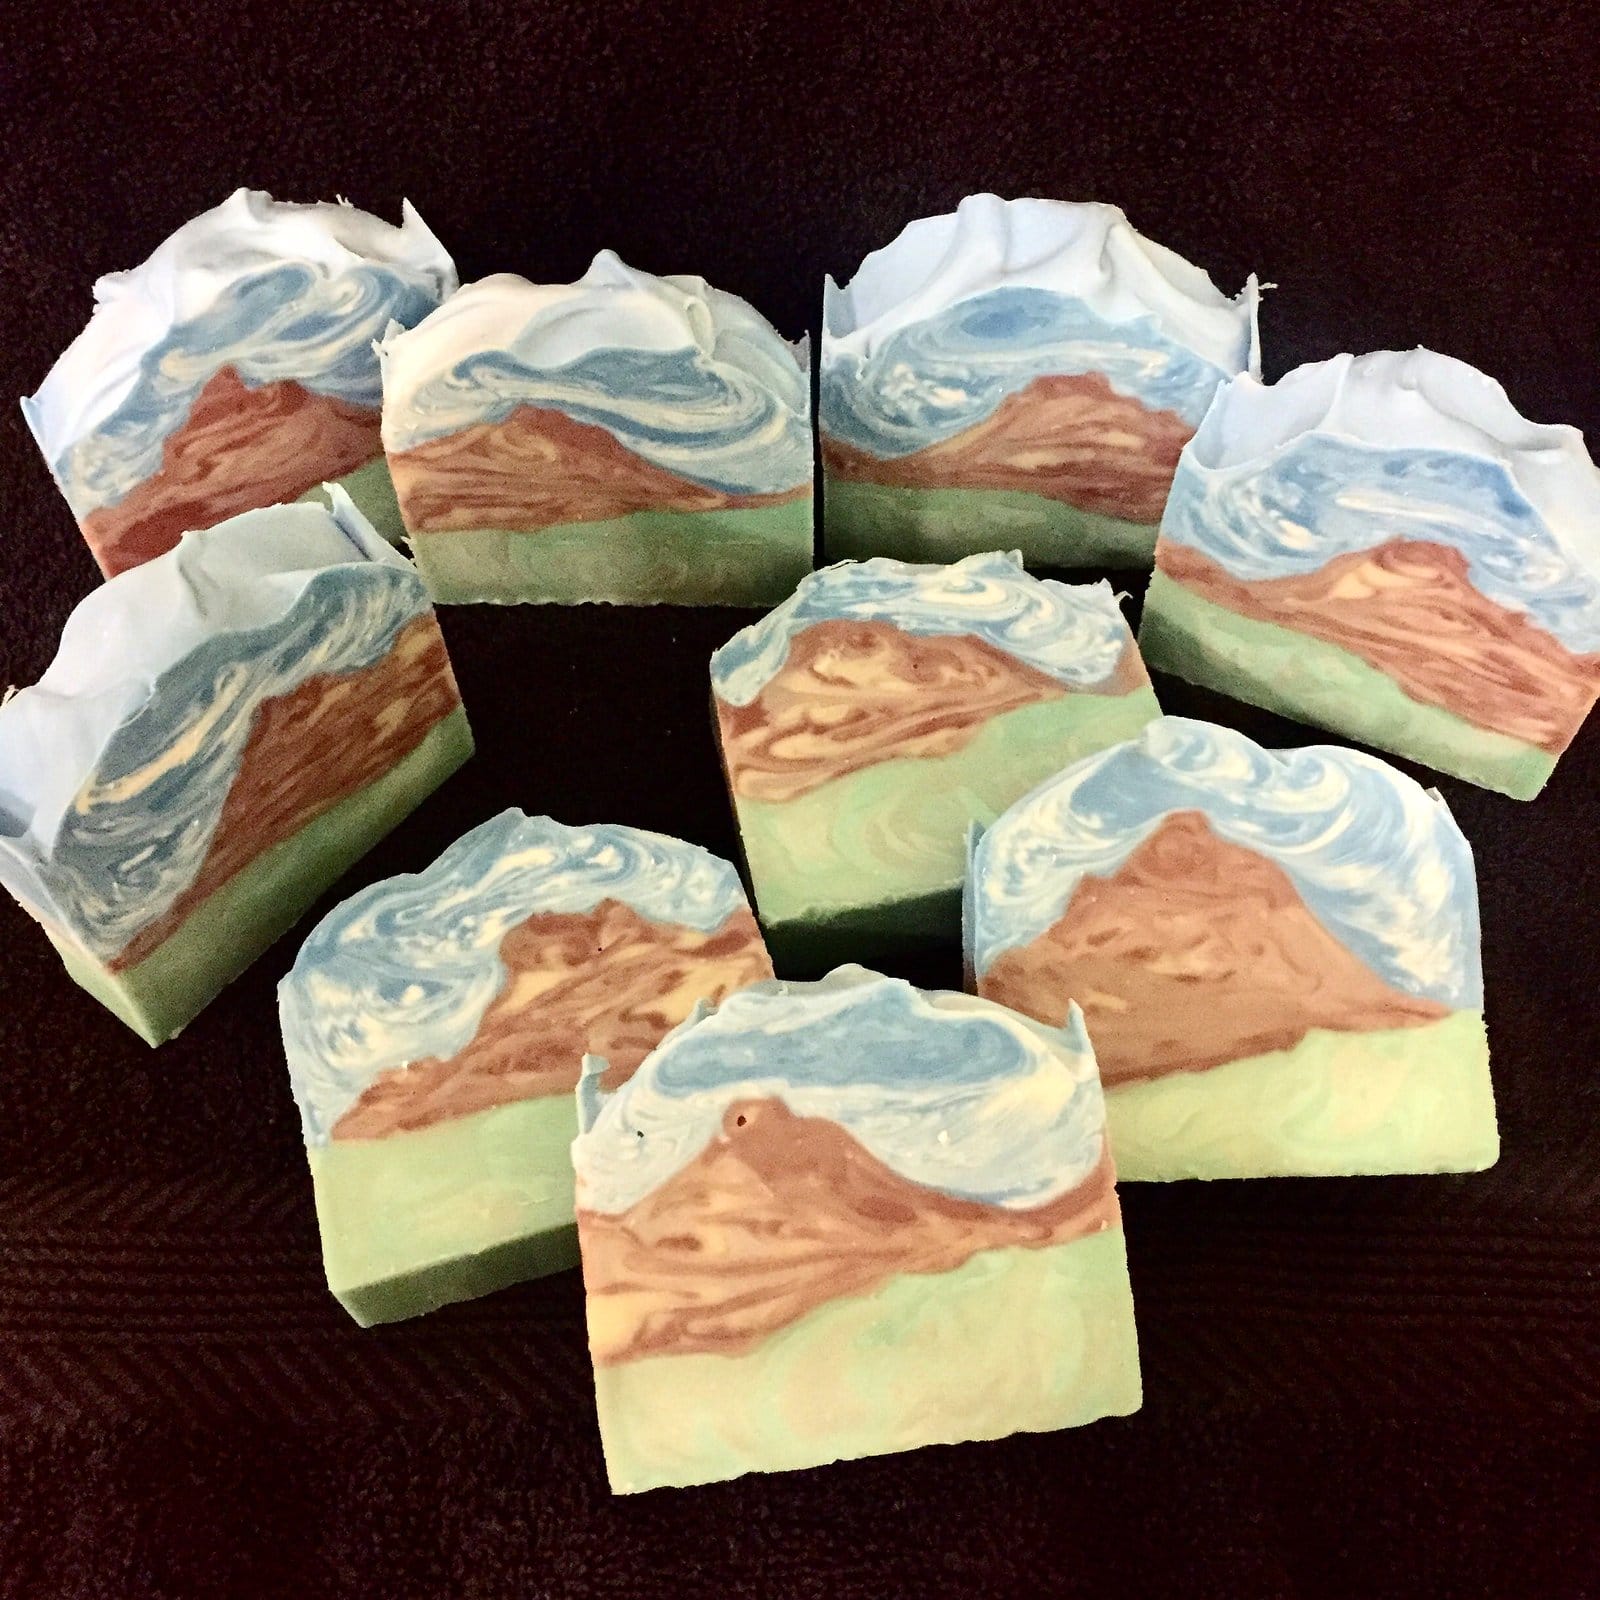
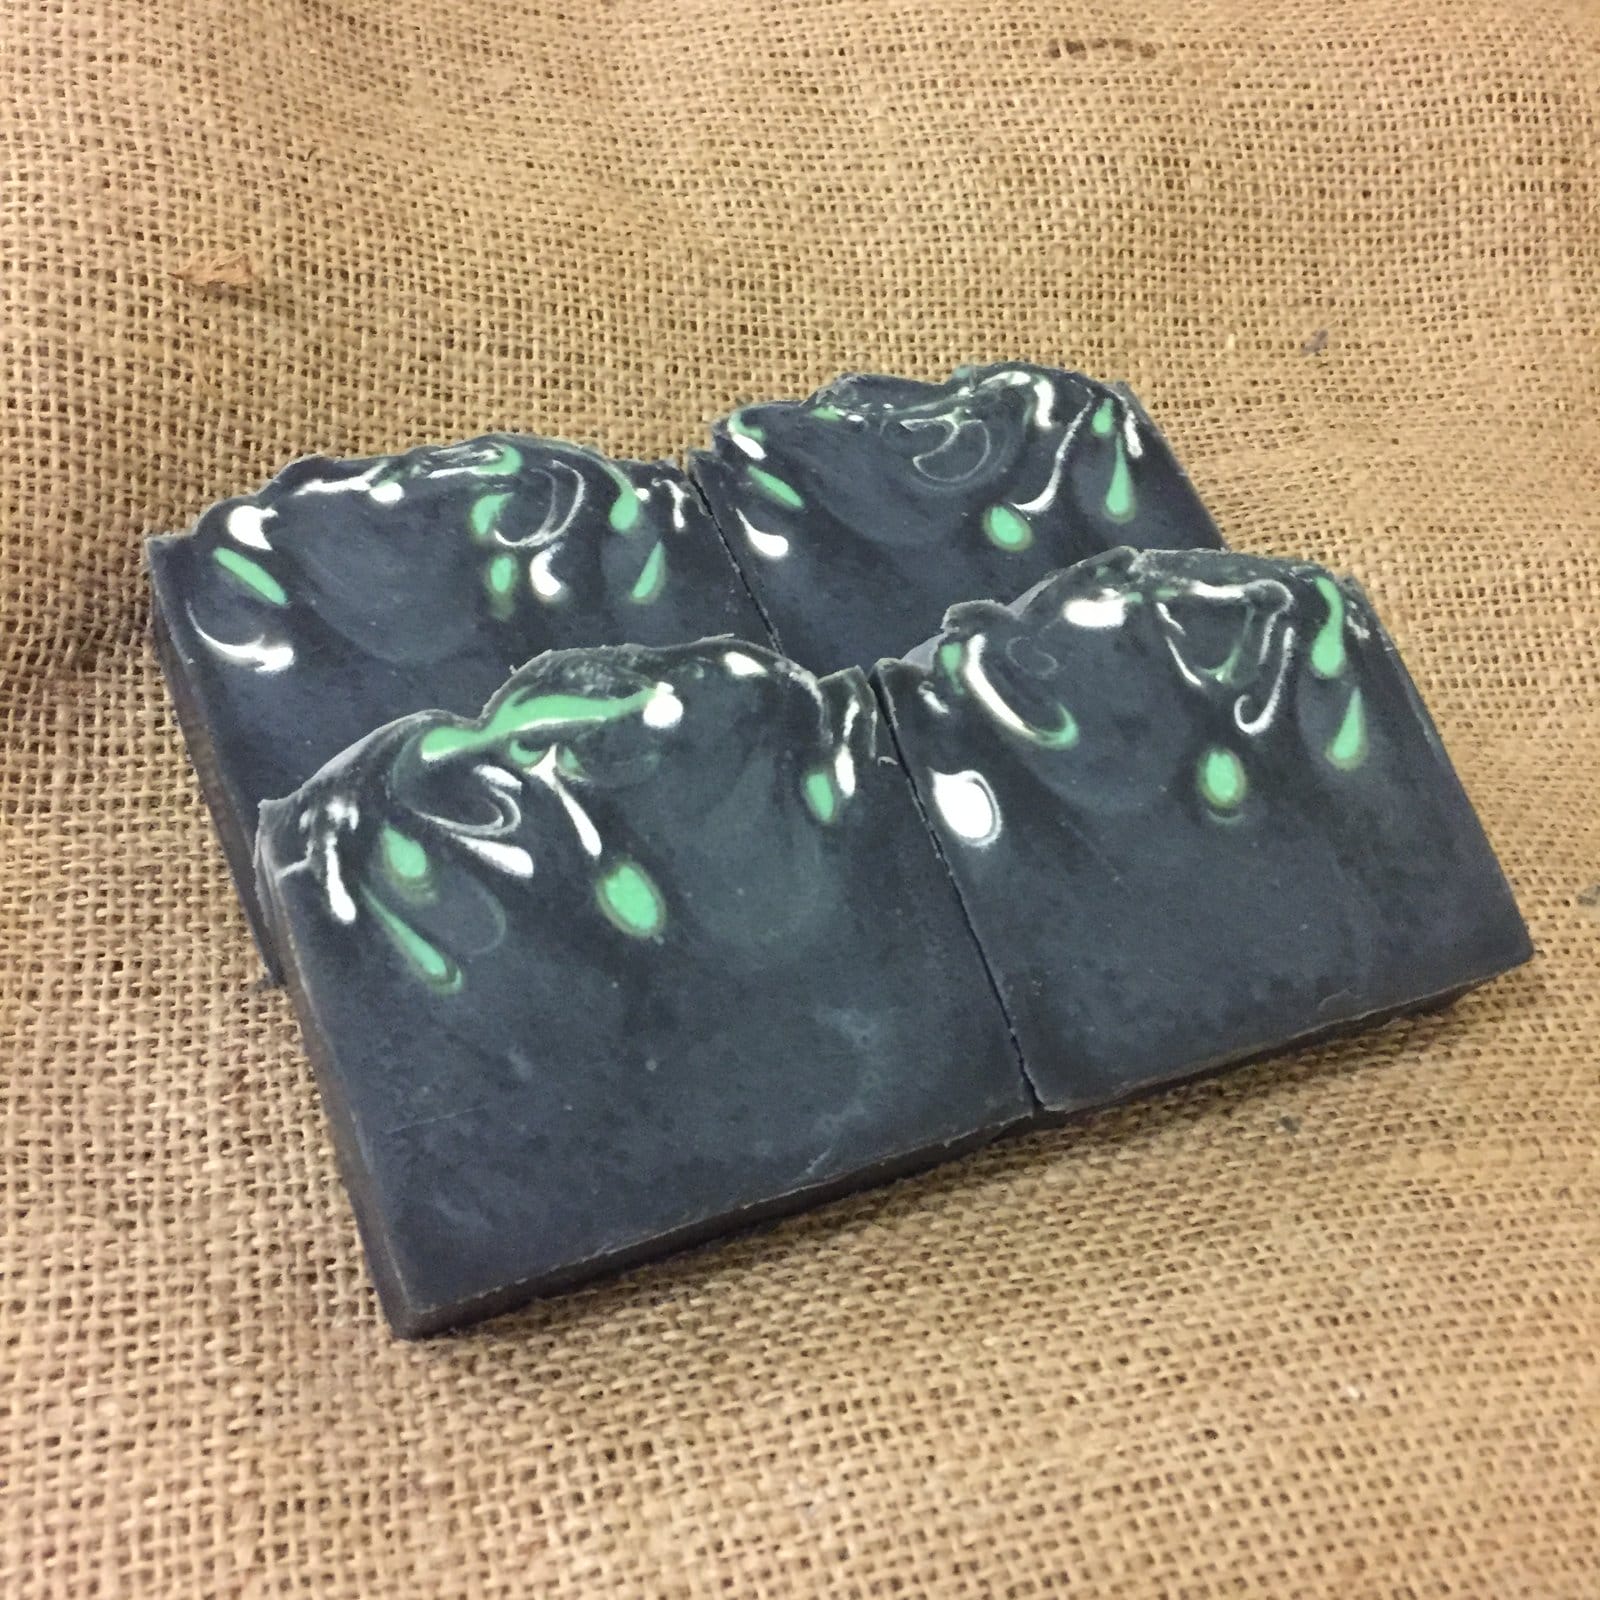
I unmoulded the bars, and then cut them in half. These bars are going to be sent out as testers as, although I personally love this recipe, I want as many opinions as I can get before I think about selling this solid shampoo.


There seems to be conflicting opinions regarding how long Hot Processed soap should be cured for. Strictly speaking, it’s safe to use straight out of the mould, as the process of saponification has completed in the pot. I did use one of my little balls of shampoo on the same day as I made it, and it worked perfectly. However, as with CP soap, the bars were still somewhat soft when they came out of the mould, and I’m definitely going to give them an as-yet-undetermined cure time to dry out and harden up a bit. I’ve weighed one of the bars and I’ll monitor the weight reduction on a regular basis and report back when it’s ready.
I’m surprisingly thrilled with the result. It’s not very pretty. Not pretty at all actually. But it’s quick & easy and the clean up process is an absolute doddle and I’ll definitely be doing it again. If you have any tips I’d love to hear them – pleeaaaase 🙂
Thanks for reading,
Vickx