The differences between British and American English have been causing me some difficulties recently, specifically the words mold and mould.
Very soon after starting this blog I had to decide which to use. Mould is correct in British English, but American English and (so it seemed to me) the rest of the world use mold. Now, by a long shot, the majority of my readers are not British, so I went with mold. It didn’t sit well with me, and I really don’t know why I made that decision. I’m British, so why wasn’t I consistent in my use of British English? I wouldn’t dream of writing color rather than colour.
Anyway, it was my mum (not mom 🙂 ) who drew my attention to the error of my ways. She just said, almost in passing ‘How do you spell mould?’ and I knew immediately what she was talking about. Once I got over the surprise realisation that she actually reads what I write (thanks mum!), I had a bit of a ponder, and did some googling.
According to the Grammarist.com:
‘American English has no mould, and British English has no mold. In other words, the word referring to (1) the various funguses that grow on organic matter or (2) a frame for shaping something is spelled the same in both uses, and the spelling depends on the variety of English.’
This much I knew.
However, it went on to say:
‘Australian and Canadian English favor the British spelling, though mold is fairly common in Canadian publications.’
This I did not know, and I was clearly wrong in my assumption that the rest of the world uses mold.
To cut a long story short, I will be using mould from now on, and thanks mum for prompting me to think this one through!
I’d love to know where you’re from and which spelling you use – please do leave a comment and let me know.
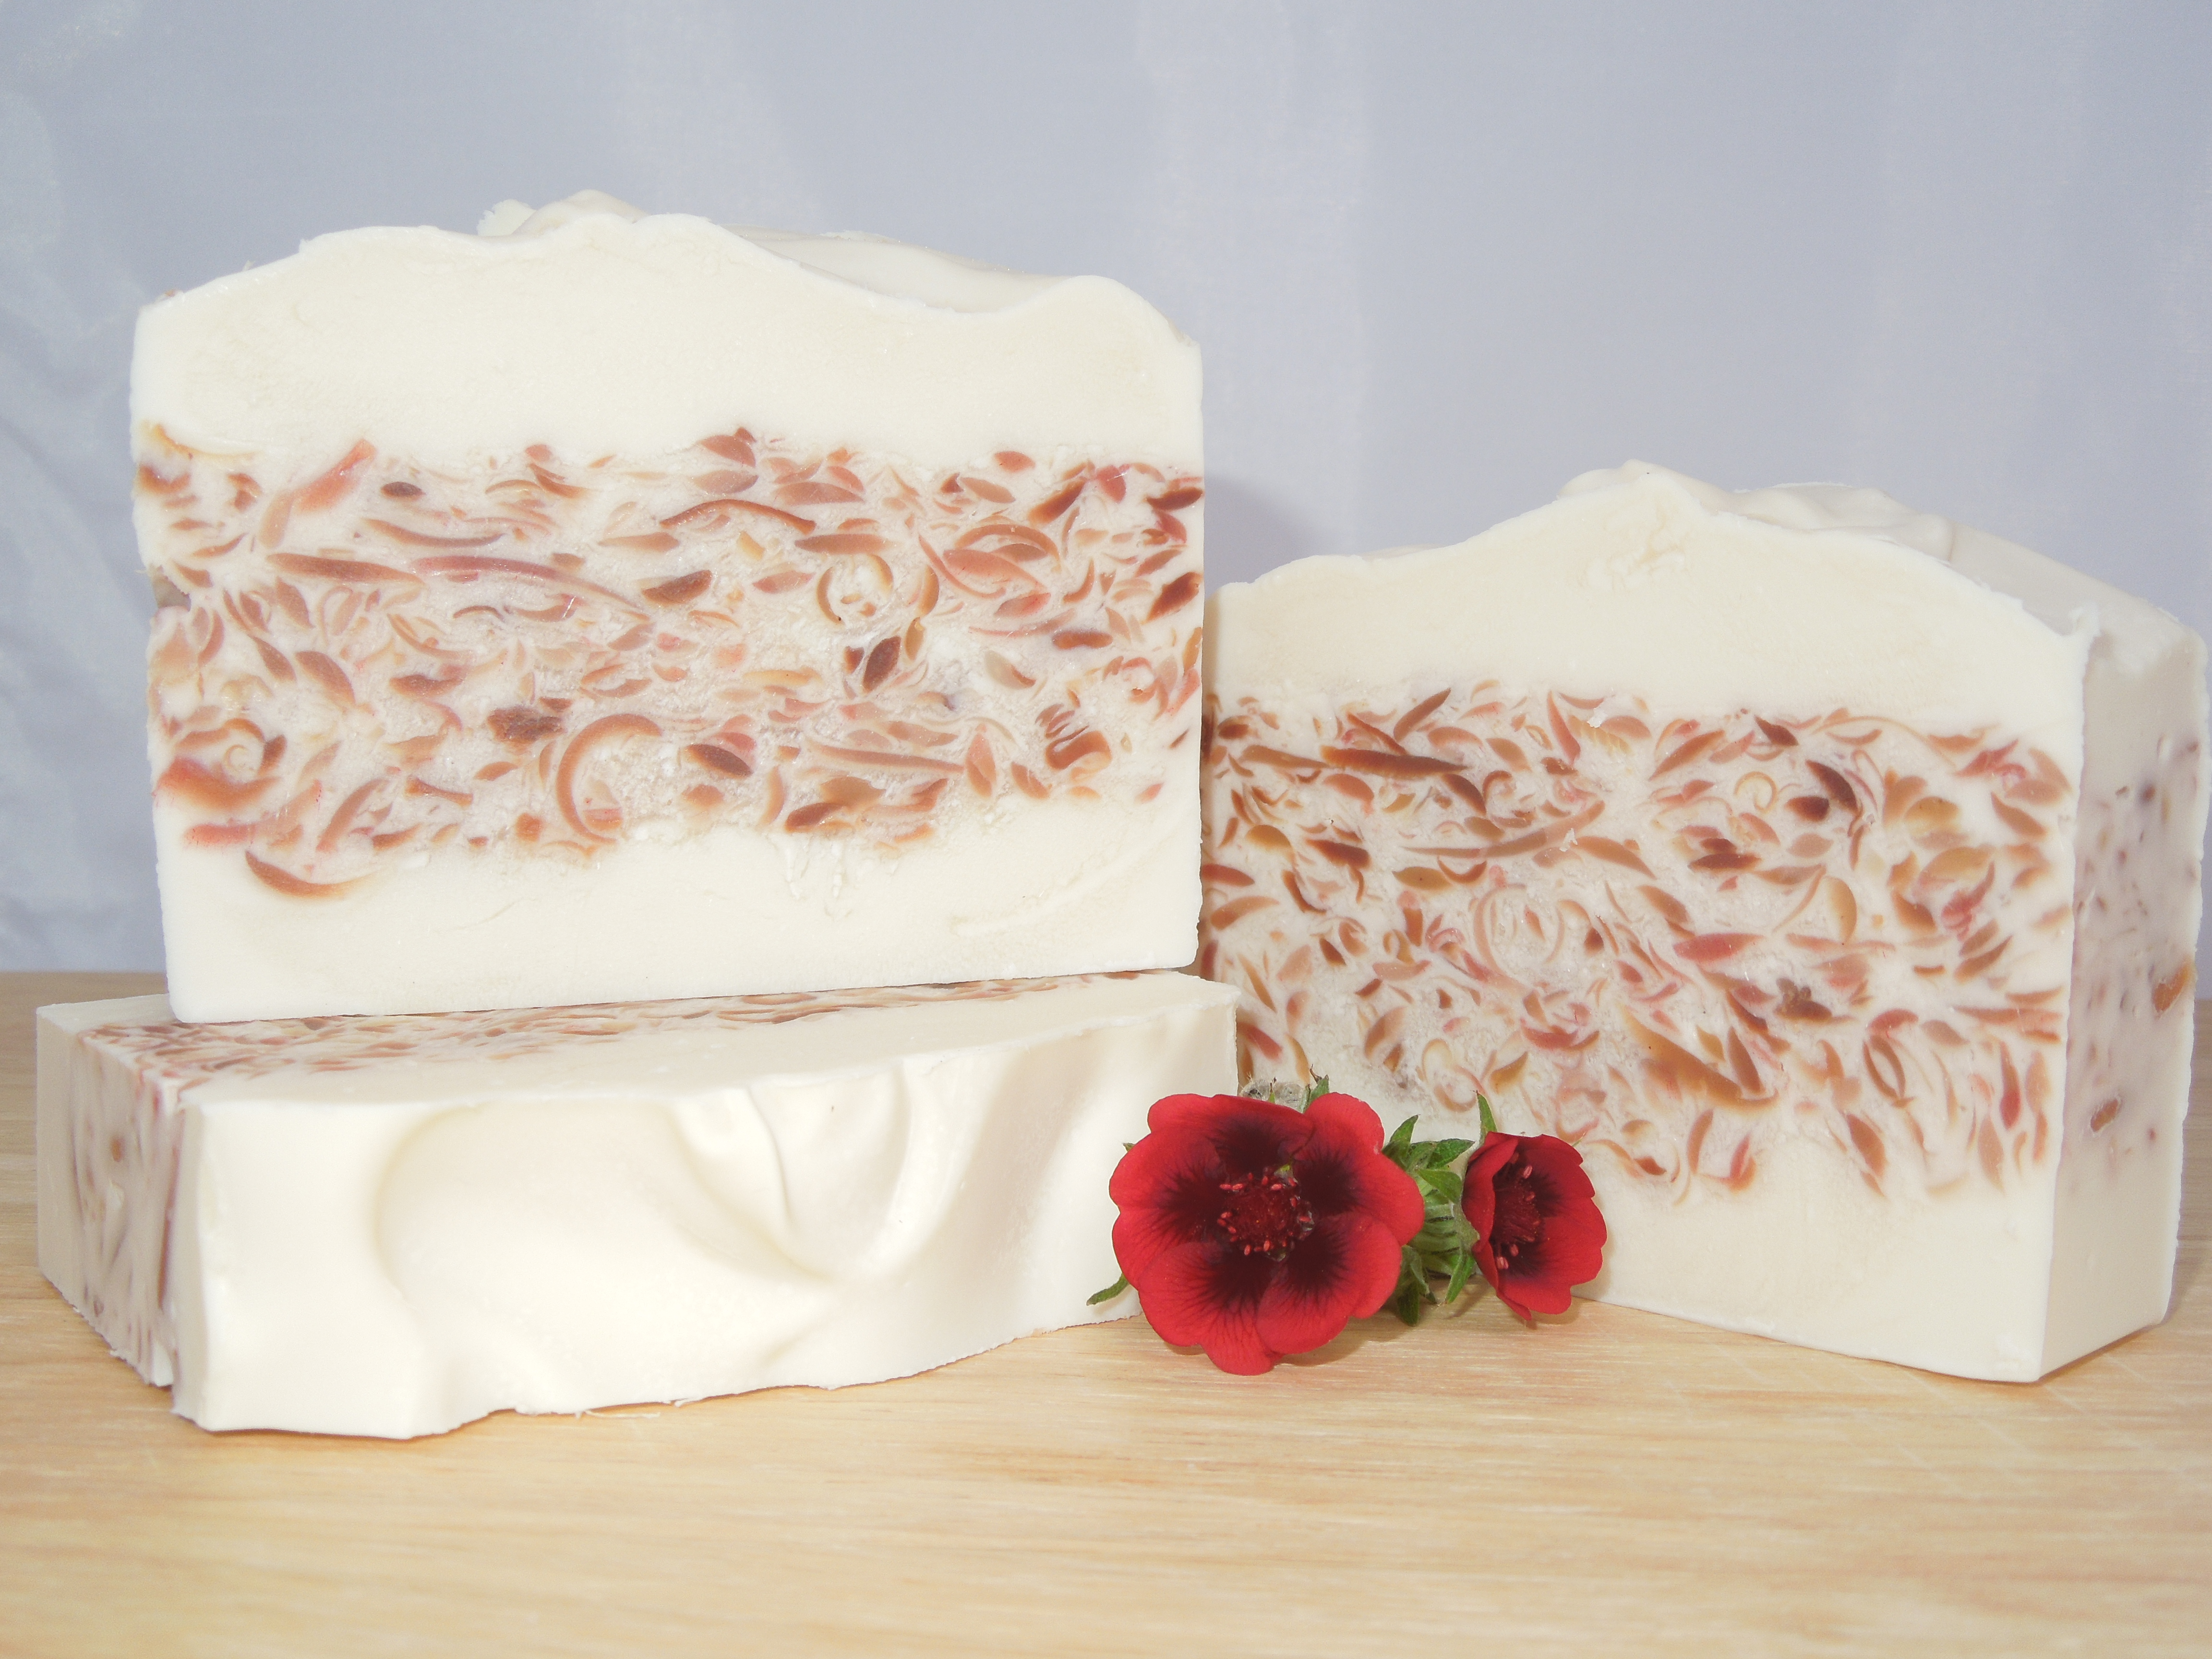
Oh, and because I know why people really read soapy blogs 😀 here’s some recent mould action:
Parisian Flora (Lavender, Rose Geranium & Ylang Ylang EO’s):
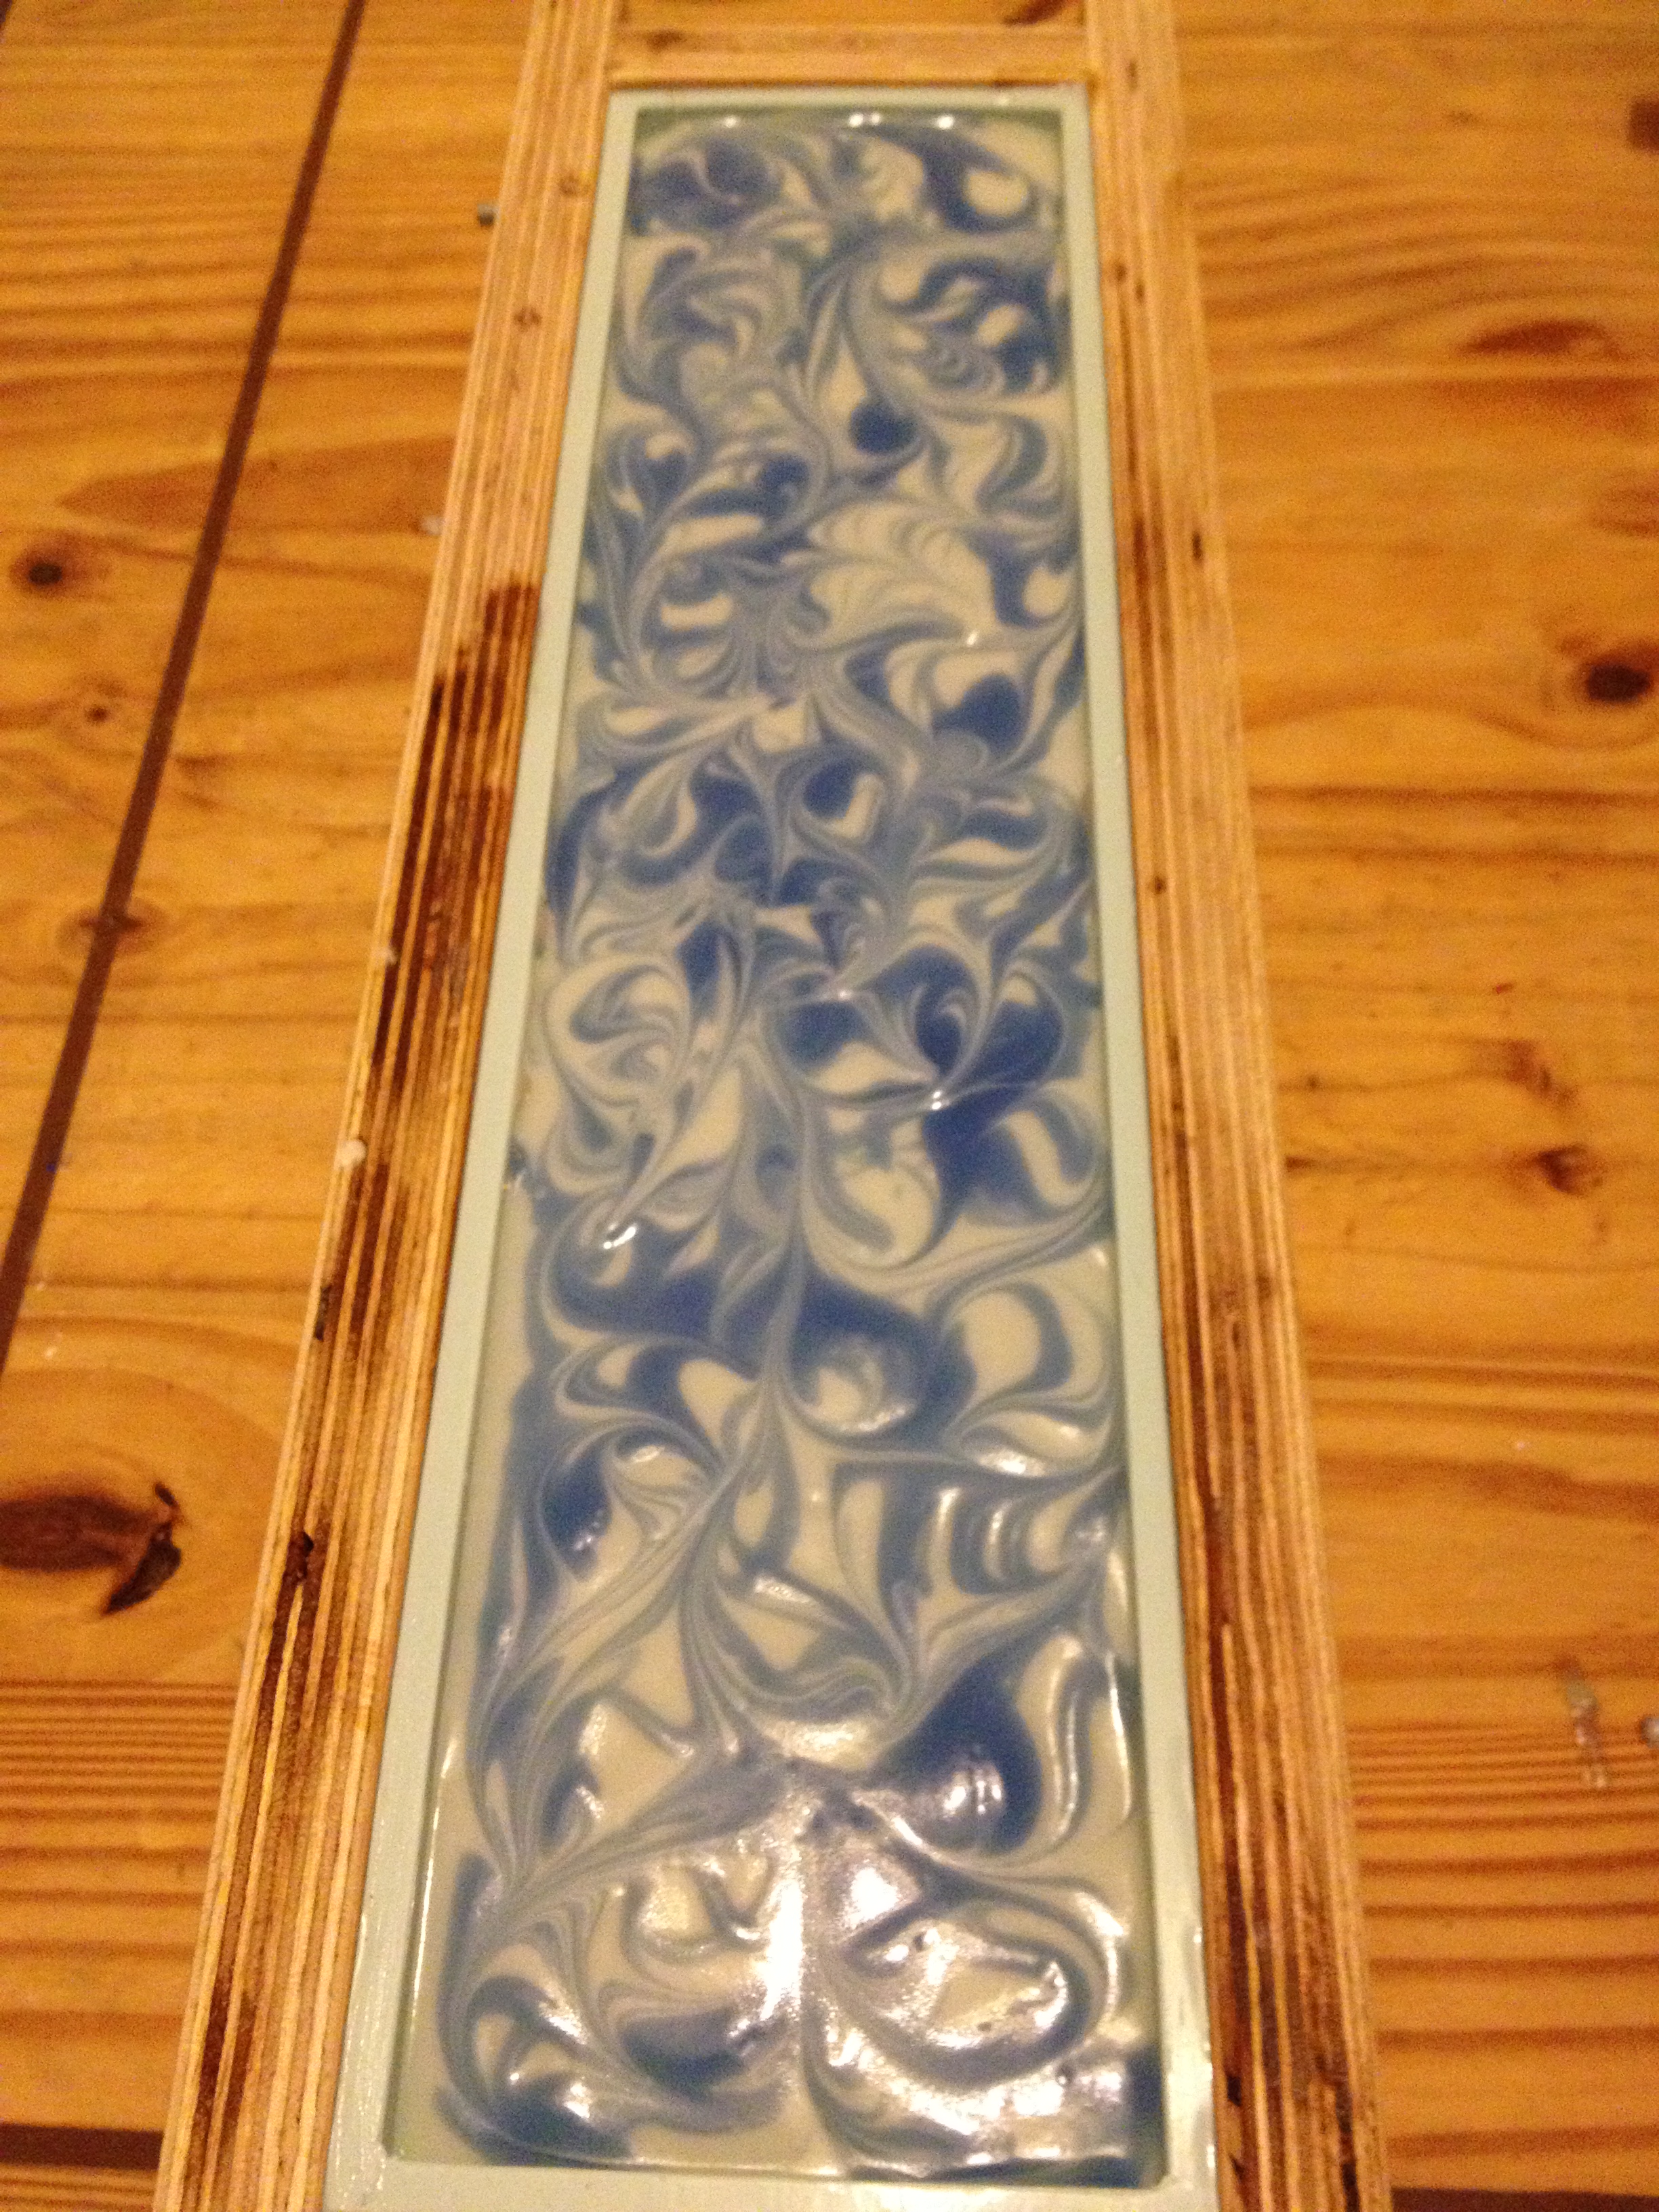
 Magic Mojito (Spearmint & Lime EO’s):
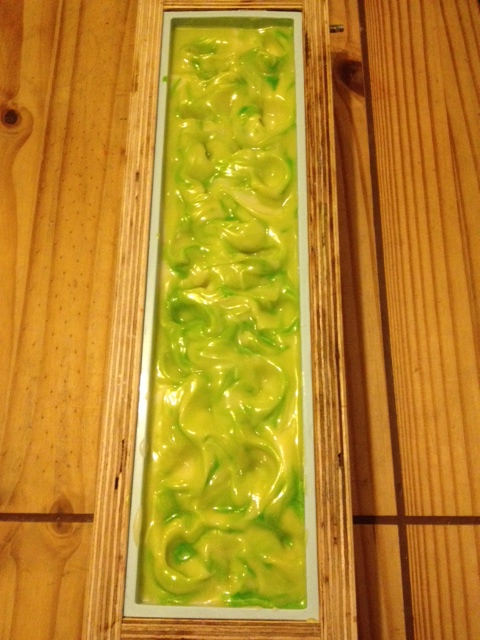 and Jellybeans (FO):
 Cut pictures to follow soon.